Basic Stretching in Photoshop Layers
```html
Understanding Layer Stretching in Photoshop
Layer stretching in Photoshop refers to the process of resizing, distorting, or transforming layer content to fit specific design needs. Unlike simple scaling, stretching often involves non-uniform adjustments that alter proportions while maintaining visual coherence. This technique is essential for tasks like adapting images to different aspect ratios, creating perspective effects, or blending elements seamlessly. Understanding how stretching interacts with layer properties—such as resolution, transparency, and blending modes—is critical to avoiding pixelation or quality loss. By mastering basic stretching workflows, designers gain flexibility in manipulating visuals without compromising integrity.
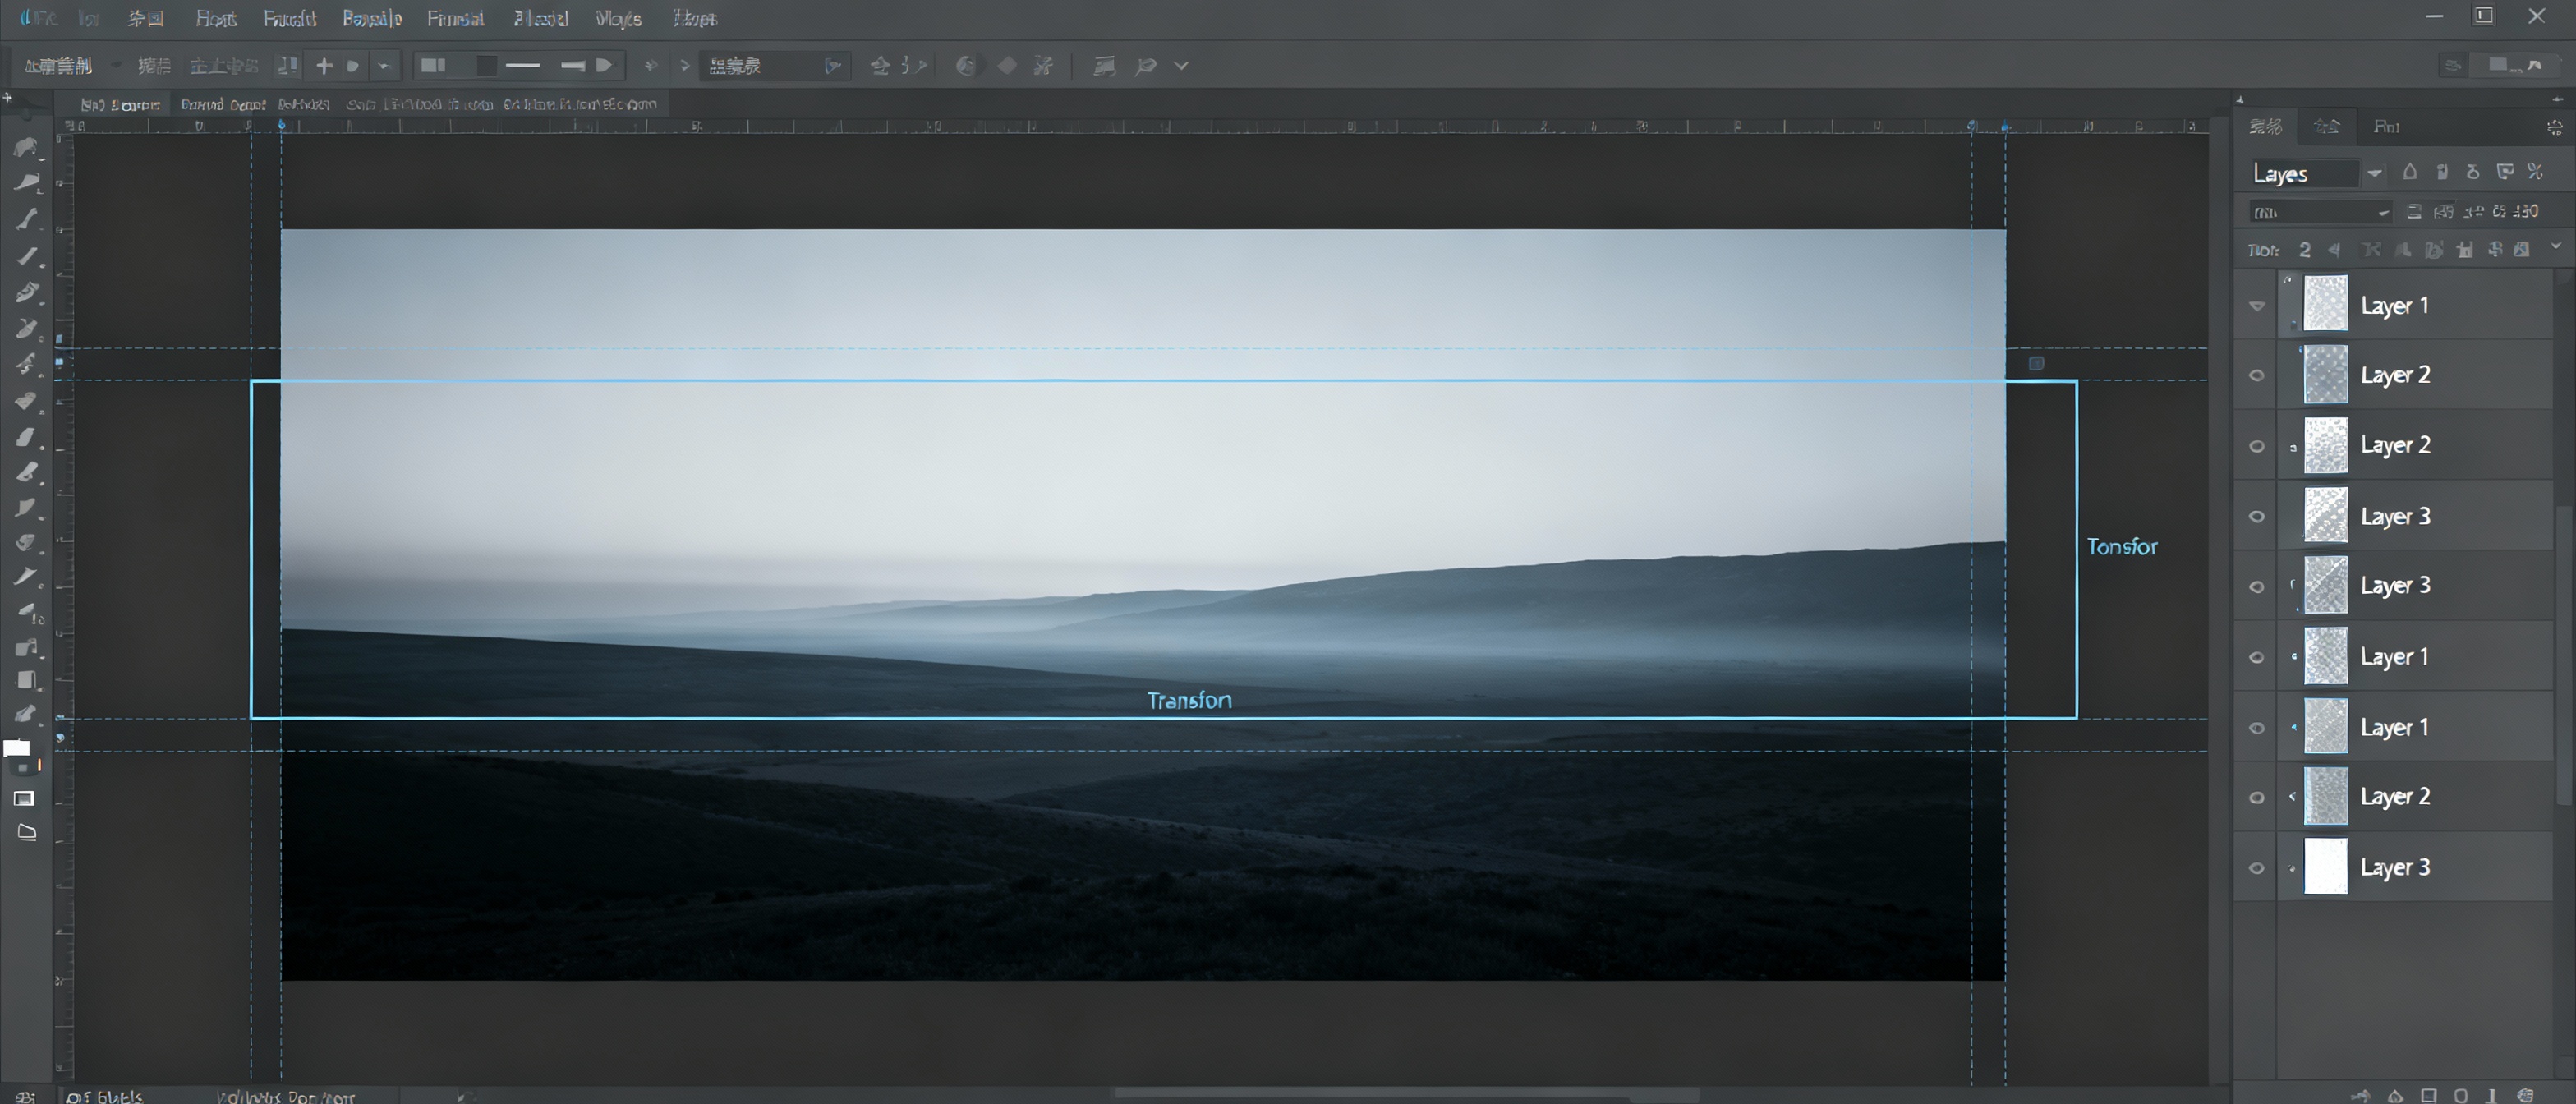
Step-by-Step Guide to Stretching Layers
To stretch a layer, first select it in the Layers panel. Press Ctrl+T (Cmd+T on Mac) to activate Free Transform. Handles around the layer allow dragging edges or corners. Hold Shift to constrain proportions during uniform scaling, or omit it for freeform stretching. For precision, use the Options Bar to input exact width/height percentages. Right-click within the transform bounds to access advanced options like Skew, Distort, or Perspective. When stretching photos, enable “Content-Aware Scale” (Edit > Content-Aware Scale) to protect focal elements while resizing backgrounds. Always confirm changes with the Enter key or the checkmark in the Options Bar.
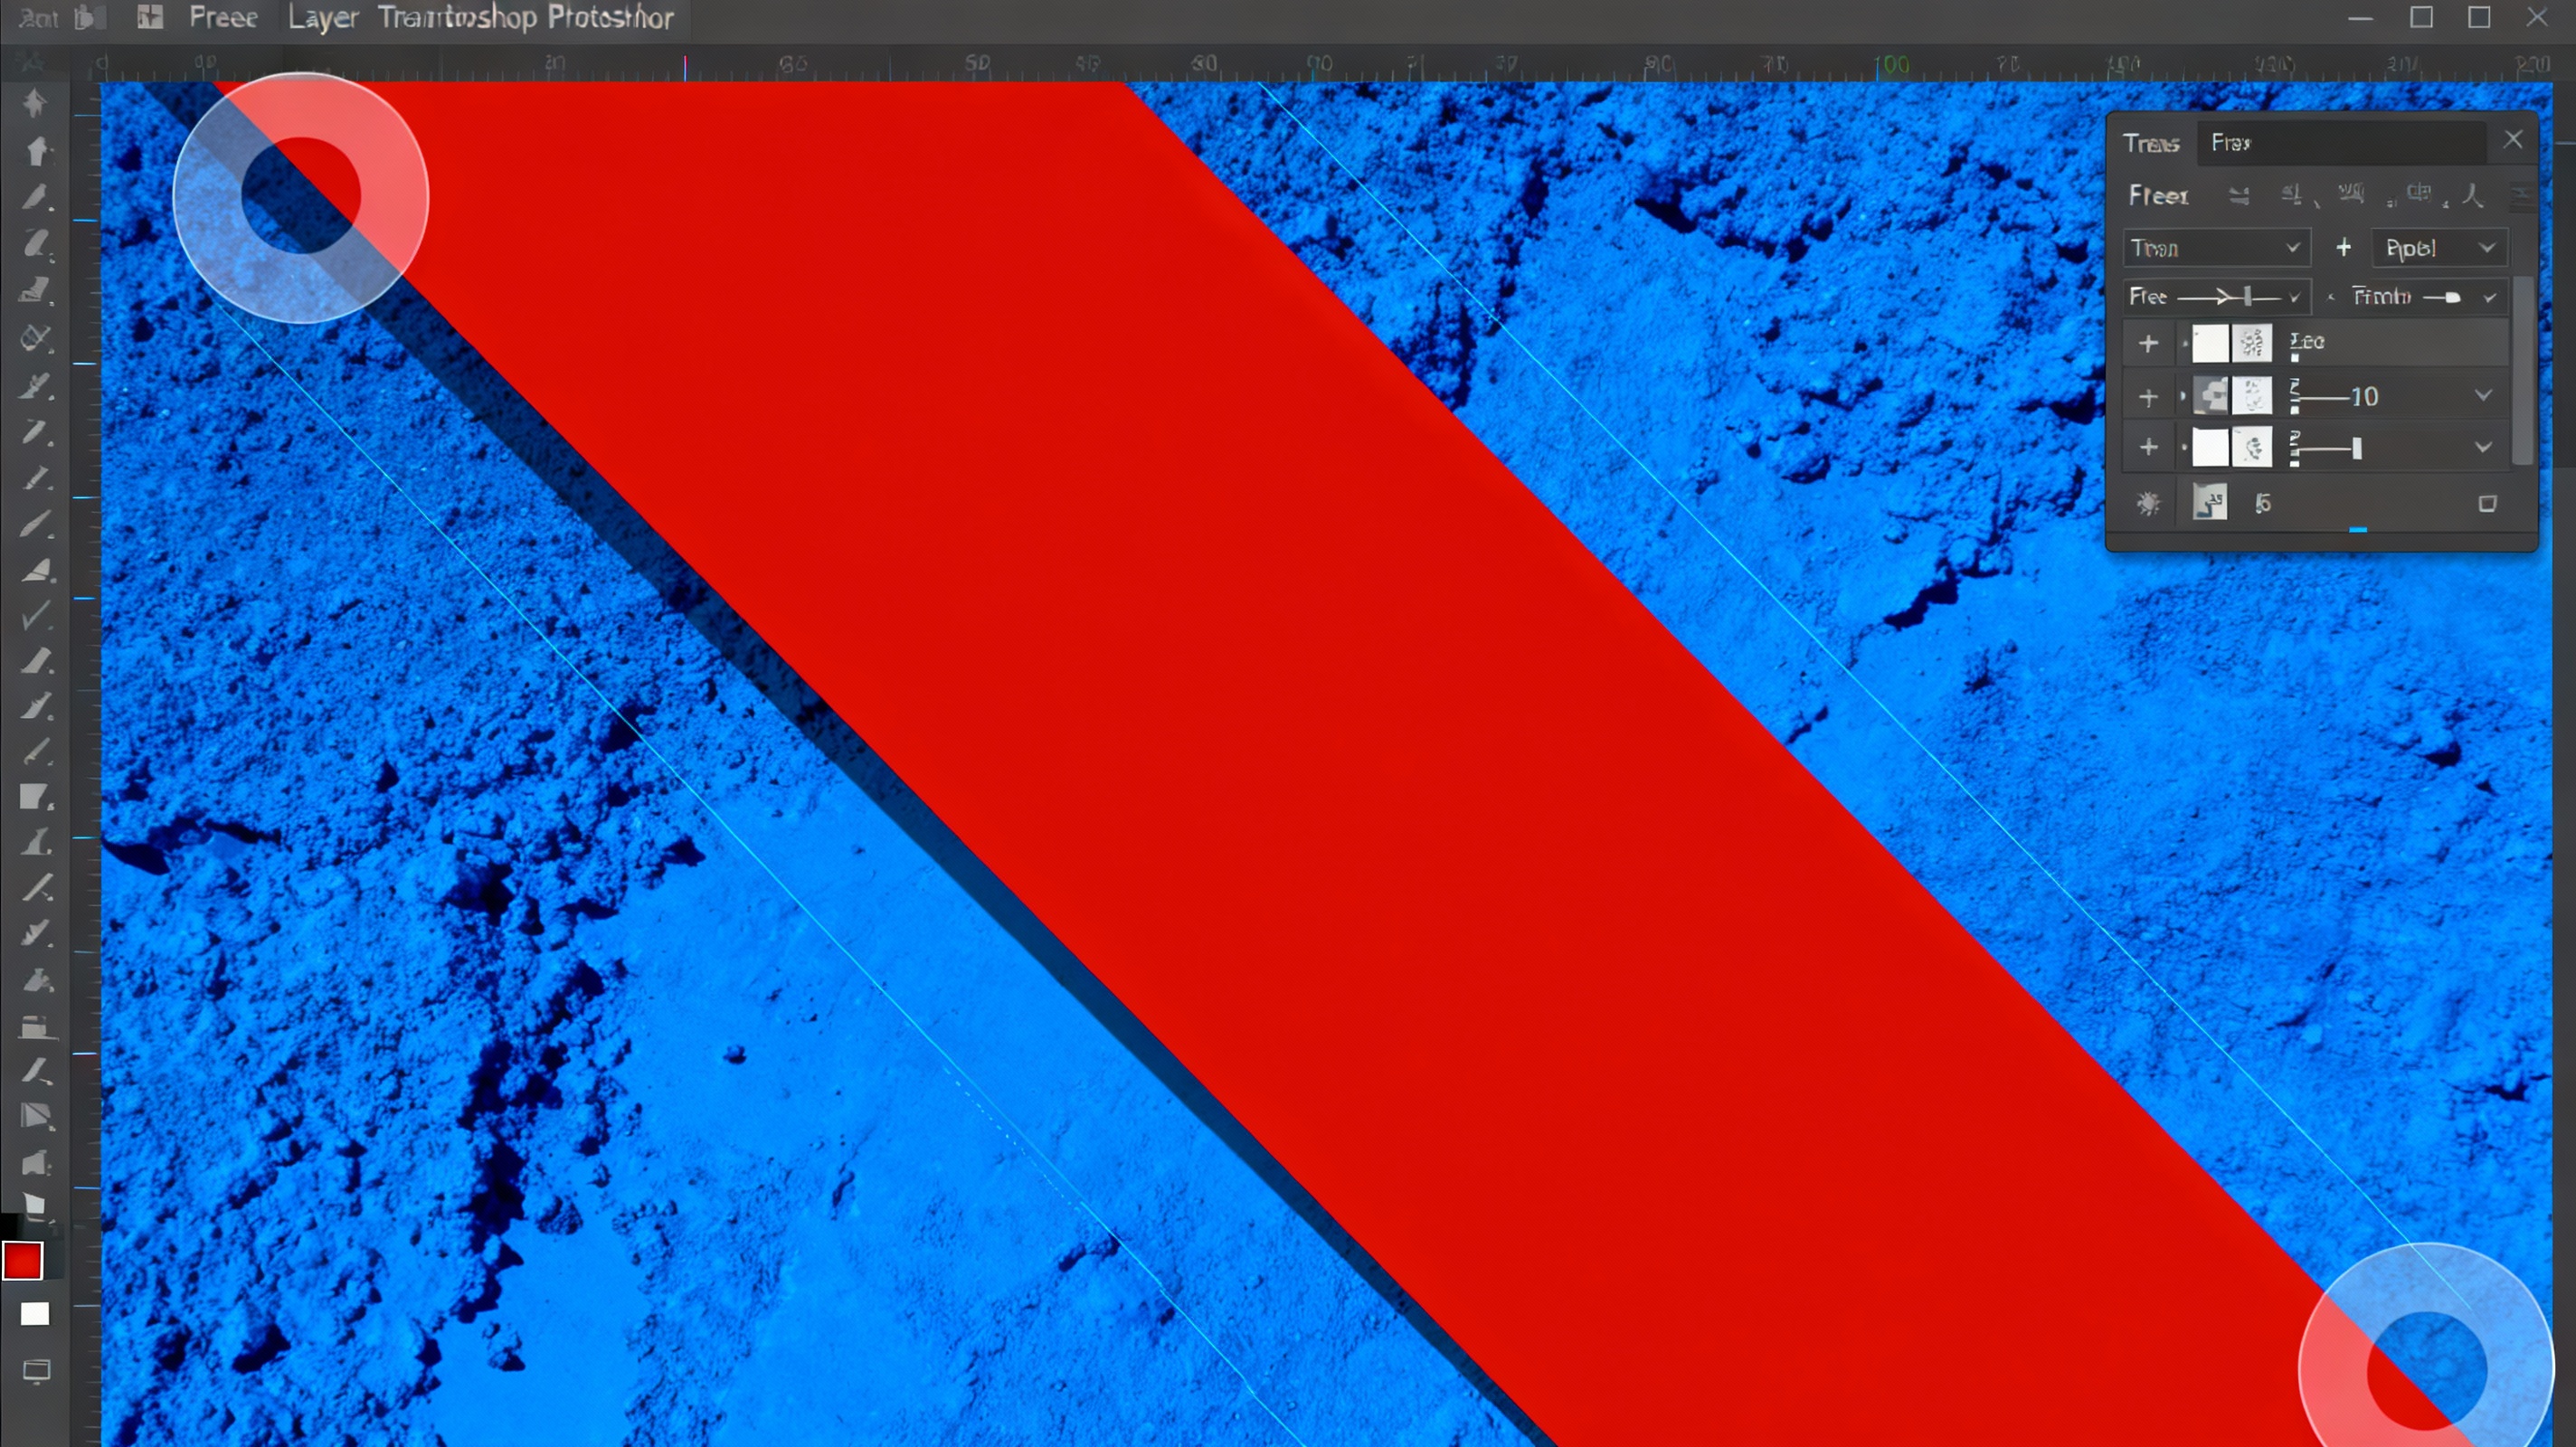
Common Pitfalls and How to Avoid Them
Overstretching layers remains the most frequent mistake. Signs include pixelation, blurriness, or warped subjects. To prevent this, work with high-resolution sources and use Smart Objects (right-click layer > Convert to Smart Object) for editable, non-destructive transformations. Another issue is accidental distortion: if stretching disrupts perspective, use the Warp Grid (Edit > Transform > Warp) to manually adjust curvature. Avoid stretching rasterized text—instead, keep text layers vector-based until final export. Regularly check layer boundaries via View > Show > Layer Edges to maintain spatial awareness.
Creative Applications of Layer Stretching
Stretching isn’t just corrective—it’s a creative tool. Try elongating shadows for dramatic effect, or stretching textures to fill unconventional spaces. In poster design, asymmetrical stretching can create dynamic tension between elements. For surreal art, combine stretched layers with blending modes: a vertically stretched cloud layer set to “Overlay” might simulate atmospheric distortion. Animators use layer stretching to mock motion blur in storyboards. Experiment with stretching adjustment layers (e.g., Gradient Maps) to apply color effects to specific areas.
Optimizing Your Workflow with Shortcuts and Tools
Speed up stretching tasks with keyboard shortcuts: Ctrl+Alt+T (Cmd+Option+T) transforms a duplicate layer, while Ctrl+Shift+T (Cmd+Shift+T) repeats the last transformation. Use the Transform Again command for consistent adjustments across multiple layers. For alignment, enable Smart Guides (View > Show > Smart Guides) to snap layers to edges or centers. The Keyboard Increments preference (Edit > Preferences > General) lets you adjust nudge distances for pixel-perfect stretching. Third-party plugins like Transform Panel Plus offer advanced scaling controls, while scripting actions can automate repetitive stretch workflows.
Maintaining Quality and Precision
Quality preservation starts with understanding resolution. When stretching beyond 120% of original size, consider upscaling via Image > Image Size with Preserve Details 2.0 enabled. For vector layers, ensure the “Snap to Pixel” option is active to prevent anti-aliasing artifacts. Use masks to isolate stretchable areas instead of affecting entire layers. When working with 3D layers or perspective-heavy designs, combine stretching with the Vanishing Point filter (Filter > Vanishing Point) to maintain spatial consistency. Always review stretches at 100% zoom before finalizing.