Color Calibration in Milky Way Photos
```html
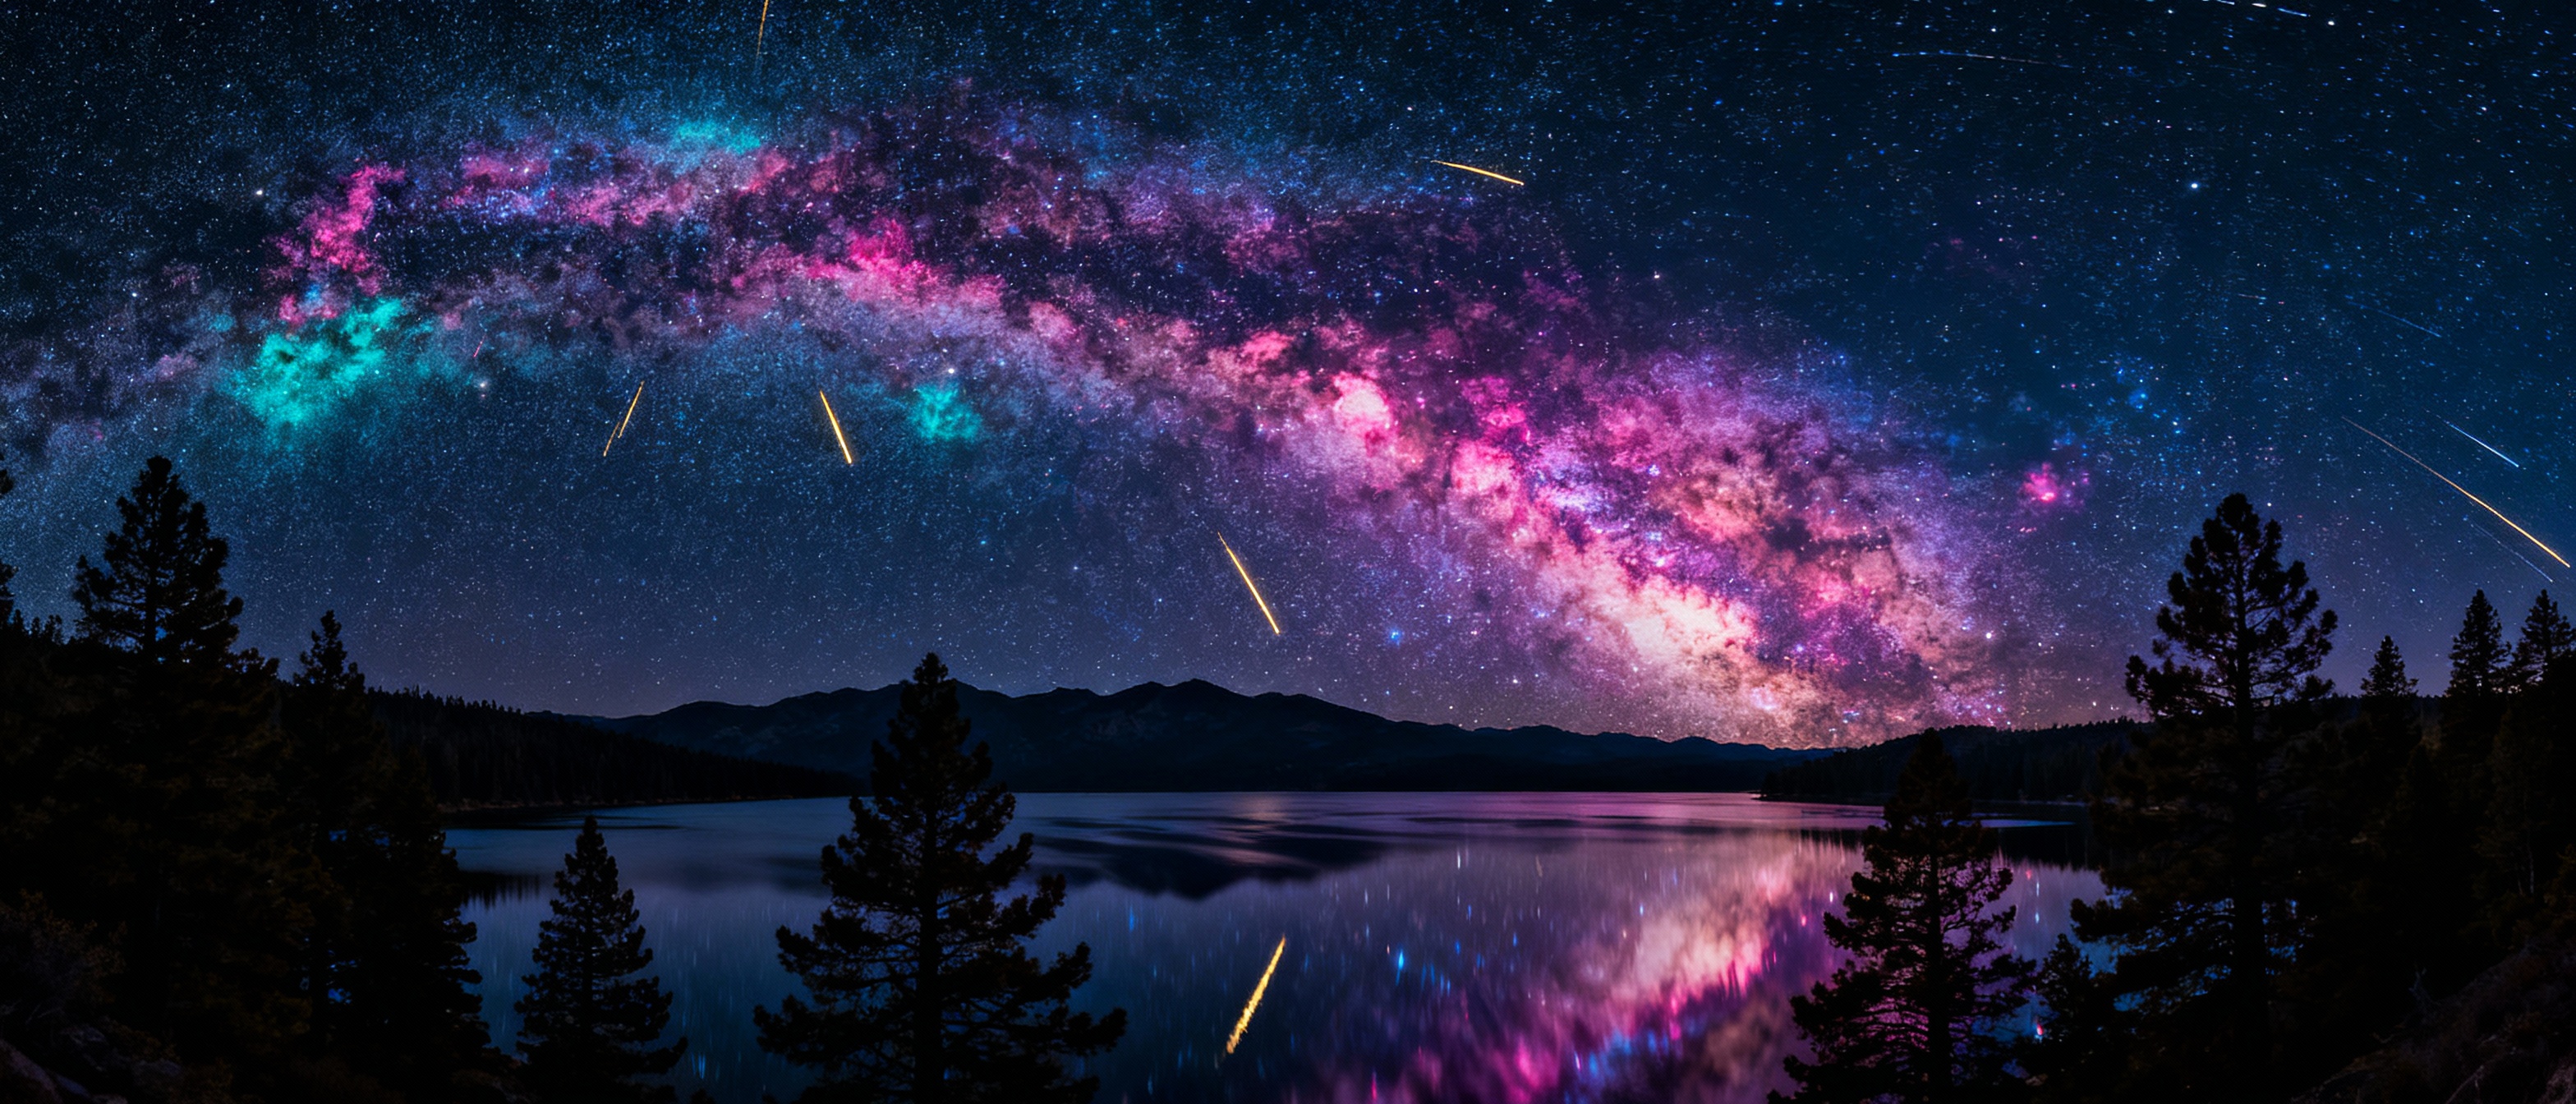
The Allure of the Milky Way in Night Sky Photography
Capturing the Milky Way has long fascinated photographers, blending artistry with technical precision. The galaxy’s shimmering bands of stars, cosmic dust, and nebulae present a celestial canvas. Yet, translating its ethereal beauty into a photograph requires more than a camera and a dark sky—it demands meticulous attention to color accuracy. Natural hues are often distorted by factors like light pollution, atmospheric conditions, and camera sensor limitations. Understanding these challenges is the first step toward creating images that reflect the true splendor of our galaxy.
Why Accurate Color Representation Matters
Color calibration ensures that the tones in your Milky Way photos align with the night sky’s natural palette. Without it, images may skew toward unnatural blues, greens, or oranges, masking the delicate interplay of hydrogen-alpha emissions (red) and starlight (white-blue). For astrophotographers, authenticity isn’t just aesthetic—it’s scientific. Accurate colors reveal the composition of nebulae and the temperature of stars. Misrepresentation can distort the viewer’s connection to the cosmos, turning a profound scene into an artificial spectacle.
Common Challenges in Capturing True Colors
Camera sensors inherently struggle with low-light conditions, often amplifying noise and altering color balance. Light pollution introduces warm or cool tints, while airglow—a faint atmospheric emission—adds green or red layers. Even the human eye’s limited night vision complicates perception, as we see mostly in monochrome under starlight. Post-processing pitfalls, like over-saturation or aggressive noise reduction, can further warp hues. Recognizing these obstacles helps photographers implement targeted solutions.
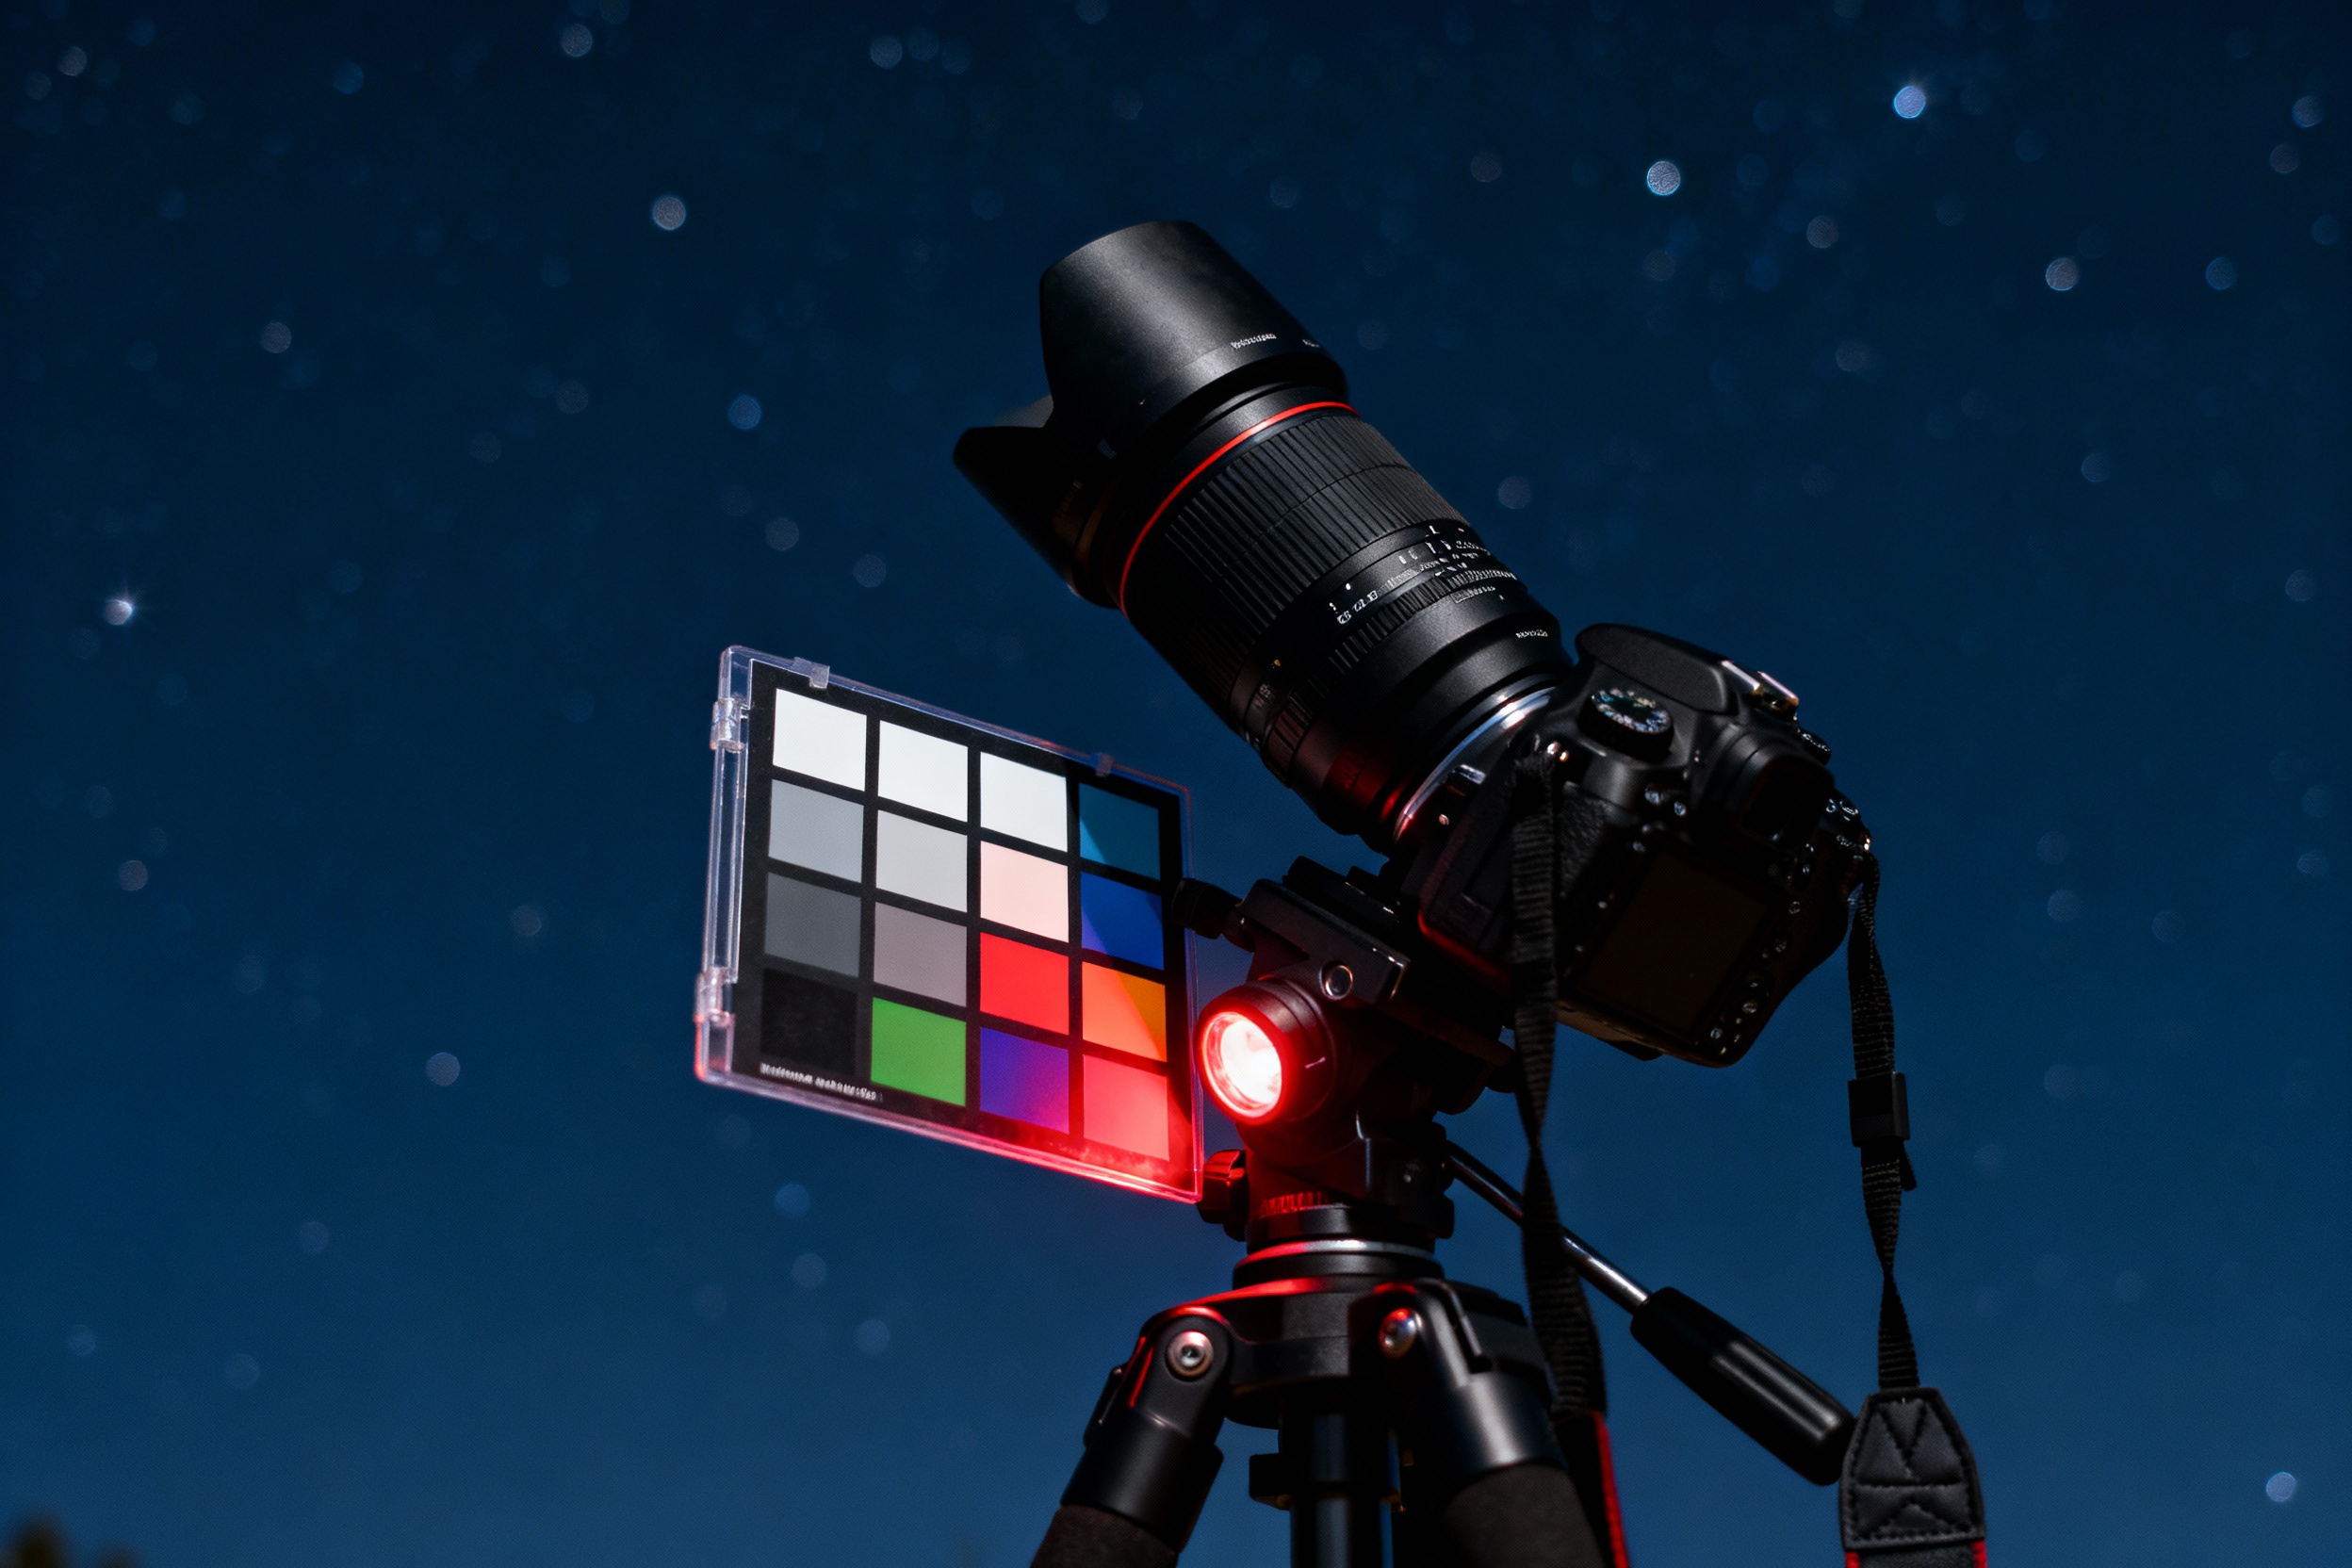
Tools and Techniques for Color Calibration
Begin by shooting in RAW format to retain maximum color data. Use a color checker or gray card during your shoot to establish a reference point for post-processing. Software like Adobe Lightroom or specialized astro tools (e.g., PixInsight) offers advanced color balance controls. For in-camera adjustments, manually set white balance to a fixed Kelvin value—around 3800K often works for night skies. Avoid auto white balance, which can unpredictably shift hues in low light.
Step-by-Step Workflow for Calibrating Milky Way Photos
Start by correcting white balance using a reference point from your image, such as a neutral star or your calibration target. Adjust the tint slider to neutralize green or magenta casts. Use histogram tools to ensure even distribution across RGB channels. Targeted adjustments with gradient filters can counter localized light pollution. Finally, fine-tune saturation and luminance selectively—enhance blues in the galactic core or reds in emission nebulae without overpowering natural contrasts.
The Role of Light Pollution and How to Combat It
Urban skyglow not only obscures stars but also imposes a dominant color cast—commonly orange sodium or blue-white LED. Light pollution filters (e.g., Hoya Reducer) can mitigate this, though they may dampen specific wavelengths. In post-processing, gradient removal tools or layer masking help isolate and neutralize polluted areas. Shooting during moonless nights and traveling to dark-sky locations remain the most effective solutions.
Case Study: Transforming a Photo Through Calibration
Consider a Milky Way shot spoiled by urban light pollution. Initial edits reveal an orange haze overpowering the galactic center. By using a graduated filter to subtract the orange cast and recalibrating white balance based on a reference star, the core’s true hues emerge. Boosting contrast in LAB color space further separates the nebula’s red tones from the background. The result? A vibrant, true-to-life depiction of the galaxy.
Avoiding Common Pitfalls in Post-Processing
Overzealous editing is a frequent misstep. Pushing saturation sliders to extremes creates neon stars and unnatural gradients. Similarly, excessive noise reduction smudges fine details, flattening texture. Instead, use layer masks to apply adjustments locally. Preserve star colors by avoiding global shifts in hue—target specific tonal ranges. Regularly zoom out to assess the image holistically, ensuring edits enhance rather than overshadow the Milky Way’s innate beauty.
Future Trends in Astrophotography Color Science
Emerging technologies like AI-driven noise reduction and sensor advancements promise improved color fidelity. Tools leveraging machine learning can automatically detect and correct light pollution gradients. Meanwhile, multi-spectral imaging captures data beyond the visible spectrum, offering new creative possibilities. As cameras evolve, the gap between human vision and photographic representation will narrow, deepening our celestial connection.