Meteor Shower Photography Tips
```html
Understanding Meteor Showers and Their Patterns
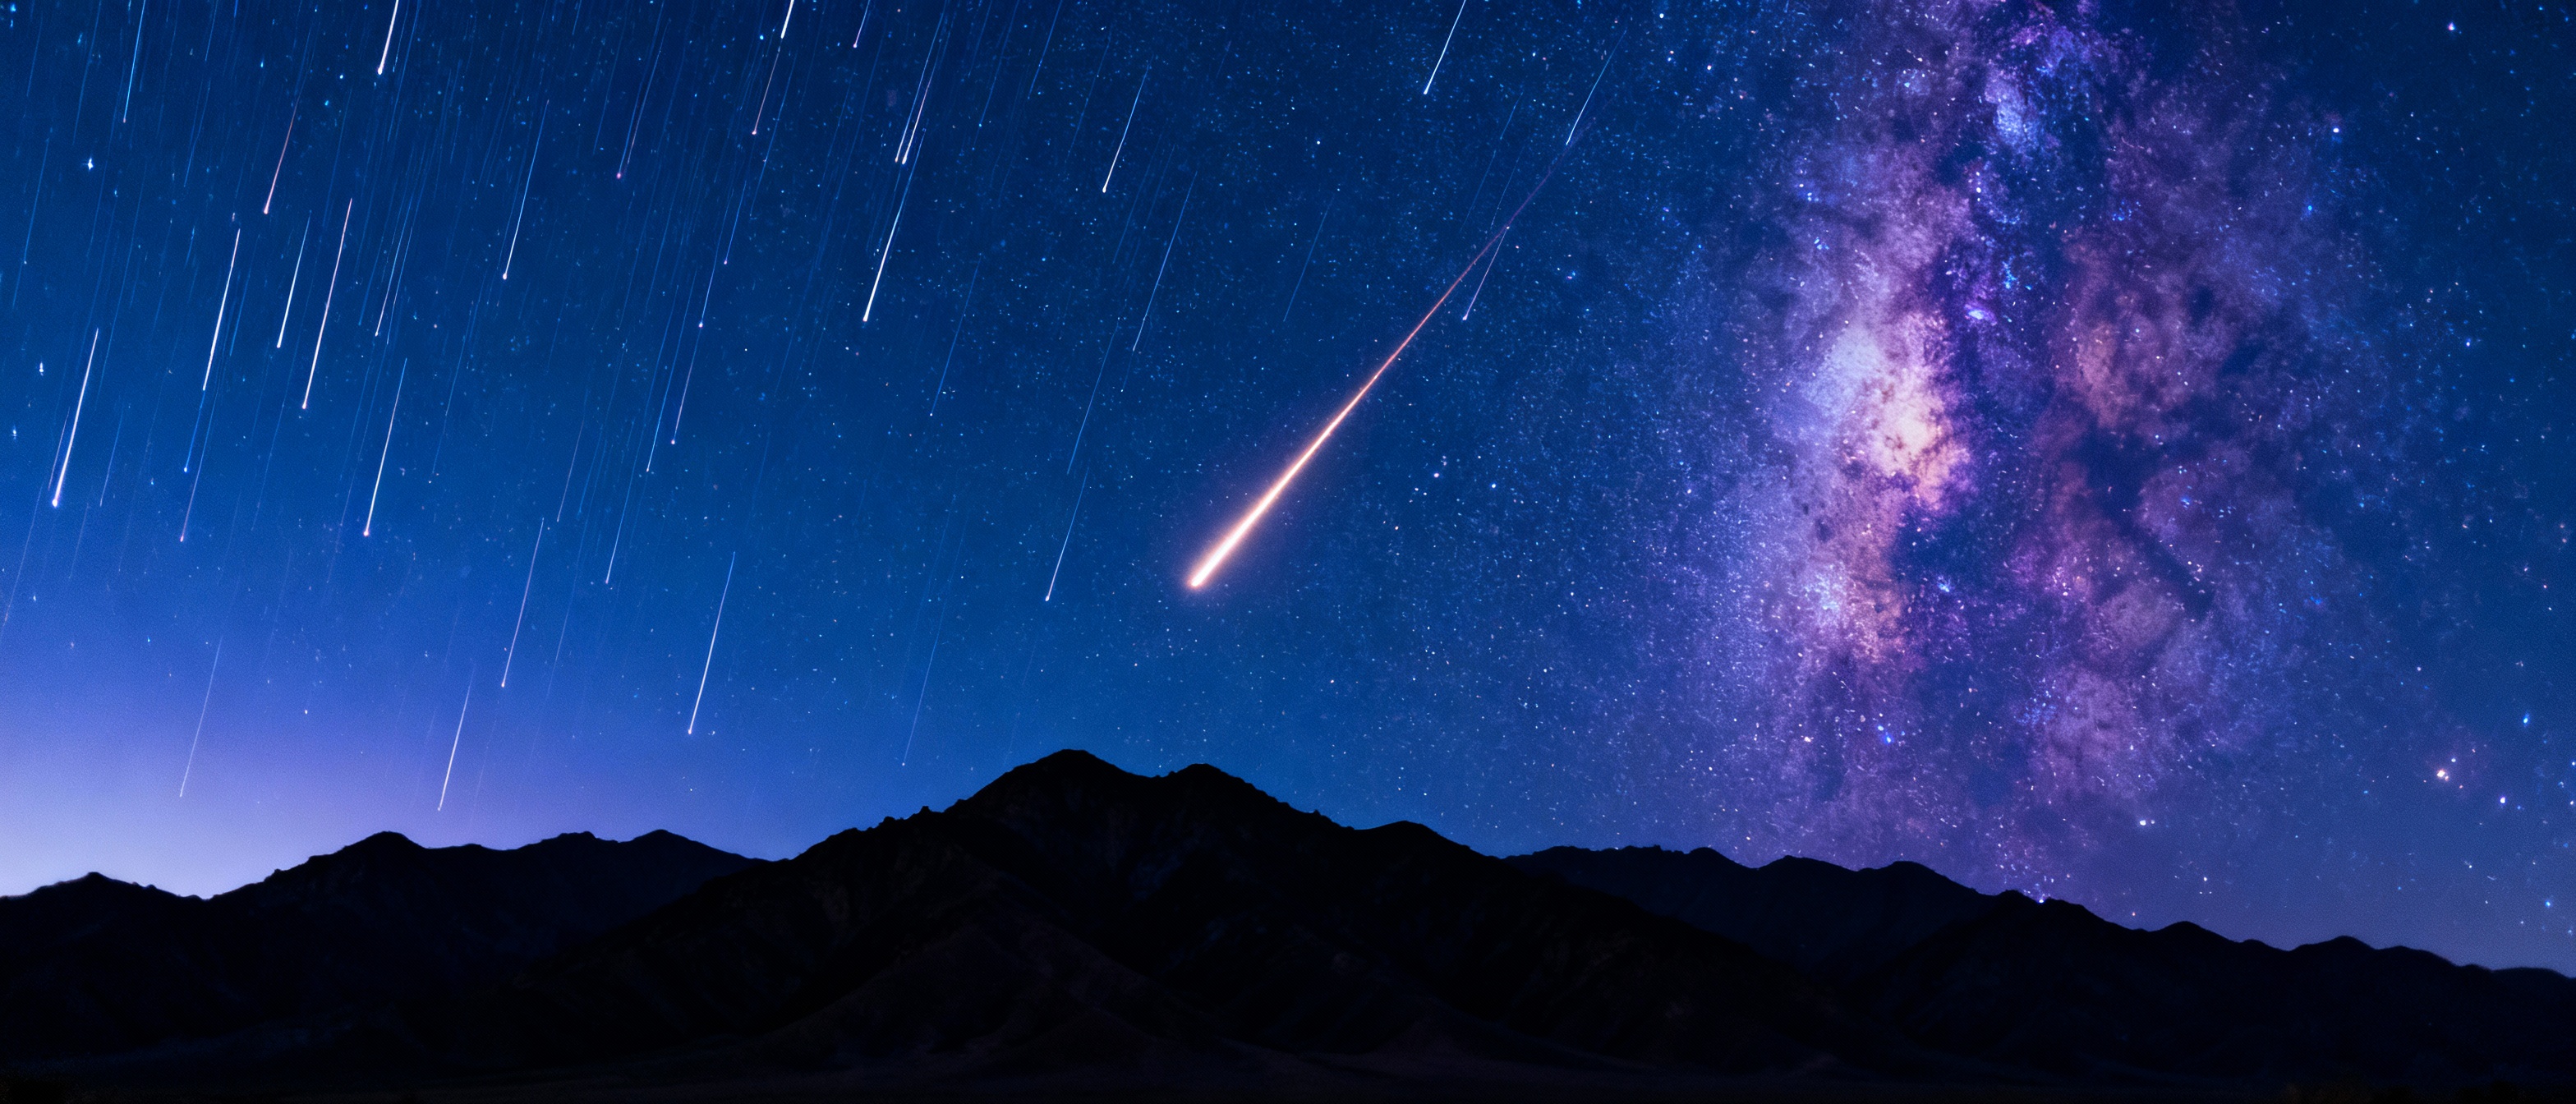
Meteor showers occur when Earth passes through debris trails left by comets or asteroids. These tiny particles, often no larger than grains of sand, burn up in the atmosphere, creating streaks of light. To capture them, timing is critical. Research peak activity dates for showers like the Perseids or Geminids, which offer higher meteor rates. Use tools like the International Meteor Organization’s calendar to track annual events. Location matters, too—escape light-polluted areas and aim for dark-sky reserves or remote countryside. Check moon phases; a new moon ensures darker skies, while a bright moon can wash out faint meteors.
Planning Your Meteor Shower Photography Session
Scout locations days in advance. Use apps like PhotoPills or Stellarium to predict radiant points (where meteors appear to originate). Arrive early to set up in daylight, ensuring tripod stability and framing. Pack essentials: extra batteries, a headlamp with red light mode, and weather-appropriate clothing. Check cloud forecasts and humidity levels—clear, dry nights reduce lens fogging. Familiarize yourself with the site’s terrain to avoid accidents in the dark. Consider shooting multiple nights; meteor activity can vary even during peak windows.
Essential Gear for Capturing Meteor Streaks
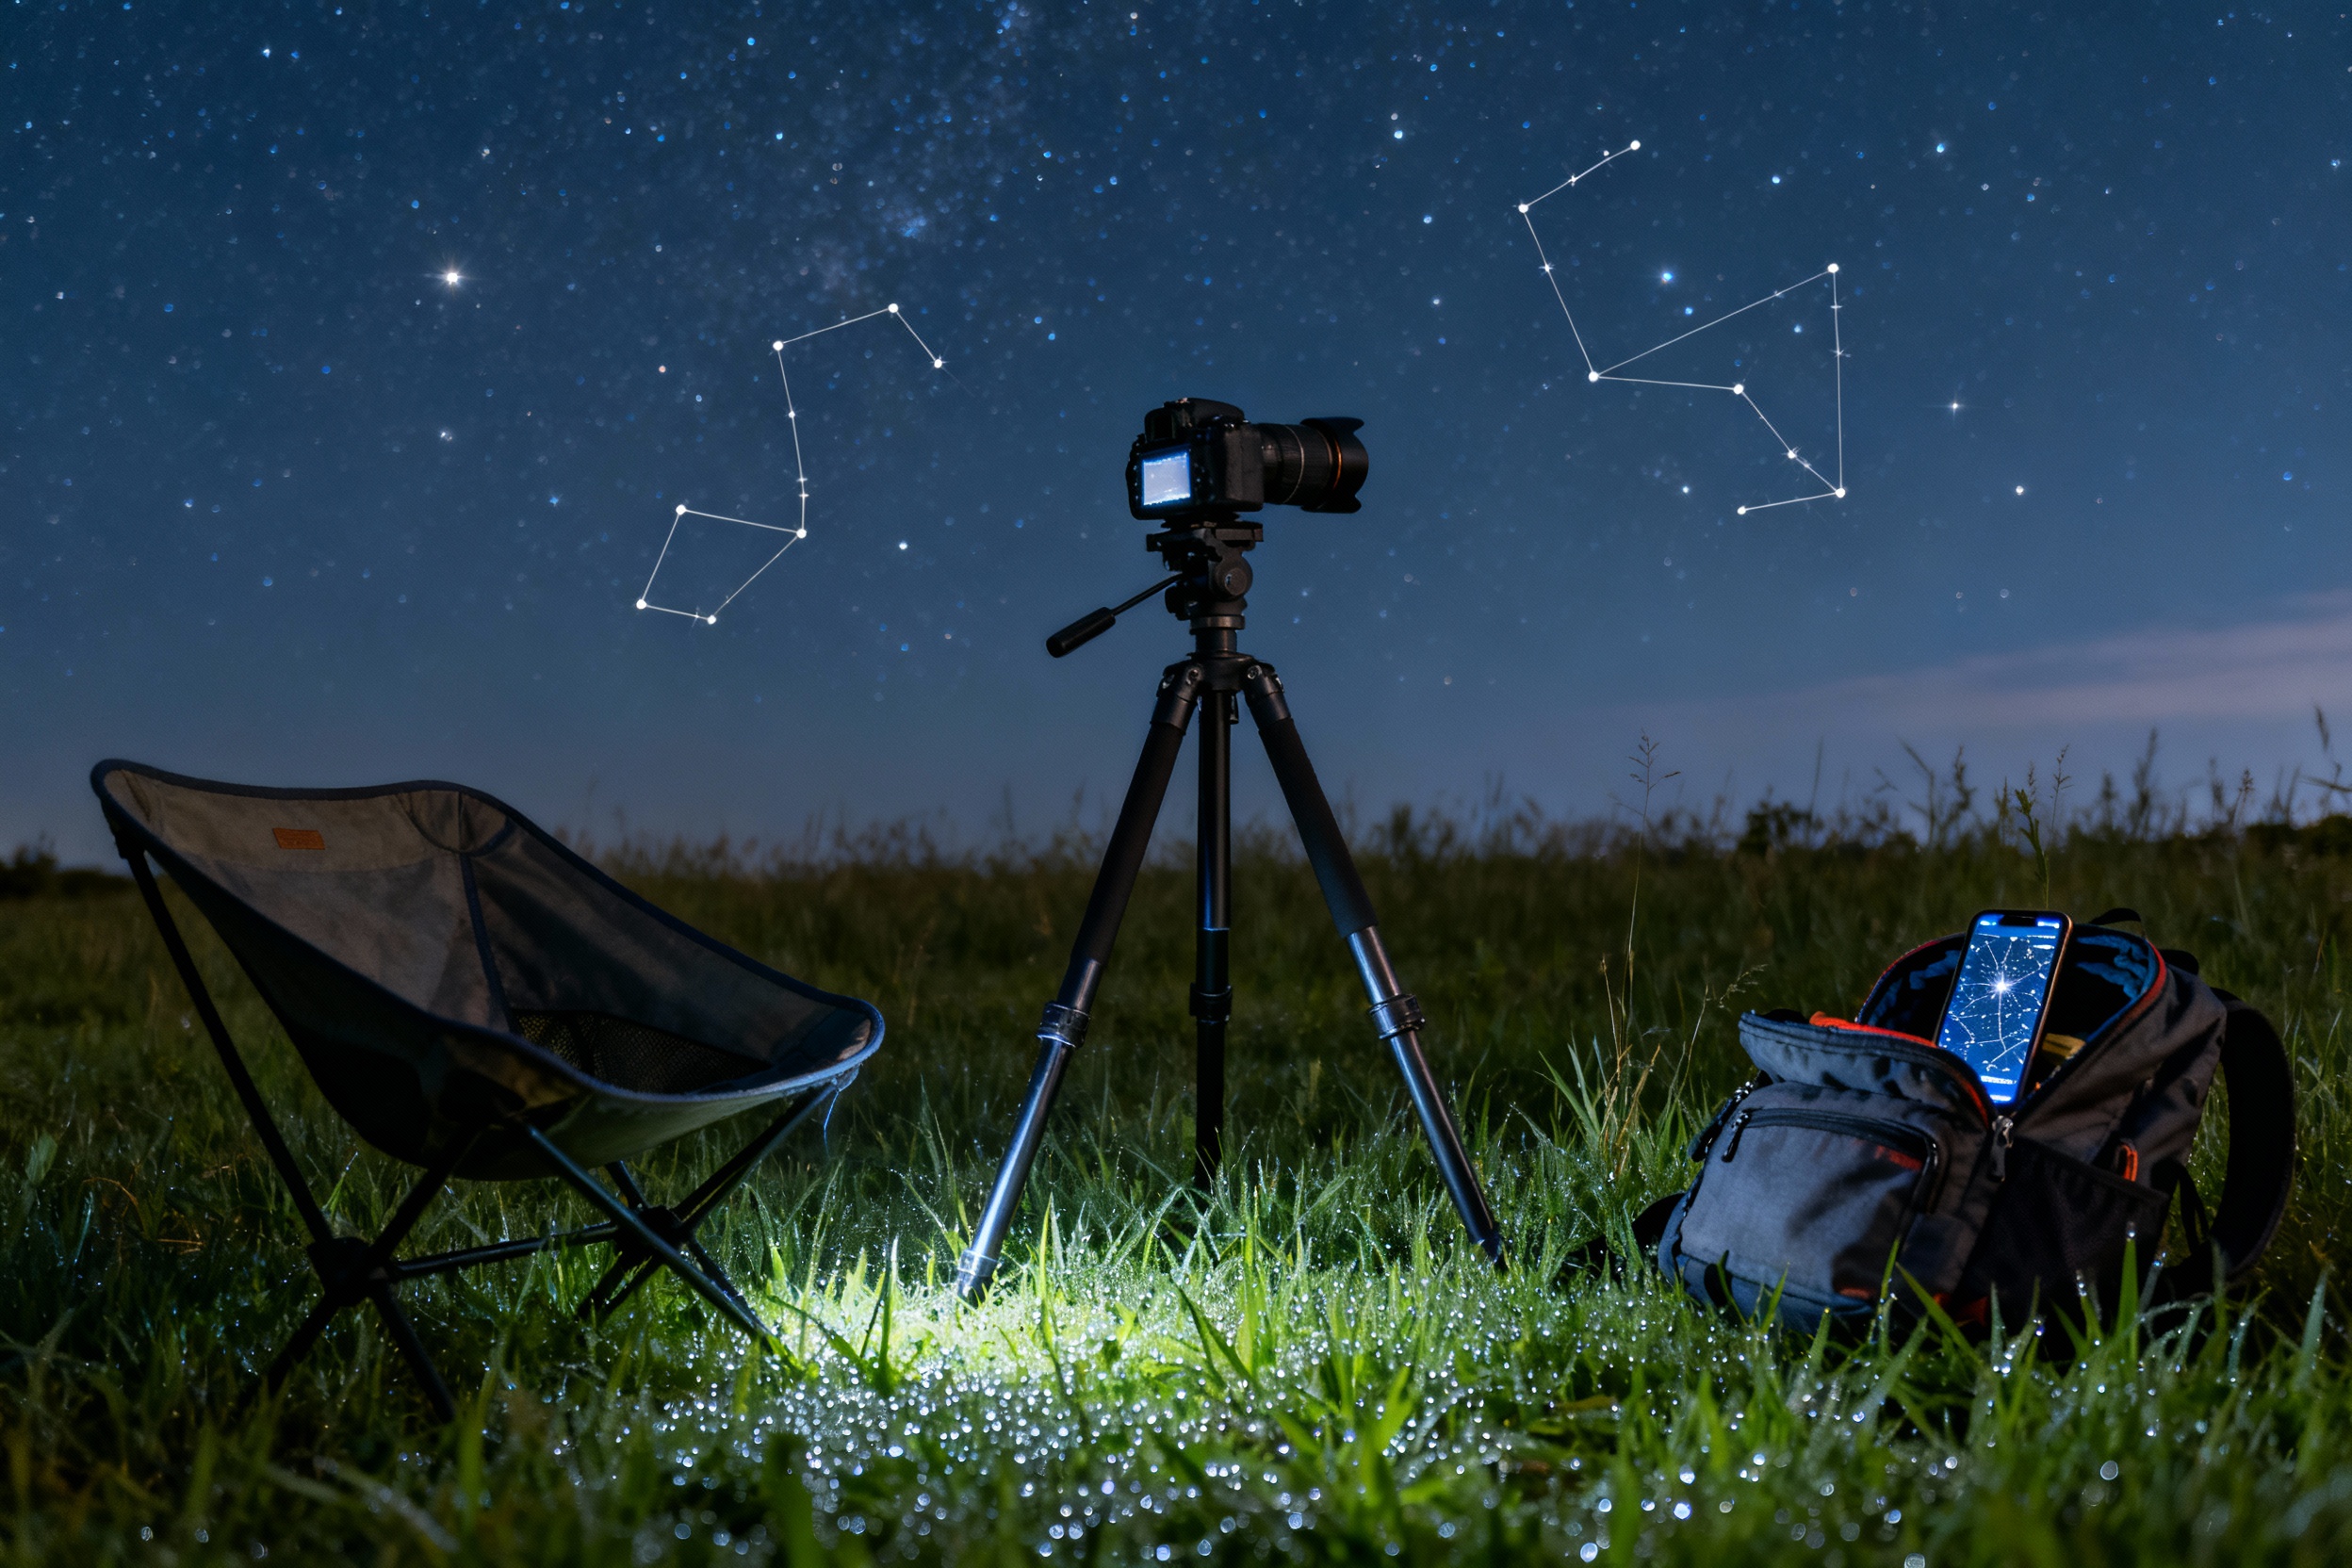
A DSLR or mirrorless camera with manual settings is crucial. Use a wide-angle lens (14-24mm) to capture vast sky sections. Fast apertures (f/2.8 or lower) gather more light, highlighting faint meteors. A sturdy tripod prevents shake during long exposures. A remote shutter or intervalometer minimizes camera contact. Bring lens heaters or antifogging pads if shooting in cold climates. For composition variety, pack a foreground light source—a dim lantern or flashlight—to add depth to scenes. Memory cards with high storage capacity are essential for hours of continuous shooting.
Mastering Camera Settings for Long Exposures
Set your camera to manual mode. Start with ISO 1600-3200, adjusting based on noise tolerance. Use a 20-30 second shutter speed to balance star sharpness and meteor capture. Wider apertures (f/2.8) maximize light intake. Focus manually by zooming in on a bright star via live view. Enable long-exposure noise reduction if your camera supports it. Shoot in RAW for post-processing flexibility. To avoid gaps, set your intervalometer to take continuous shots. Test settings before peak activity—adjust ISO or exposure if stars appear blown out or meteors are too faint.
Composition Techniques for Dynamic Astrophotography
Incorporate foreground elements—trees, mountains, or lakes—to add scale and interest. Frame the radiant point to create a sense of motion as meteors diverge. Use the rule of thirds; position the horizon in the lower third for sky emphasis. Experiment with vertical shots to highlight meteor trails. If light painting, briefly illuminate foreground objects with a flashlight during exposure. For time-lapses, maintain consistent composition to later isolate meteor frames. Stay patient; meteors are unpredictable, so shoot continuously to capture serendipitous streaks.
Post-Processing Tips to Enhance Meteor Images
Import RAW files into software like Adobe Lightroom. Adjust white balance to neutralize blue or orange tints. Boost shadows to reveal foreground details without overexposing stars. Use gradient filters to selectively enhance sky contrast. Stack images with Sequator or Starry Landscape Stacker to reduce noise. Blend meteor trails from multiple frames using layer masks in Photoshop. Avoid oversharpening; apply subtle clarity to highlight trails. For time-lapses, compile meteor frames into a video to showcase movement.
Overcoming Common Challenges in Meteor Photography
Combat light pollution by using light pollution filters or driving to darker sites. For cloudy nights, stay flexible—shoot during breaks in the clouds. Prevent lens fogging with hand warmers or anti-dew strips. If meteors are sparse, pivot to capturing star trails or Milky Way panoramas. Use a companion app like Clear Outside for real-time weather updates. Stay warm with layered clothing and thermoses of hot drinks. Most importantly, manage expectations; even during peaks, meteors may appear sporadically.
Best Meteor Showers to Photograph Each Year
The Perseids (August) offer up to 100 meteors/hour and warm northern hemisphere nights. The Geminids (December) boast bright, colorful trails but require cold-weather preparation. The Quadrantids (January) have a short peak with intense activity. The Lyrids (April) provide moderate rates with minimal moon interference. Research each shower’s radiant point and altitude—higher radiants yield better visibility. Pair showers with celestial events, like the Orionids coinciding with Jupiter’s visibility, for unique compositions.