Milky Way Exposure Triangle Simplified
```html
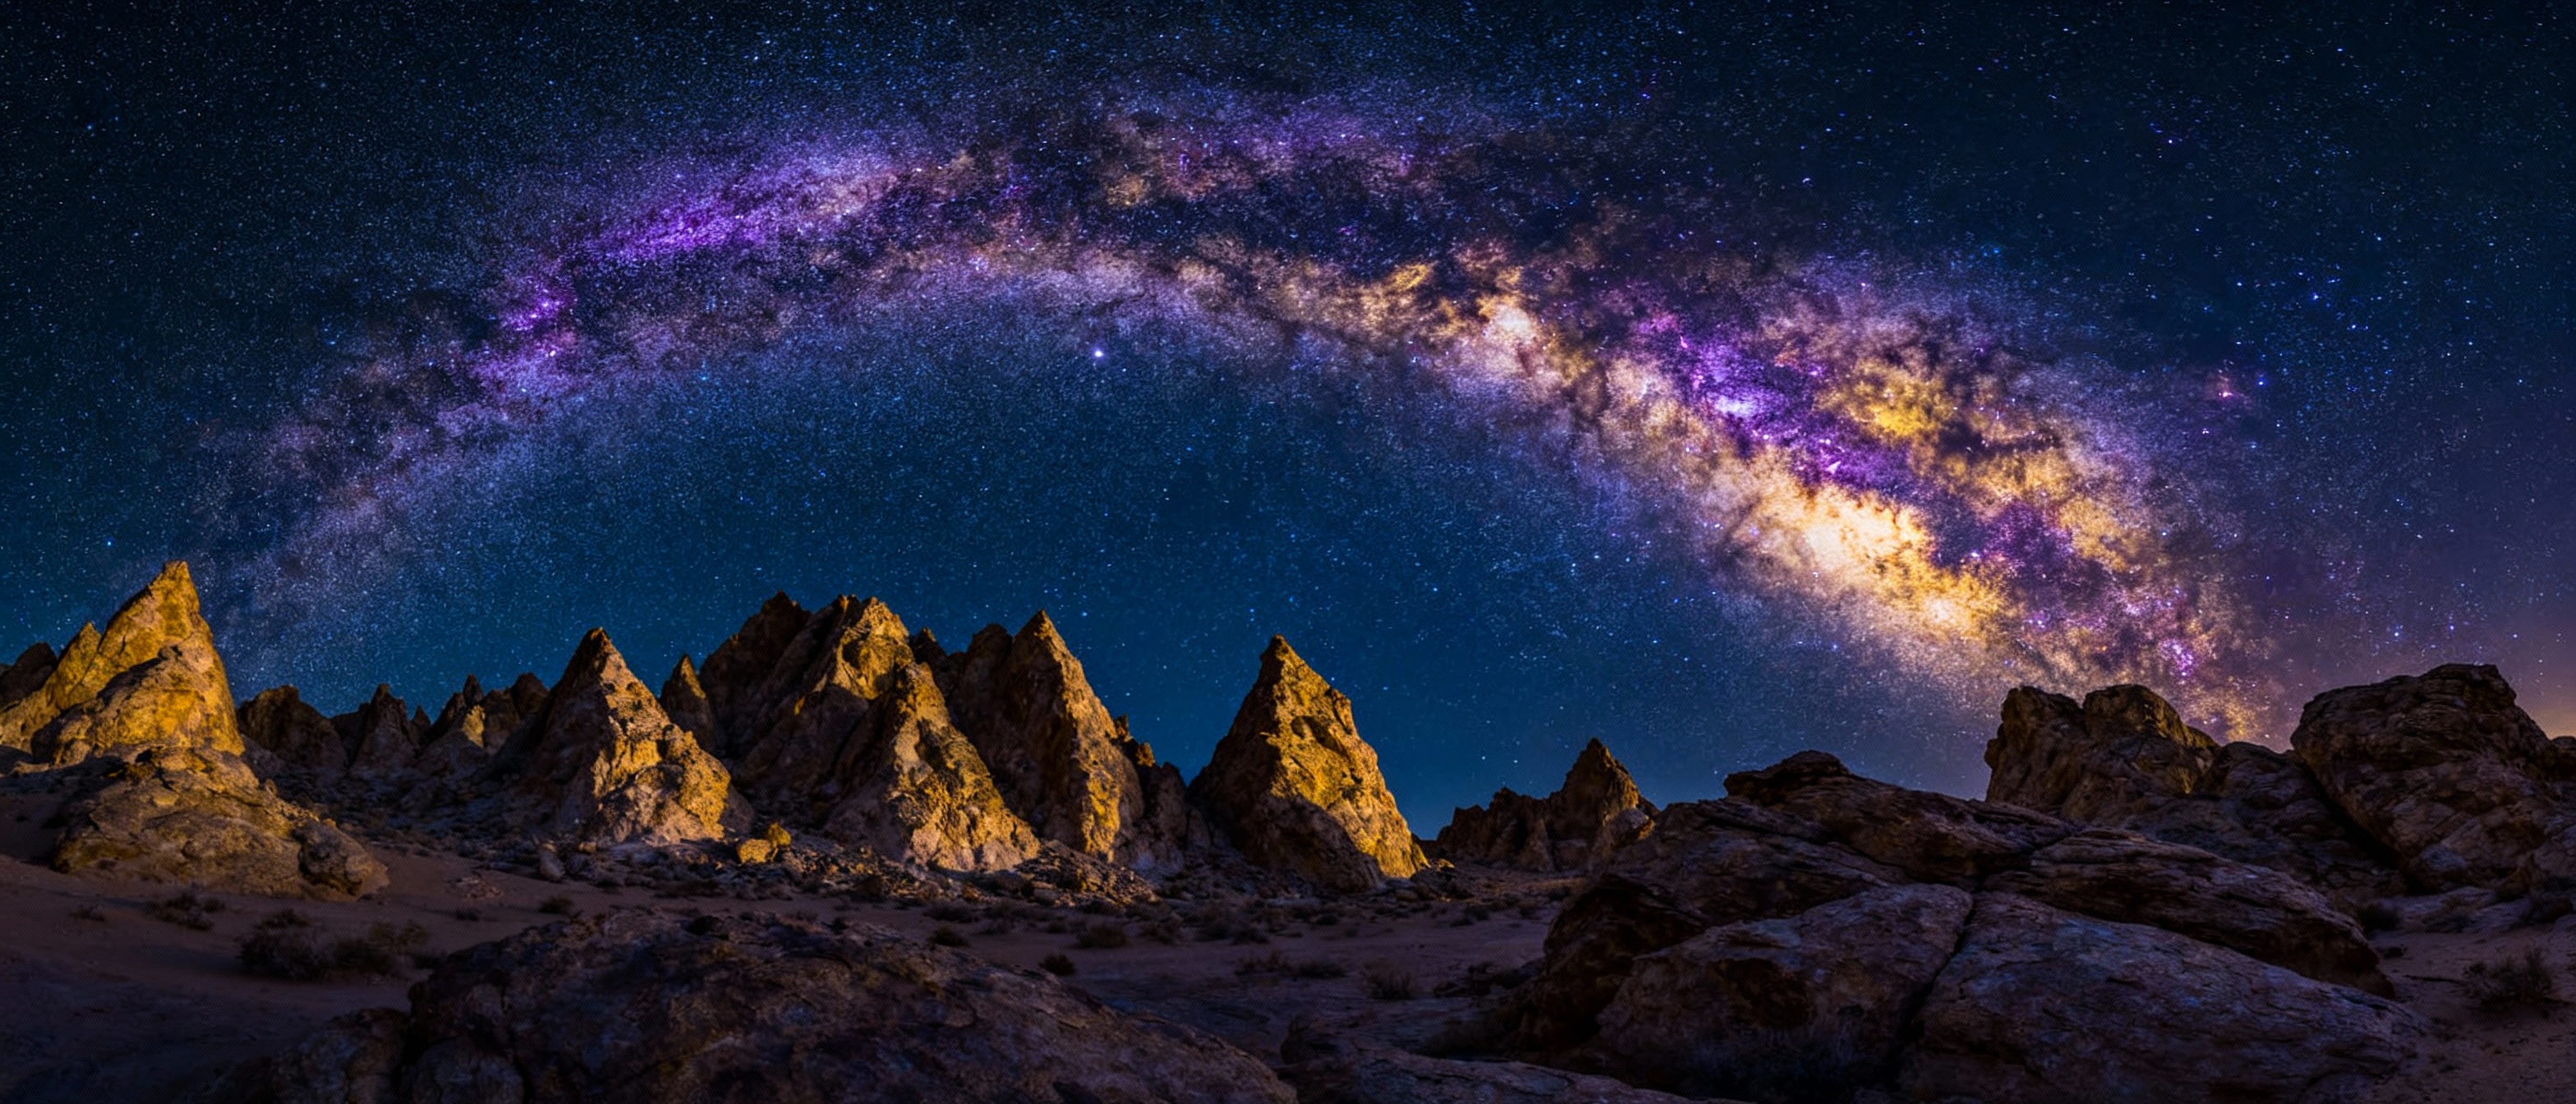
Introduction to Milky Way Photography
Capturing the Milky Way is a dream for many photographers, blending artistry with technical precision. Unlike daytime landscapes, astrophotography demands a deep understanding of light, timing, and camera settings. The Milky Way’s ethereal glow, however, isn’t just about pointing your camera skyward—it’s about mastering the exposure triangle: aperture, shutter speed, and ISO. This guide simplifies these elements to help you create stunning galactic images.
Aperture: Maximizing Light in the Dark
Aperture controls how much light reaches your camera sensor. For Milky Way photography, a wide aperture (e.g., f/2.8 or lower) is essential to capture faint starlight. However, lens sharpness can degrade at widest settings. Test your lens at different apertures—many perform best slightly stopped down (e.g., f/1.8 to f/2.2). Balance light intake with edge-to-edge clarity to avoid soft stars.
Shutter Speed: Freezing Motion Without Star Trails
Long exposures collect more light but risk blurring stars due to Earth’s rotation. Use the 500 Rule: divide 500 by your lens’s focal length to determine the maximum shutter speed (e.g., 25 seconds for 20mm). Modern high-resolution sensors may require stricter limits (e.g., the 300 Rule). Experiment with intervals between 10–30 seconds, adjusting based on your camera’s noise performance and desired star sharpness.
ISO: Balancing Brightness and Noise
ISO amplifies sensor sensitivity, brightening your image but introducing noise. Modern cameras handle ISO better than ever—start at 3200–6400 for Milky Way shots. Test your camera’s limits: some perform well at 12,800, while others show excessive grain above 6400. Use post-processing tools like noise reduction software to clean up high-ISO images without losing detail.
Essential Gear for Milky Way Photography
A sturdy tripod is non-negotiable. Combine it with a fast wide-angle lens (14–24mm f/2.8), a remote shutter release, and a headlamp with a red-light mode to preserve night vision. Consider star trackers for ultra-long exposures, but remember they add complexity. Portable power banks ensure your gear stays charged during all-night shoots.
Planning Your Shoot: Location and Timing
Moonless nights and low light pollution are critical. Use apps like PhotoPills or Stellarium to track the Milky Way’s position. Aim for astronomical twilight when the sun is 18° below the horizon. Check weather forecasts for clear skies, and scout locations during daylight to avoid hazards. Dark sky reserves offer ideal conditions, but rural areas work with careful planning.
Post-Processing Techniques for Stellar Results
Shoot in RAW to retain data for editing. Use Lightroom or Capture One to adjust white balance (around 3800–4600K for natural night skies), boost shadows, and reduce highlights. Stack multiple exposures with software like Sequator to reduce noise. Enhance Milky Way details with careful sharpening, but avoid over-saturating colors—subtlety keeps the scene believable.
Common Mistakes and How to Avoid Them
Overexposing the sky washes out stars—use histograms to check clipping. Focusing in the dark? Use manual focus with live view zoomed on a bright star. Avoid checking images repeatedly; let your eyes adjust to darkness. Lastly, patience is key: weather and trial-and-error are part of the journey.