Seasonal Milky Way Positioning Guide
```html
Understanding the Milky Way’s Seasonal Dance
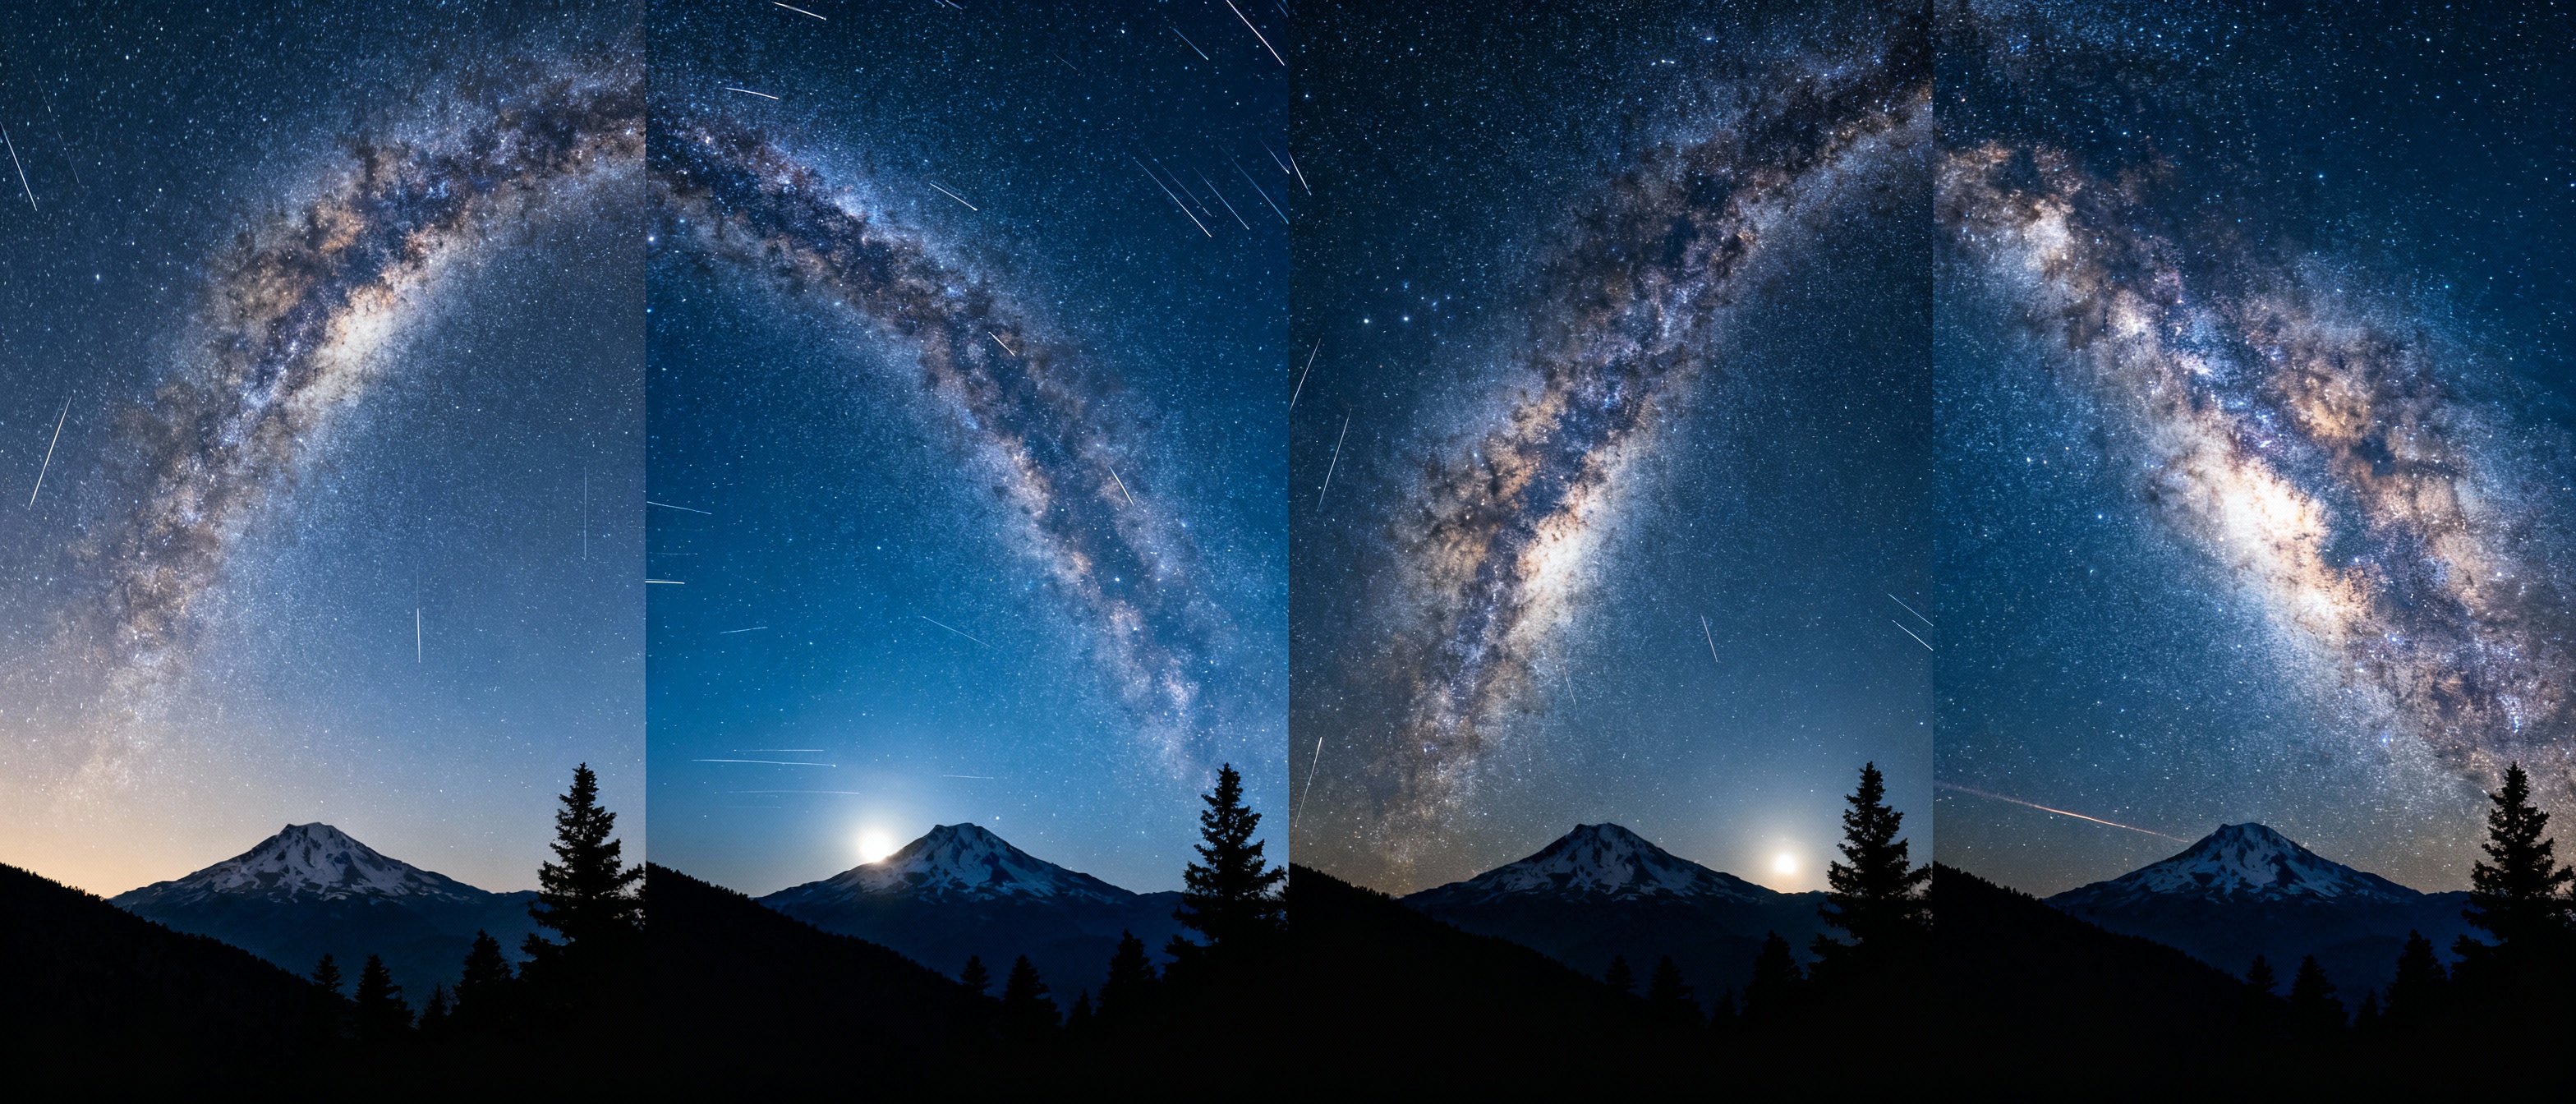
The Milky Way is not a static tapestry; its position shifts nightly, offering unique viewing opportunities each season. Earth’s orbit around the Sun causes this celestial ballet, revealing different regions of our galaxy depending on the time of year. To capture its grandeur, you must align your timing and location with the seasons. Spring evenings tease the galactic core’s rise, while summer nights showcase its full splendor. Autumn invites photographers to chase the core as it dips westward, and winter provides a chance to focus on lesser-known regions like the Orion Spur. Understanding these patterns transforms random stargazing into intentional exploration.
Spring: The Emerging Galactic Center
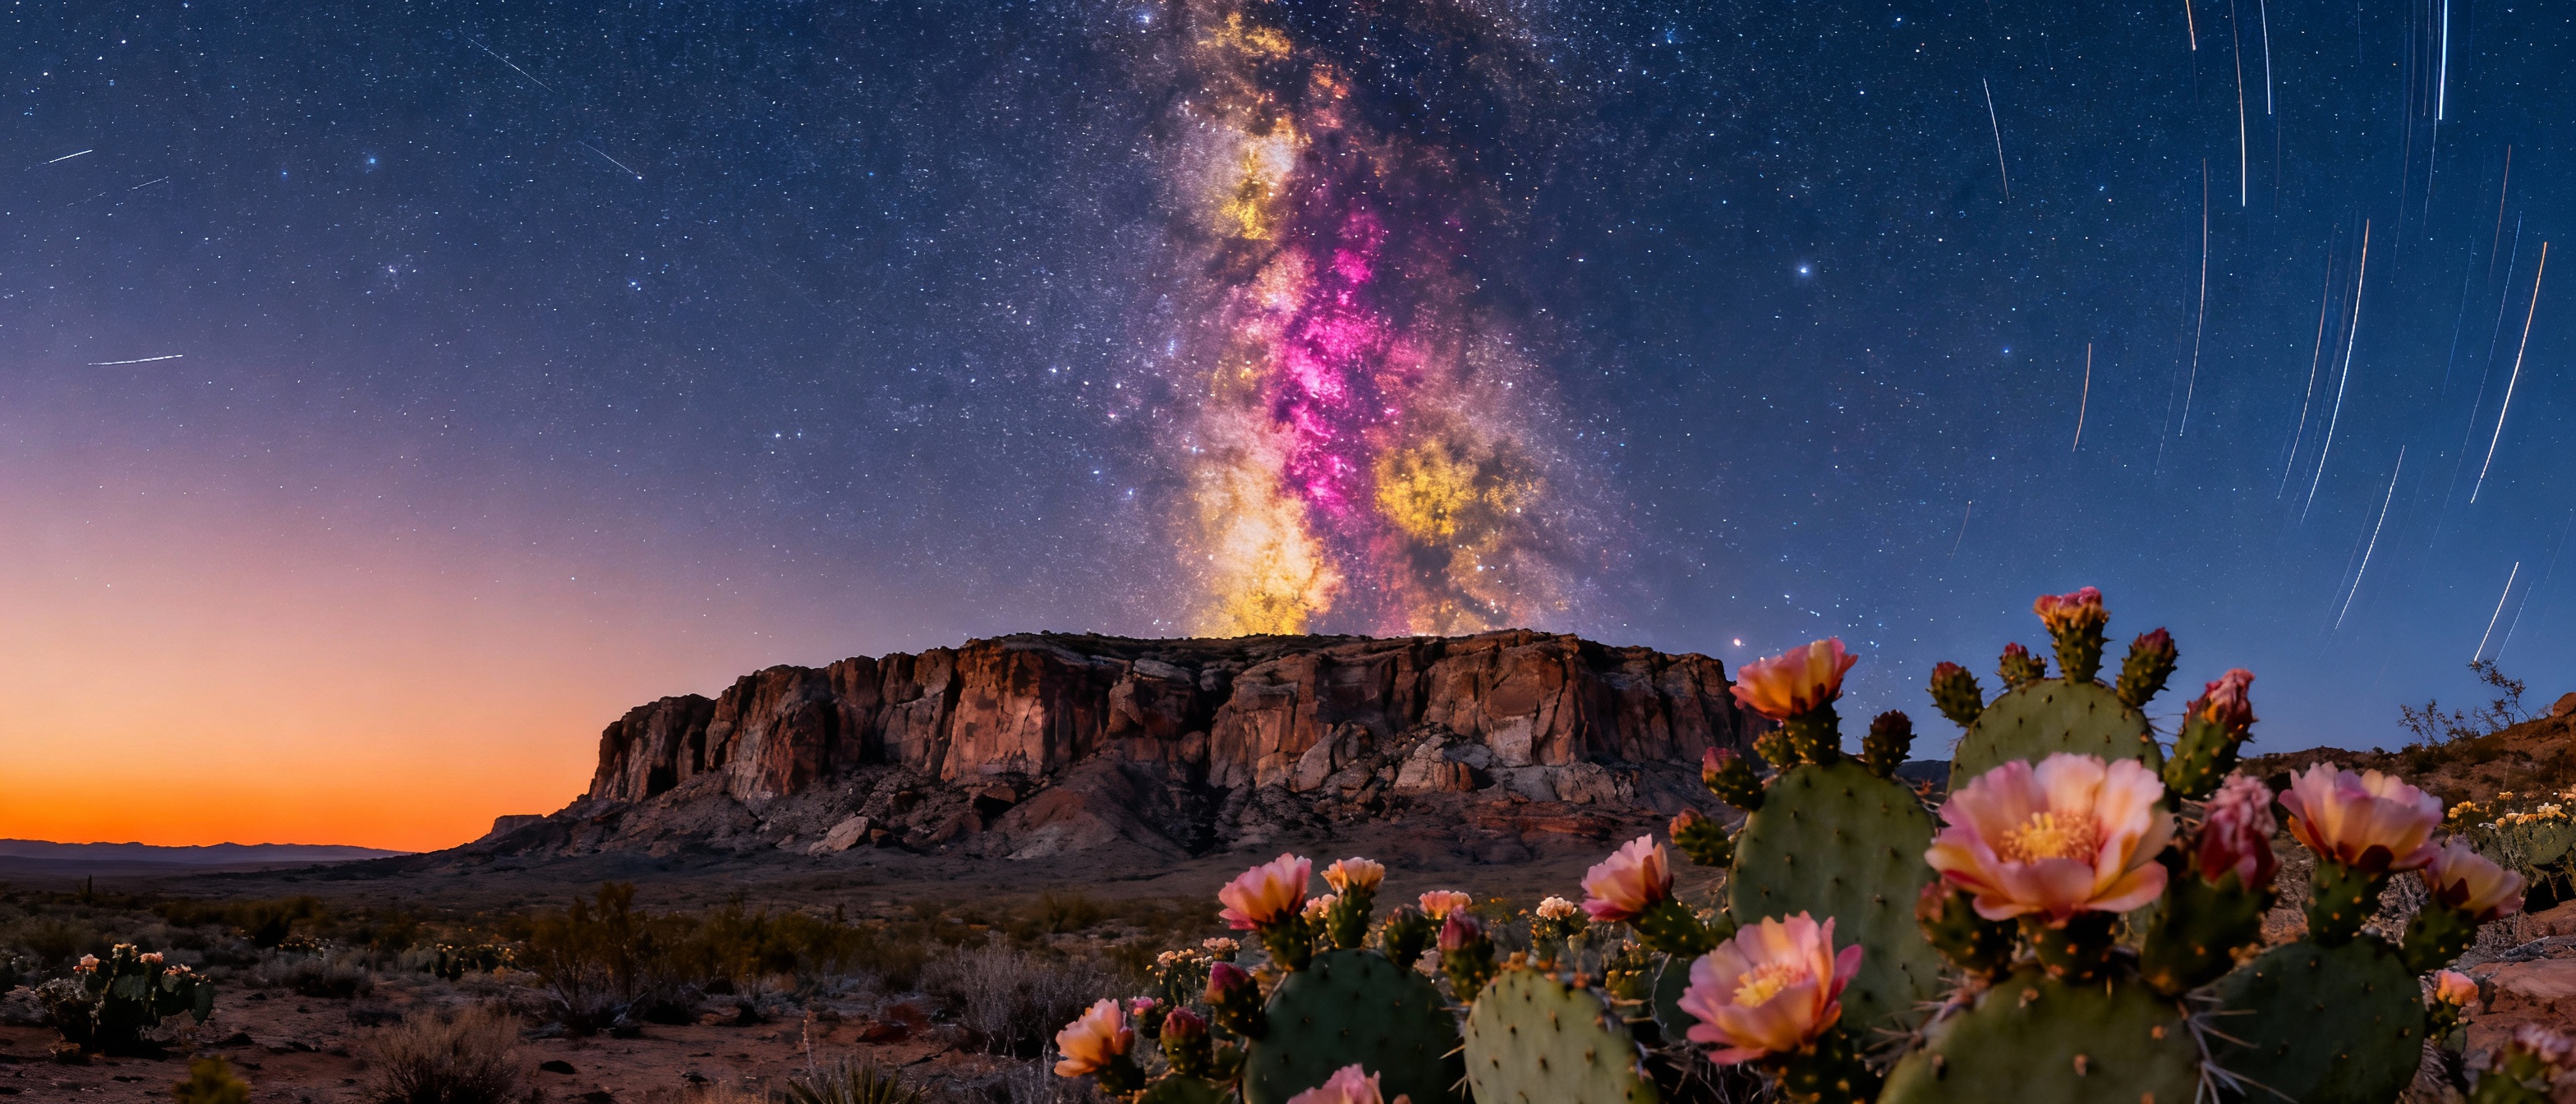
In spring, the Milky Way’s core begins its ascent in the pre-dawn hours. By late March, early risers can spot the dense star clouds of Sagittarius creeping above the southeastern horizon. Use this season to scout locations with unobstructed eastern views—coastlines or open plains work well. The core remains low, so incorporate foreground elements like rock formations or wildflowers to add depth. Long-exposure shots (20-25 seconds at f/2.8, ISO 3200) will reveal the core’s pinkish hues battling against twilight’s glow. Apps like PhotoPills can help predict the galactic center’s rise time based on your coordinates.
Summer: Prime Visibility and Dramatic Arcs
Summer is Milky Way season. By July, the core dominates southern skies, arcing from Scorpius to Cygnus. Locations at higher latitudes (e.g., Wyoming or the Canadian Rockies) benefit from darker skies due to shorter nautical twilight. Aim for moonless nights between 11 PM and 3 AM. Use a star tracker to capture intricate details like the Lagoon Nebula or Rho Ophiuchi complex. Wide-angle lenses (14-24mm) paired with tracked exposures (2-4 minutes) reveal filamentary dust structures. Don’t overlook light painting—illuminating a lone tree or cabin can create a striking contrast against the galaxy’s glow.
Autumn: Transition and Unique Perspectives
As autumn arrives, the core sets earlier, but its tilted position offers fresh creative angles. By October, the Milky Way stretches diagonally from southwest to northeast after sunset. Target locations with elevated western vistas, like canyon rims or lighthouses. Experiment with vertical panoramas to emphasize the galaxy’s slope. The cooler air reduces atmospheric distortion, sharpening stars. Focus on dark sky reserves (e.g., Death Valley or Big Bend) to avoid light pollution encroaching from holiday destinations. Blend multiple exposures to balance foreground details with the fading core’s brightness.
Winter: Challenges and Hidden Opportunities
Winter’s Milky Way lacks the core’s brilliance, but the Orion Arm offers its own rewards. Look for Barnard’s Loop—a faint emission nebula encircling Orion’s Belt—using a hydrogen-alpha filter. The December sky also highlights Sirius and the Hyades cluster. Embrace colder nights by shooting from geothermal areas (e.g., Iceland or Yellowstone), where steam adds atmosphere. Use intervalometers for time-lapses showcasing the galaxy’s gradual westward march. Since the core is absent, foregrounds become critical: ice formations or snow-dusted evergreens anchor compositions. Lower ISO settings (1600-2000) reduce noise in longer exposures (30 seconds).
Essential Gear and Techniques for Seasonal Shots
Success requires more than a camera. A sturdy tripod with a ball head handles uneven terrain. Fast lenses (f/1.4 to f/2.8) maximize light capture—consider the Sigma 14mm f/1.8 for ultrawide vistas. A headlamp with a red-light mode preserves night vision. For dynamic shots, motorized sliders (e.g., Syrp Genie) add motion to time-lapses. In humid seasons, anti-fog strips prevent lens condensation. Smartphone apps like Stellarium provide real-time star maps, while desktop tools (e.g., Planit Pro) simulate Milky Way positions years in advance. Always carry spare batteries—cold drains them rapidly.
Post-Processing Tips to Enhance Seasonal Features
Raw files retain critical data for teasing out details. Start with lens correction profiles to fix vignetting. In Lightroom, reduce highlights (-30) and boost shadows (+40) to balance the core’s brightness against dark dust lanes. Use gradient masks to address light pollution. For noise reduction, Topaz Denoise AI outperforms built-in tools. Sequator stacks multiple exposures to improve signal-to-noise ratio—ideal for winter’s faint nebulae. Blend tracked and untracked shots using luminosity masks in Photoshop to keep foregrounds sharp. Enhance seasonal colors: accentuate summer’s golds with split toning and autumn’s blues with temperature sliders.
Planning Your Milky Way Expedition: Timing and Locations
Sync your trips with astronomical events. New moons near the summer solstice (June/July) offer the darkest skies. Use the Photographer’s Ephemeris to align the Milky Way with landmarks—Bryce Canyon’s hoodoos or Utah’s Mesa Arch are iconic. For spring shoots, head south (e.g., Chile’s Atacama Desert) where the core rises higher. Autumn explorers should target equatorial regions like Hawaii for symmetrical galactic arcs. Check weather patterns: the dry seasons in Namibia (May-October) or Australia’s Outback (April-September) minimize cloud cover. Finally, join local astronomy clubs—members often share lesser-known dark sites.