Star Reduction Without Specialized Tools
```html
Introduction to Star Reduction in Astrophotography
Astrophotography captures the cosmos’ beauty but often grapples with overwhelming star density. While specialized tools streamline star reduction, many enthusiasts lack access to expensive software or filters. This guide explores practical, accessible methods to minimize star dominance in your nightscapes. By leveraging basic equipment, free software, and creative techniques, you can achieve balanced compositions that highlight both celestial and terrestrial elements.
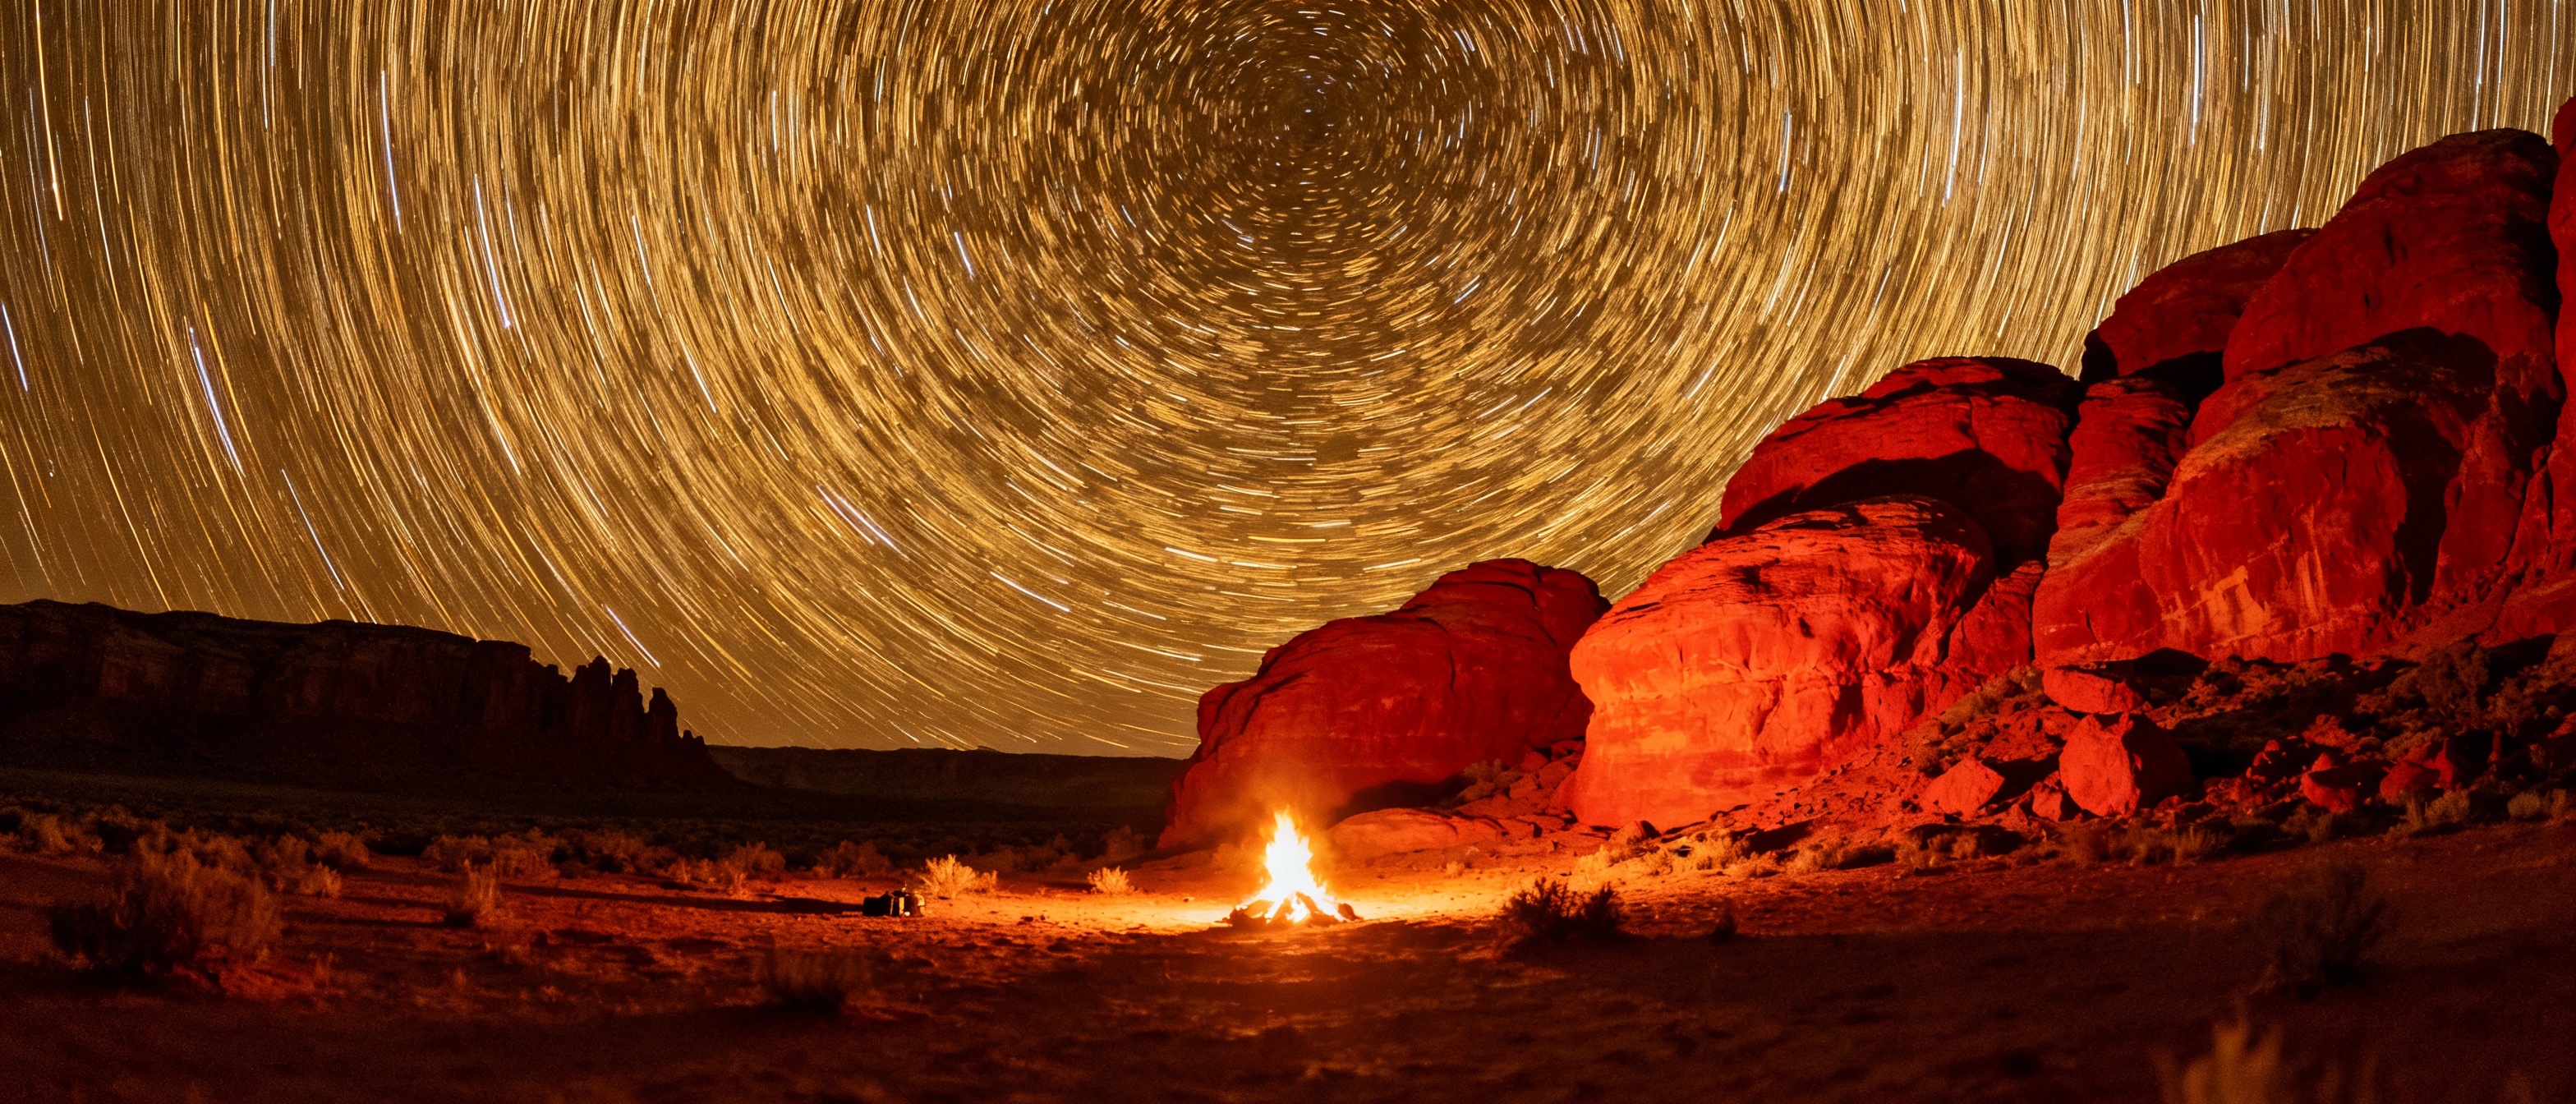
Understanding Star Trails and Light Pollution
Star trails, caused by Earth’s rotation during long exposures, can clutter images. Light pollution exacerbates this by washing out faint stars, creating a hazy glow. To mitigate these issues, shoot in dark-sky locations and avoid moonlit nights. Use shorter exposures (10–20 seconds) with high apertures (f/2.8–f/4) to limit star movement and maintain sharpness. Apps like PhotoPills can help plan shoots around celestial events and light pollution maps.
Basic Camera Settings for Minimizing Star Presence
Adjusting your camera’s settings is the first line of defense against overcrowded star fields. Lower ISO values (800–1600) reduce sensor noise and prevent faint stars from becoming prominent. Pair this with a fast shutter speed (15–25 seconds) to freeze star motion. Experiment with bracketing exposures: blend darker frames (fewer visible stars) with properly exposed foregrounds using layering techniques in post-processing.
Utilizing Free Software for Post-Processing
Free tools like GIMP or Darktable offer robust alternatives to paid software. Use GIMP’s ‘Levels’ and ‘Curves’ tools to selectively darken the sky without affecting the foreground. The ‘Dodge/Burn’ tool can dim overly bright stars. For a targeted approach, apply a layer mask to the sky and use a soft brush to reduce brightness. Darktable’s ‘Equalizer’ module allows frequency-based editing, smoothing star density while preserving landscape details.
Manual Techniques: Layering and Masking
Manual editing provides granular control. Duplicate your base layer and apply a high-pass filter to isolate stars. Invert the layer and set the blend mode to ‘Darken’ to suppress star brightness. Use a soft eraser brush to erase adjustments from non-sky areas. For complex scenes, stack multiple exposures: blend a short-exposure sky (fewer stars) with a longer-exposure foreground using gradient masks.
The Role of Exposure Time and ISO
Longer exposures amplify star visibility, so balance sky and foreground exposure. Use a histogram to avoid clipping highlights (stars) while preserving shadow detail. For Milky Way shots, the ‘500 Rule’ (500/focal length = max exposure seconds) minimizes trails. Pair this with moderate ISO settings to maintain dynamic range. Test shots are crucial—review each frame to fine-tune settings before committing to a series.
Harnessing Natural Filters: Weather and Timing
Atmospheric conditions act as natural filters. Shoot during astronomical twilight when residual sunlight subtly illuminates the landscape but hasn’t yet brightened the sky. Thin cloud cover diffuses starlight, while humidity can soften the Milky Way’s intensity. Avoid clear, dry nights if star reduction is your goal—opt for evenings with light mist or high-altitude haze.
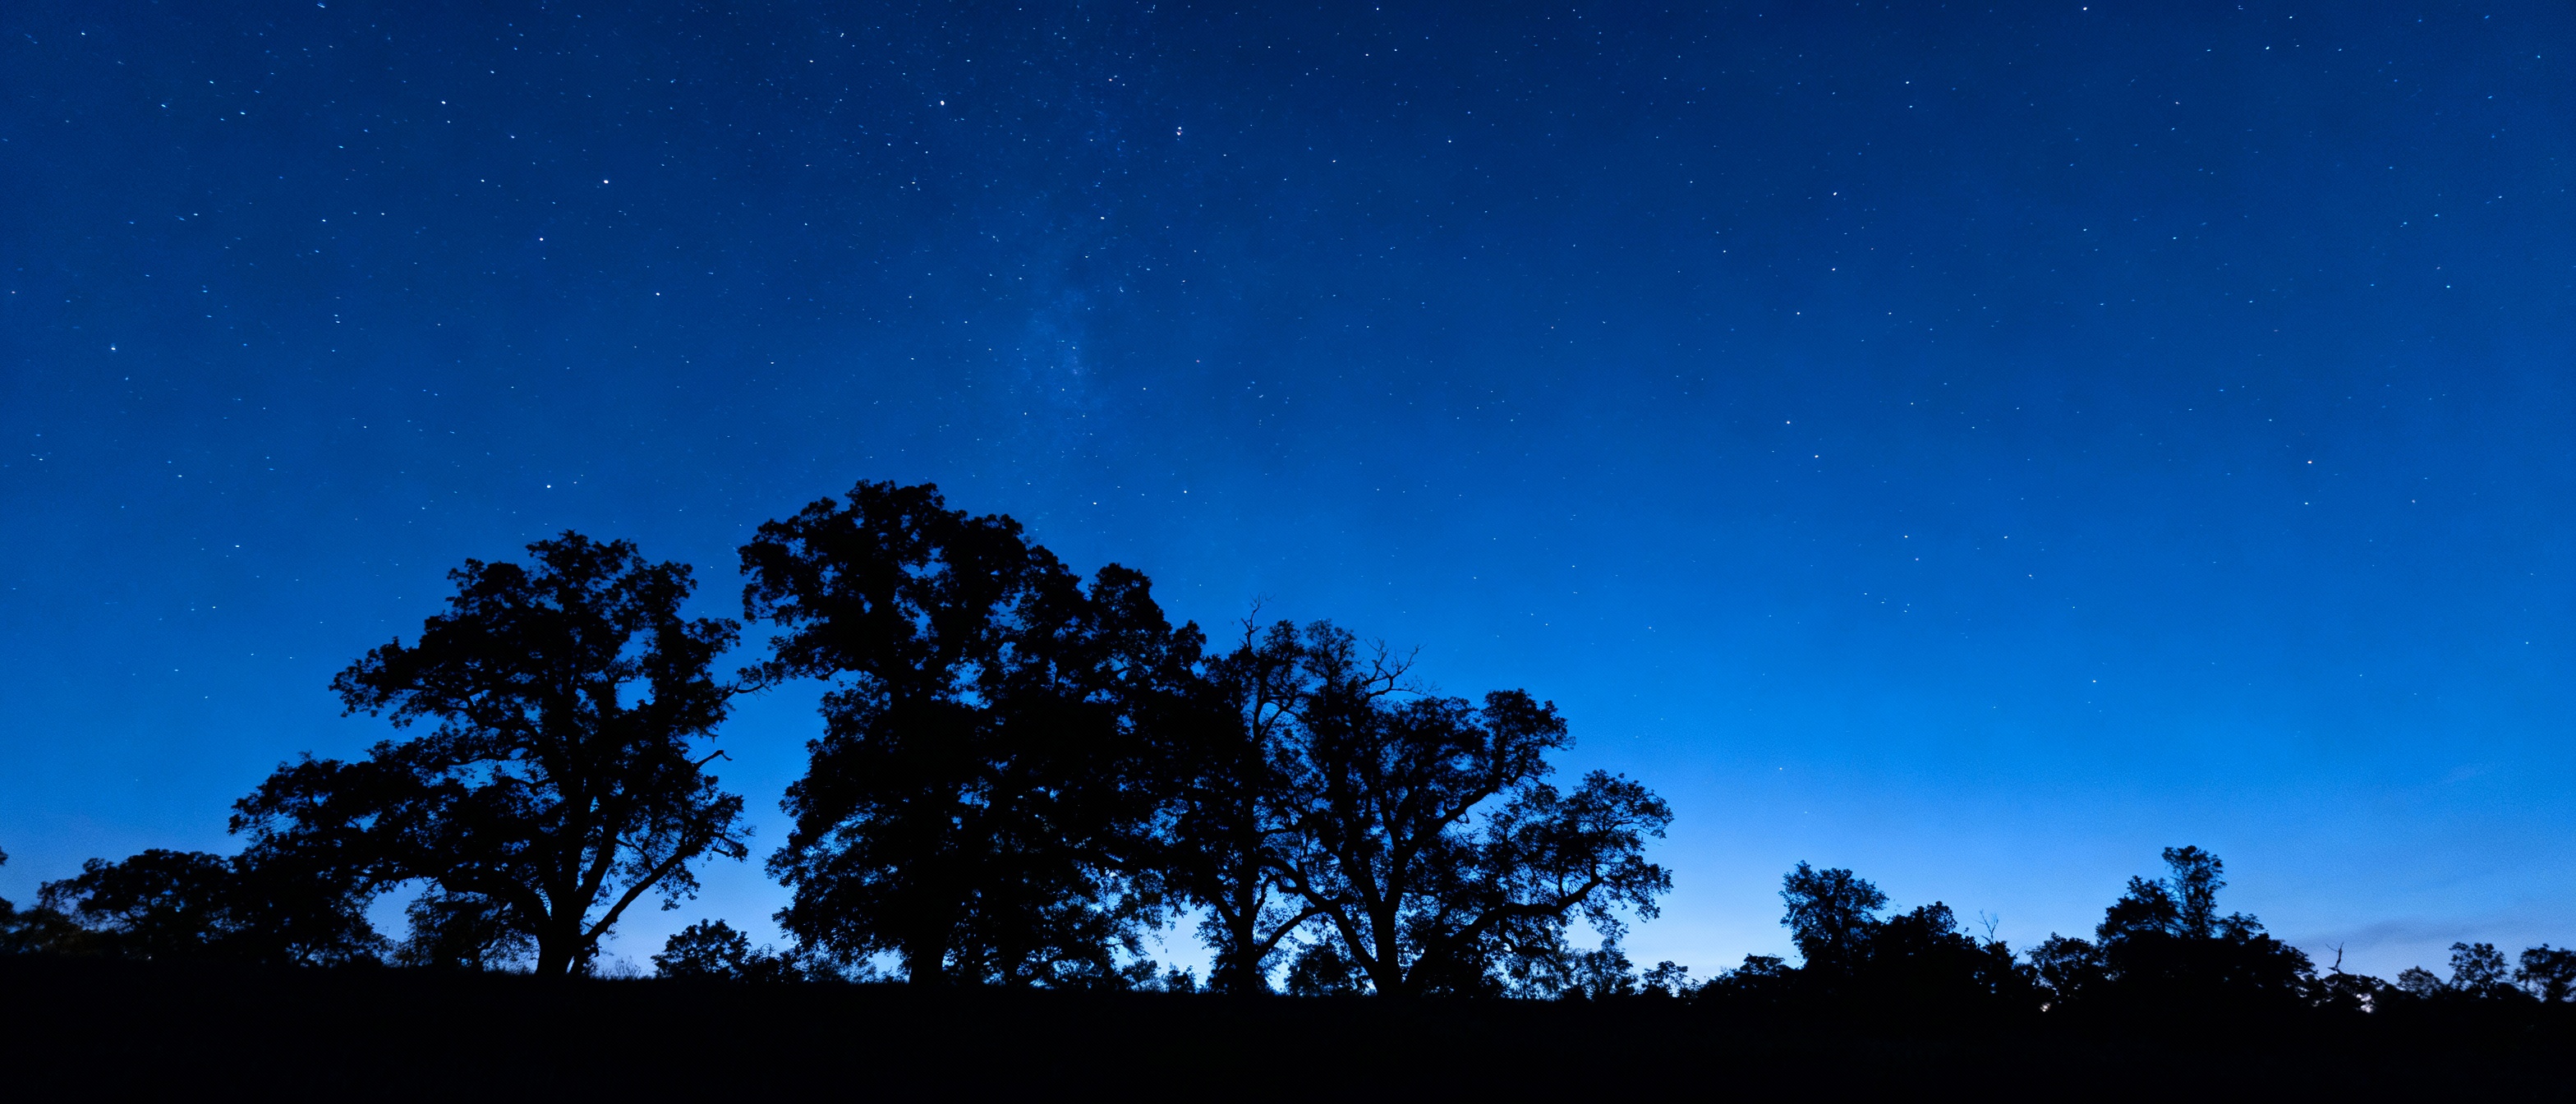
Creative Composition to Distract from Stars
Guide the viewer’s eye away from the sky by emphasizing compelling foregrounds. Use leading lines—a winding river, a fence, or rock formations—to create depth. Incorporate artificial light sources like lanterns or car trails to add warmth and balance the composition. Silhouettes of trees or mountains against the sky can break up star clusters without post-processing.
Troubleshooting Common Issues
Overprocessed skies often appear patchy or unnaturally dark. To fix this, apply adjustments at low opacity and use feathering on selection tools. If stars appear too harsh, add a subtle noise layer to blend them into the sky. For unwanted light pollution gradients, use graduated filters in post-processing to restore uniformity. Always keep a backup of the original file to revisit edits later.
Embracing Limitations as Artistic Opportunities
Constraints foster creativity. Instead of eliminating stars entirely, use them sparingly to frame your subject. A partially starry sky can evoke mystery, while strategic placement of bright stars adds rhythm to the composition. Pair this with textures like water reflections or wind-blown grass to create ethereal, narrative-driven images that transcend technical perfection.