Choosing Your First Star Tracker
```html
Understanding the Basics of Star Tracking
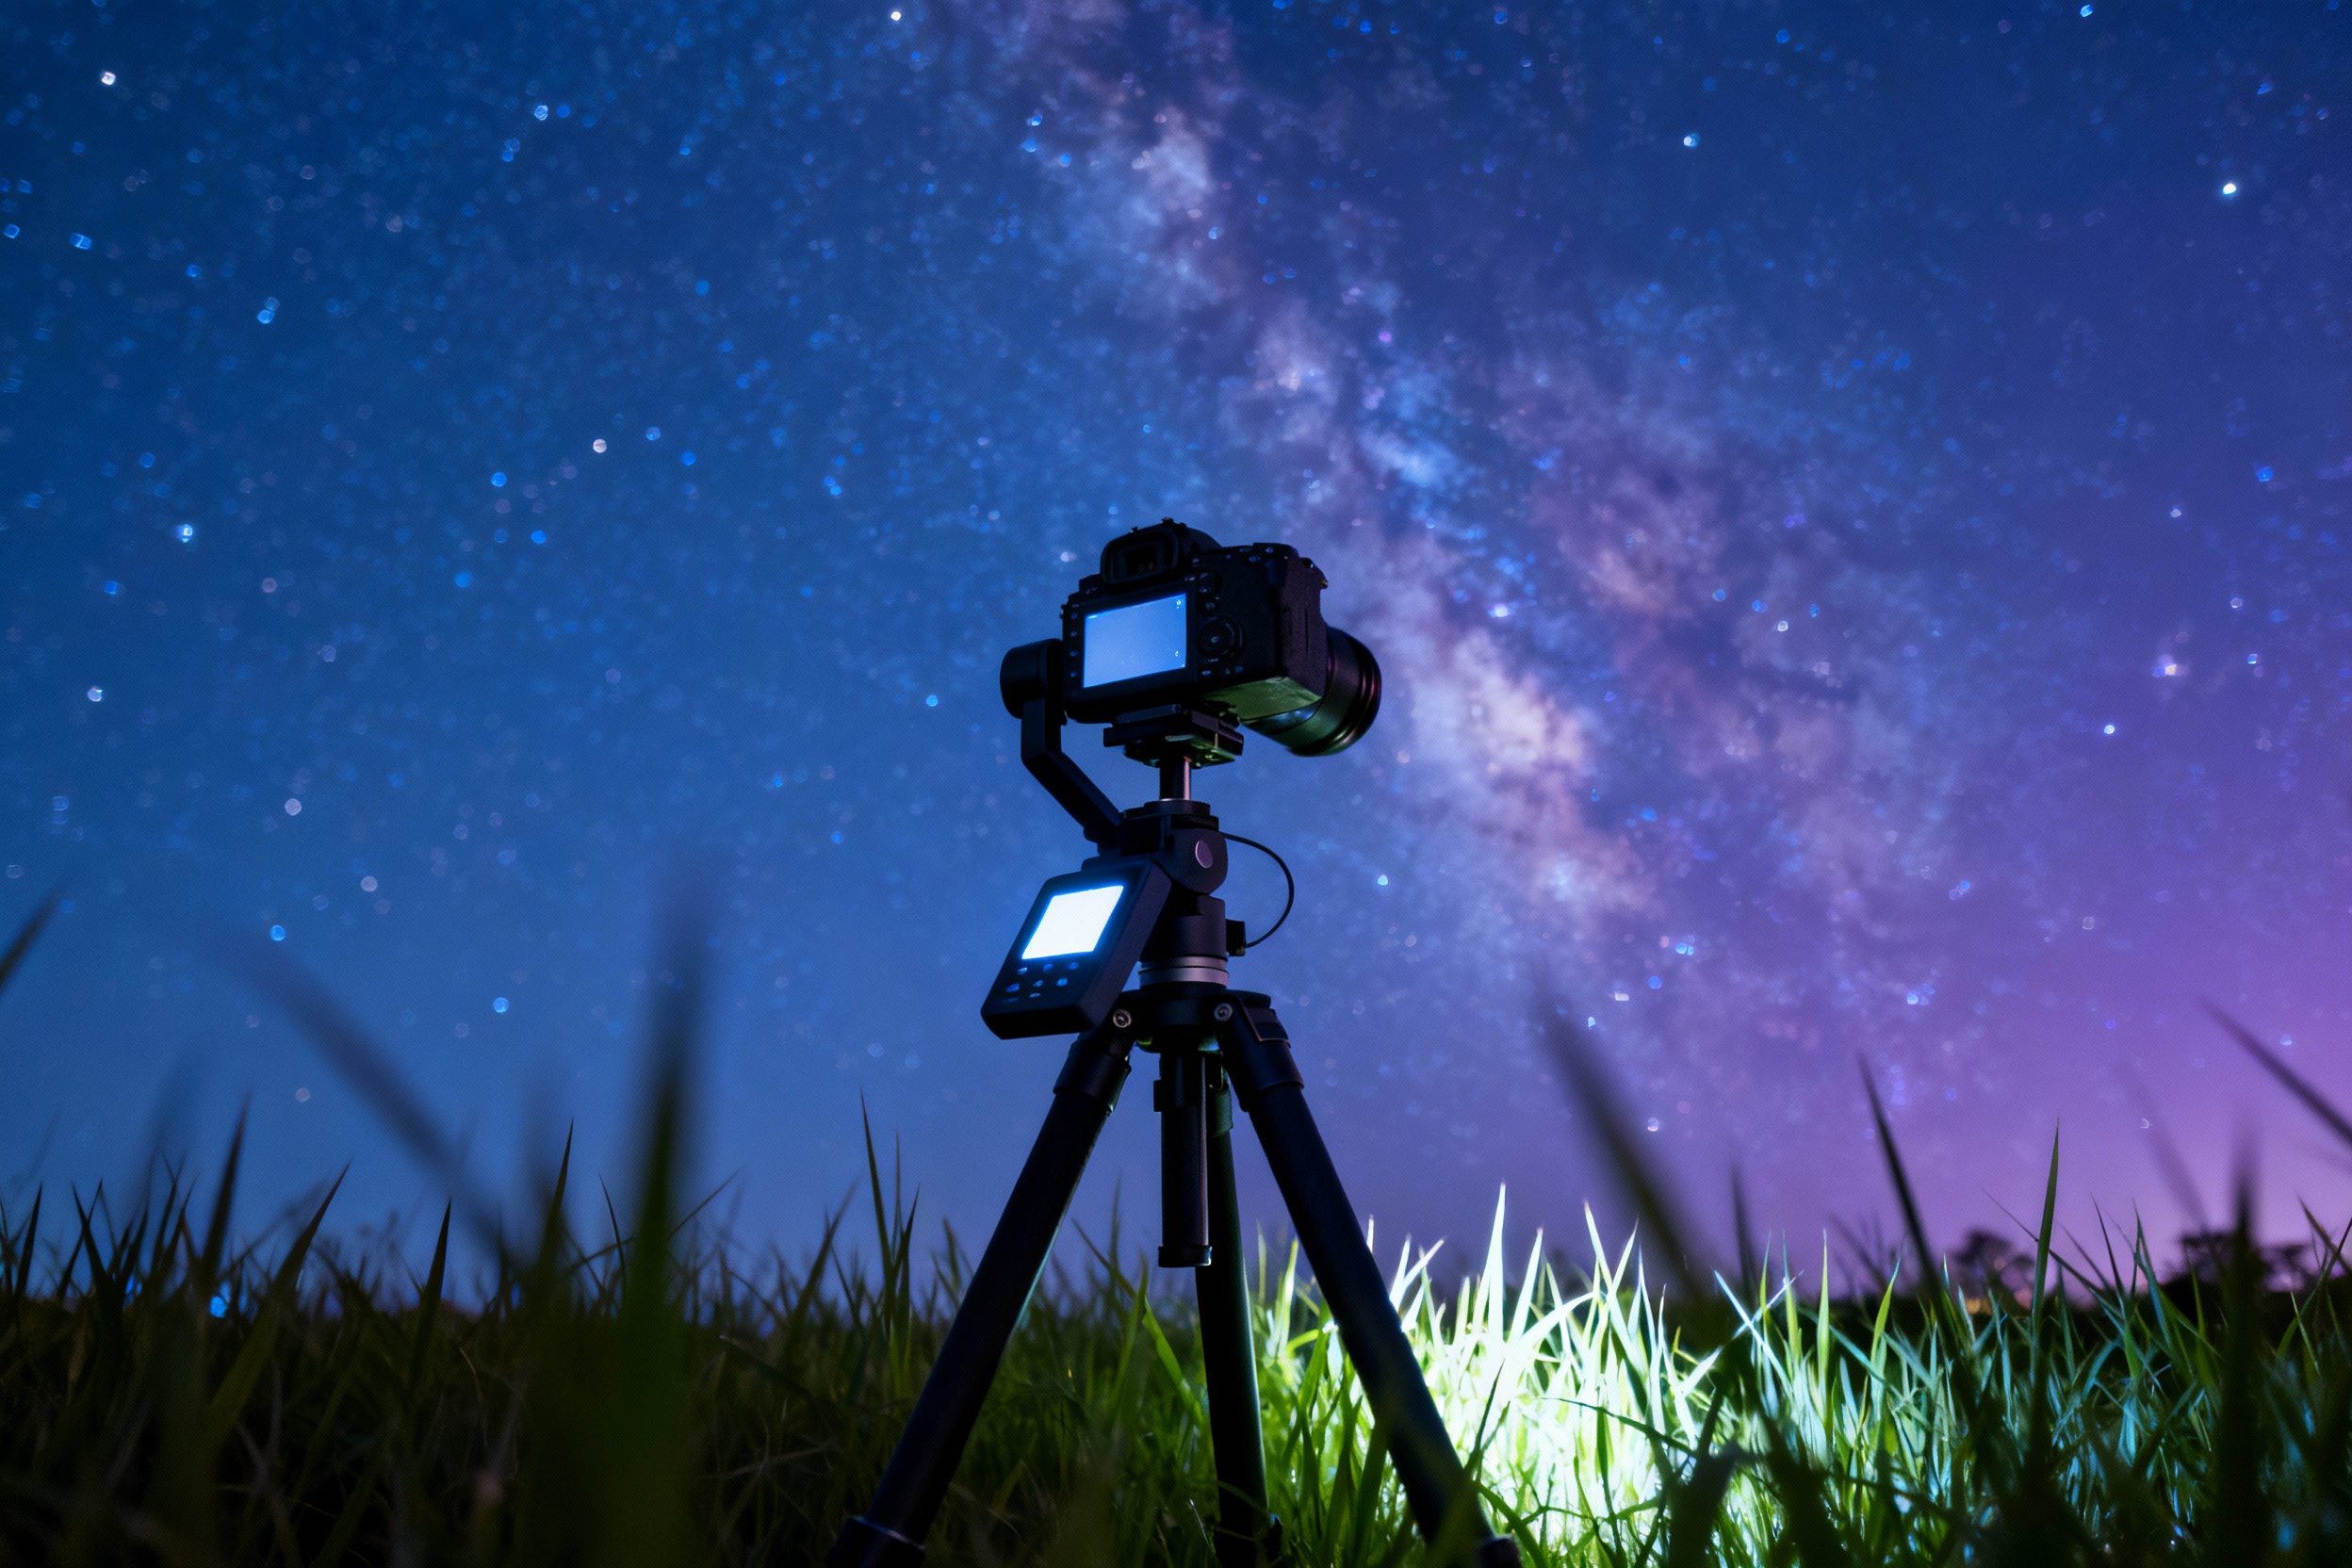
Star trackers are essential tools for astrophotographers aiming to capture sharp, detailed images of the night sky. Unlike traditional photography, astrophotography requires compensating for Earth's rotation to avoid star trails. A star tracker rotates your camera at the same speed as the Earth but in the opposite direction, enabling long exposures without blur. Beginners often confuse star trackers with telescope mounts, but while some overlap exists, trackers are typically lighter, portable, and designed specifically for camera use. Understanding terms like "payload capacity" (the weight a tracker can support) and "tracking accuracy" (how precisely it aligns with celestial movement) will help you evaluate models effectively.
Types of Star Trackers: Equatorial vs. Altitude-Azimuth
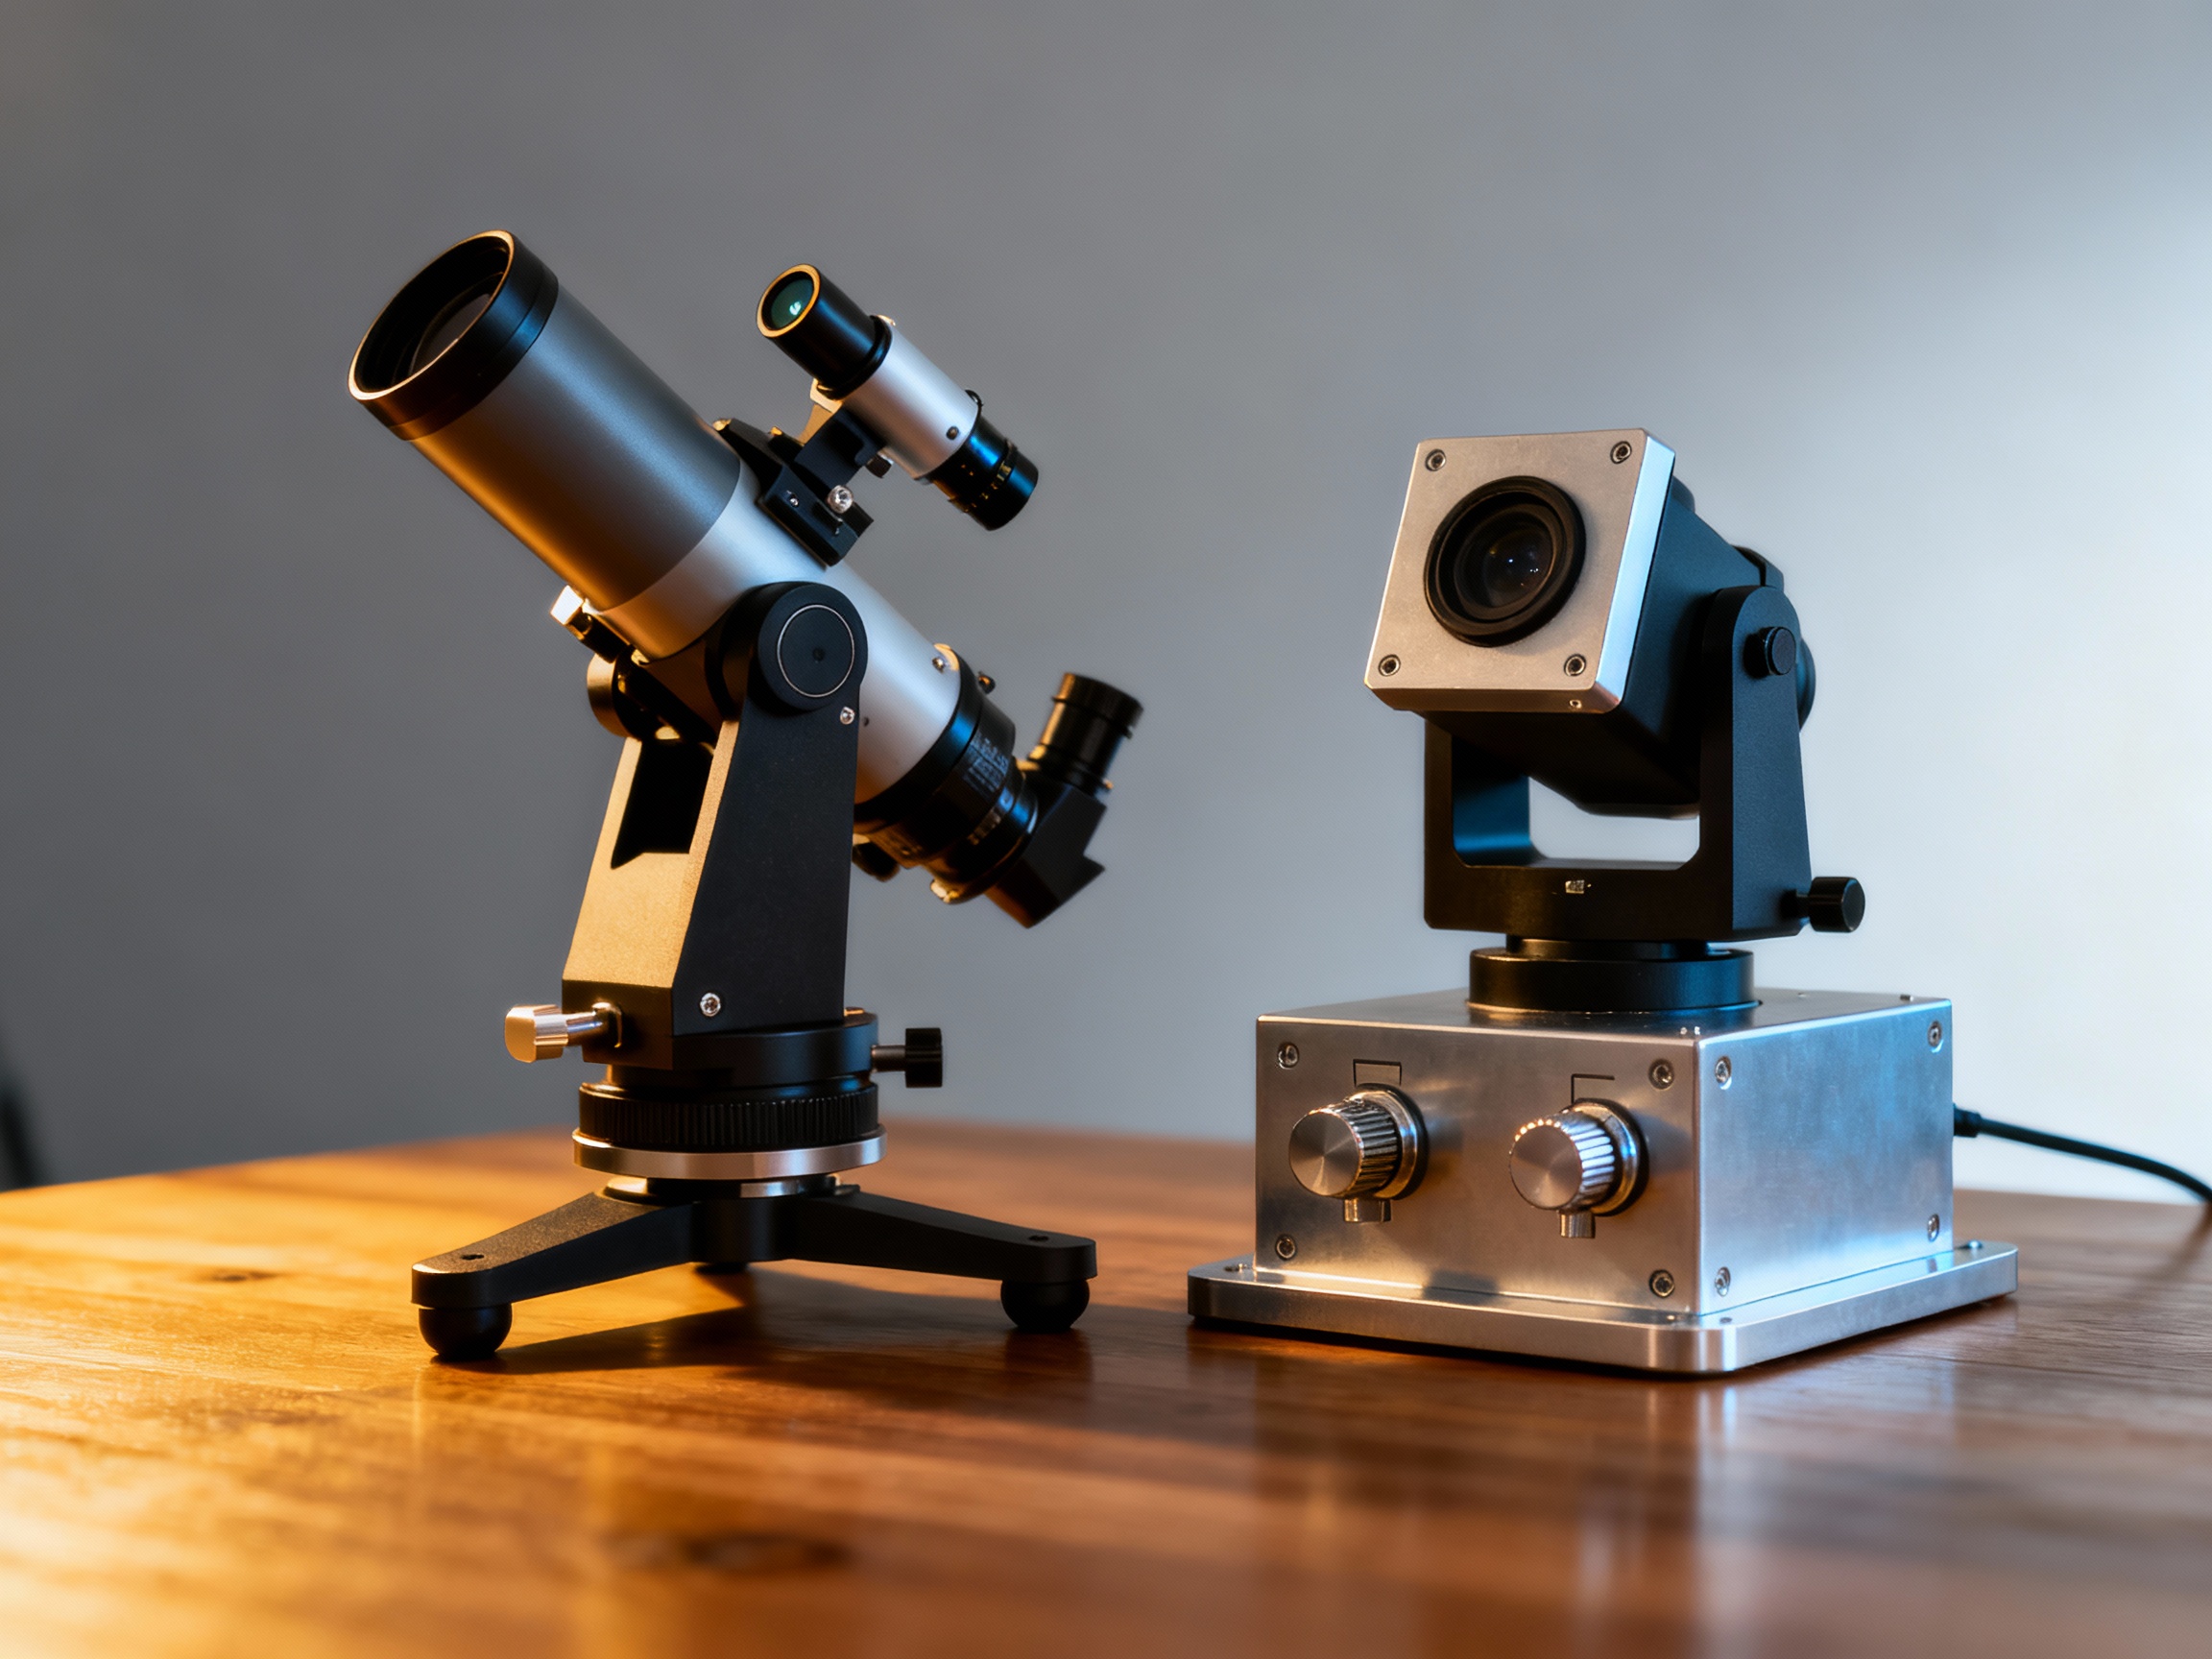
Two primary designs dominate the market: equatorial and altitude-azimuth (alt-az) trackers. Equatorial trackers align with Earth's axis using a polar scope, making them ideal for long-exposure deep-sky photography. Alt-az trackers, on the other hand, adjust vertically and horizontally, offering simplicity for wide-field Milky Way shots. While equatorial models excel in precision, they require careful polar alignment, which can be challenging for novices. Alt-az systems, like the Move Shoot Move, are more plug-and-play but may struggle with exposures beyond a few minutes. Consider your goals: if capturing nebulae or galaxies is your aim, equatorial tracking is worth the learning curve.
Key Features to Prioritize for Beginners
When selecting your first tracker, focus on ease of use, portability, and compatibility. Payload capacity should exceed your camera and lens weight by at least 20% to ensure stability. Look for trackers with built-in intervalometers or smartphone app integration for automated shooting. Battery life is critical—opting for models with rechargeable lithium-ion batteries avoids mid-session power failures. The Star Adventurer Mini, for instance, balances affordability with a 5-pound payload, making it ideal for mirrorless setups. Avoid overcomplicating your choice; features like Wi-Fi control might sound appealing but add unnecessary complexity for initial projects.
Budget Considerations and Hidden Costs
Entry-level trackers range from $300 to $800, but don’t overlook ancillary expenses. A sturdy tripod ($150+) is non-negotiable—flimsy supports ruin even the best trackers. Add-ons like precision polar scopes ($90) or counterweight kits ($50) may become necessary as your skills advance. Consider buying used; platforms like Cloudy Nights forums offer well-maintained gear at 30% discounts. However, avoid outdated models lacking modern perks like USB-C charging. Mid-range options like the iOptron SkyGuider Pro strike a balance, bundling essential accessories while leaving room in your budget for lenses and filters.
Essential Accessories for Successful Tracking
Beyond the tracker itself, invest in a ball head mount for flexible framing and a bubble level for quick setup. A remote shutter release ($20) minimizes camera shake, while a light pollution filter ($120) enhances urban shooting. For winter sessions, thermal covers prevent condensation on your lens. Don’t underestimate software: free tools like Stellarium help plan shoots by simulating star positions. A padded carrying case ($60) protects your investment during hikes to dark-sky locations. These extras transform a basic setup into a reliable imaging powerhouse.
Common Mistakes to Avoid as a New User
Newcomers often rush polar alignment, leading to skewed star trails. Spend time mastering alignment procedures using your tracker’s polar scope or smartphone app. Overloading the tracker is another pitfall—adding a telephoto lens beyond its capacity causes tracking errors. Test your setup indoors first; fumbling with knobs in the dark wastes precious shooting time. Finally, check weather conditions meticulously. High humidity or wind destabilizes shots, no matter how advanced your gear.
Inspiring First Targets for Your Star Tracker
Start with bright, large celestial objects to build confidence. The Orion Nebula (October-March) and Andromeda Galaxy (August-December) are forgiving targets with distinct structures. Wide-field Milky Way panoramas require minimal focal length, letting you practice composition without precise tracking. Use a 24mm lens at f/2.8 and ISO 1600 for 90-second exposures. As skills grow, challenge yourself with smaller objects like the Pleiades cluster. Remember, even flawed initial shots teach invaluable lessons about polar alignment and post-processing.