Dark Frame Capture Best Practices
```html
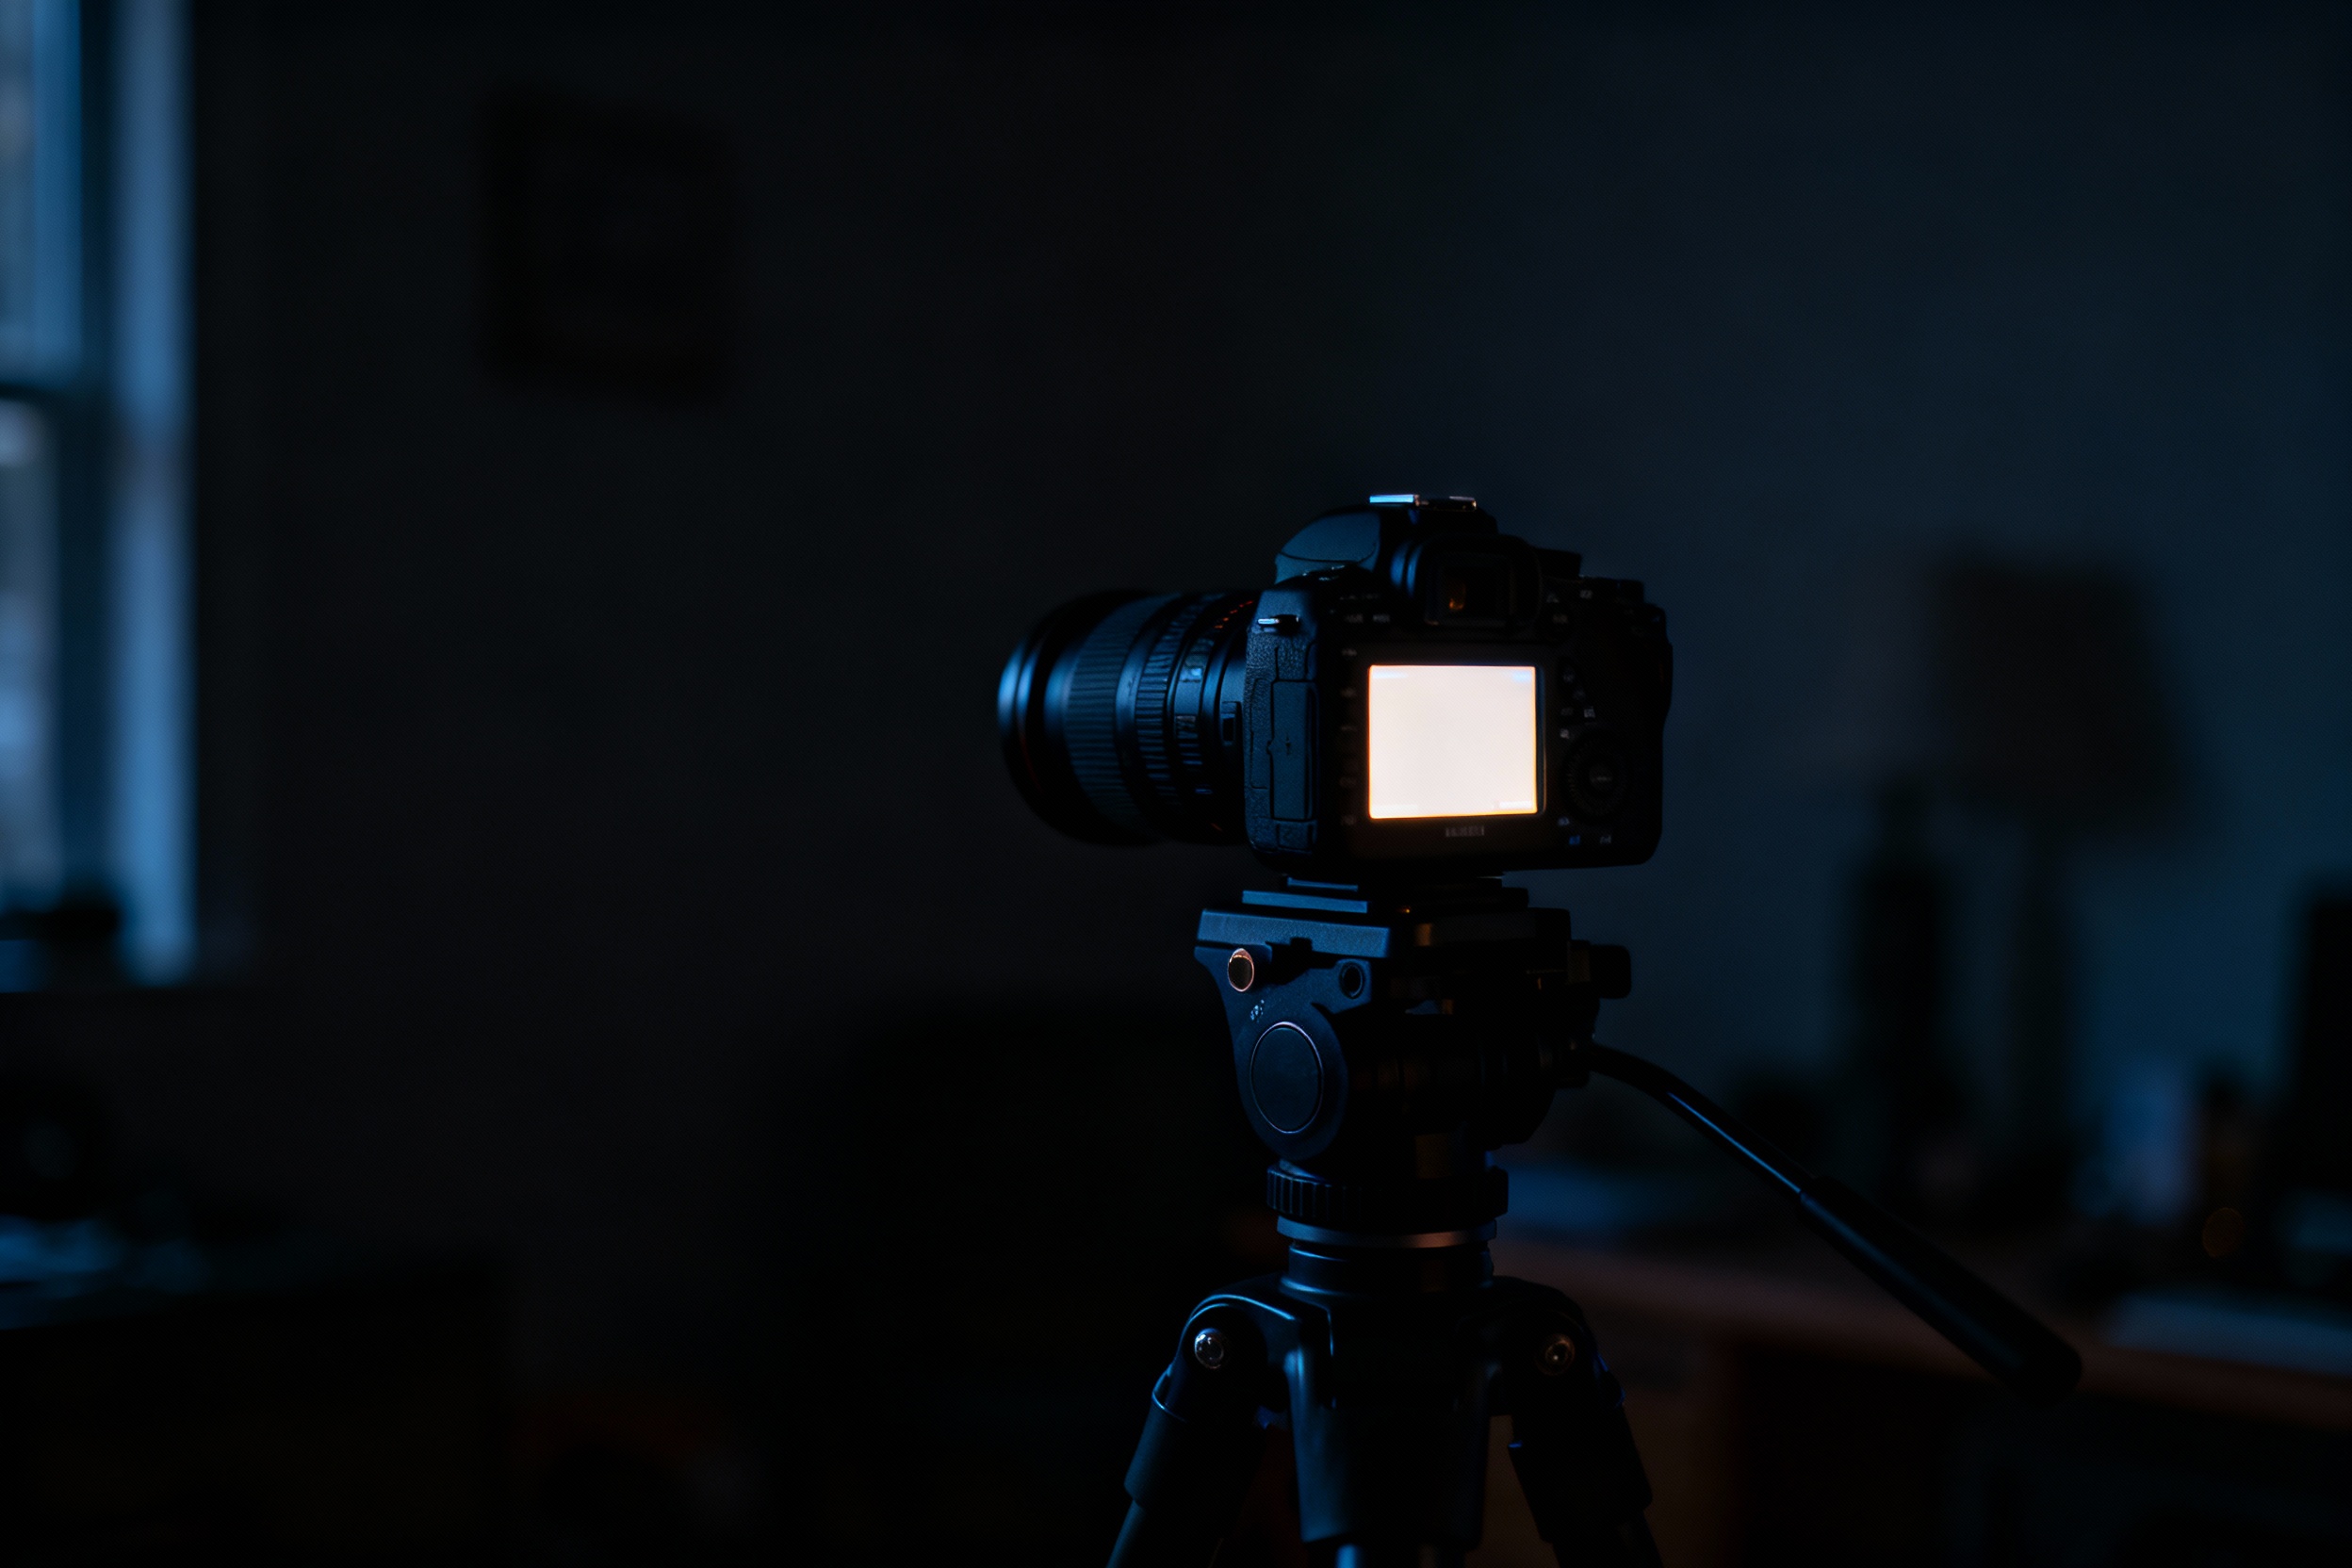
Understanding Dark Frame Capture: The Basics
Dark frame capture is a technique used in digital photography, particularly in long-exposure and astrophotography, to reduce sensor noise. When a camera's sensor operates for extended periods, it generates heat, which manifests as "thermal noise" or "hot pixels" in images. Dark frames are reference shots taken with the lens cap on, using the same exposure settings as the original image. By subtracting these dark frames from the actual photos, photographers can eliminate sensor-generated artifacts, resulting in cleaner, more professional images.
Why Dark Frames Matter for Noise Reduction
Noise reduction is critical for high-quality imagery, especially in low-light conditions. Dark frames isolate the sensor's inherent imperfections, such as fixed-pattern noise and amp glow, which are indistinguishable from genuine image data during standard processing. By capturing these anomalies separately, photographers can create a "noise profile" unique to their camera and settings. This profile enables advanced software to differentiate between unwanted noise and true image content, preserving detail while enhancing clarity. Without dark frames, post-processing tools may inadvertently erase faint stars or subtle textures in astrophotography or macro shots.
Optimal Conditions for Capturing Dark Frames
Consistency is key when shooting dark frames. Use the same exposure time, ISO, and ambient temperature as your original images. Temperature fluctuations—even slight ones—can alter the sensor’s noise pattern. For best results, capture dark frames immediately after your photo session or invest in a cooled astronomy camera for precise thermal control. Avoid light leaks by ensuring the lens cap is secure and working in a dark environment. Some photographers take multiple dark frames (e.g., 10–20) and average them to further minimize random noise.
Integrating Dark Frames into Your Workflow
Modern software like PixInsight, DeepSkyStacker, or Adobe Photoshop simplifies dark frame integration. After importing your light frames (original images) and dark frames, the software aligns and subtracts the noise. For time-lapse photography, automate the process using intervalometers to alternate between light and dark frames. Panoramas and focus-stacked images benefit from dedicated dark frames for each segment to account for shifting conditions. Always store your dark frames in a library organized by camera model, temperature, and exposure settings for quick access during future edits.
Common Mistakes and How to Avoid Them
One frequent error is reusing outdated dark frames. Sensors degrade over time, and firmware updates can alter noise patterns. Refresh your dark frame library every six months or after significant camera repairs. Another pitfall is neglecting ambient temperature—shooting dark frames in a warm room after a cold outdoor session invalidates their usefulness. Lastly, rushing the process by taking too few dark frames or mismatching exposure times leads to incomplete noise correction. Always double-check settings for alignment with your light frames.
Advanced Techniques: Combining Dark Frames with Other Calibration Frames
Dark frames work best when paired with flat and bias frames. Flat frames correct vignetting and dust spots by capturing an evenly lit surface, while bias frames address readout noise from the sensor’s baseline electrical activity. For a comprehensive calibration, stack these frames in sequence: subtract bias frames from both dark and flat frames, then apply the calibrated dark and flat frames to your light frames. This multi-step approach tackles multiple noise sources, from thermal interference to optical imperfections.
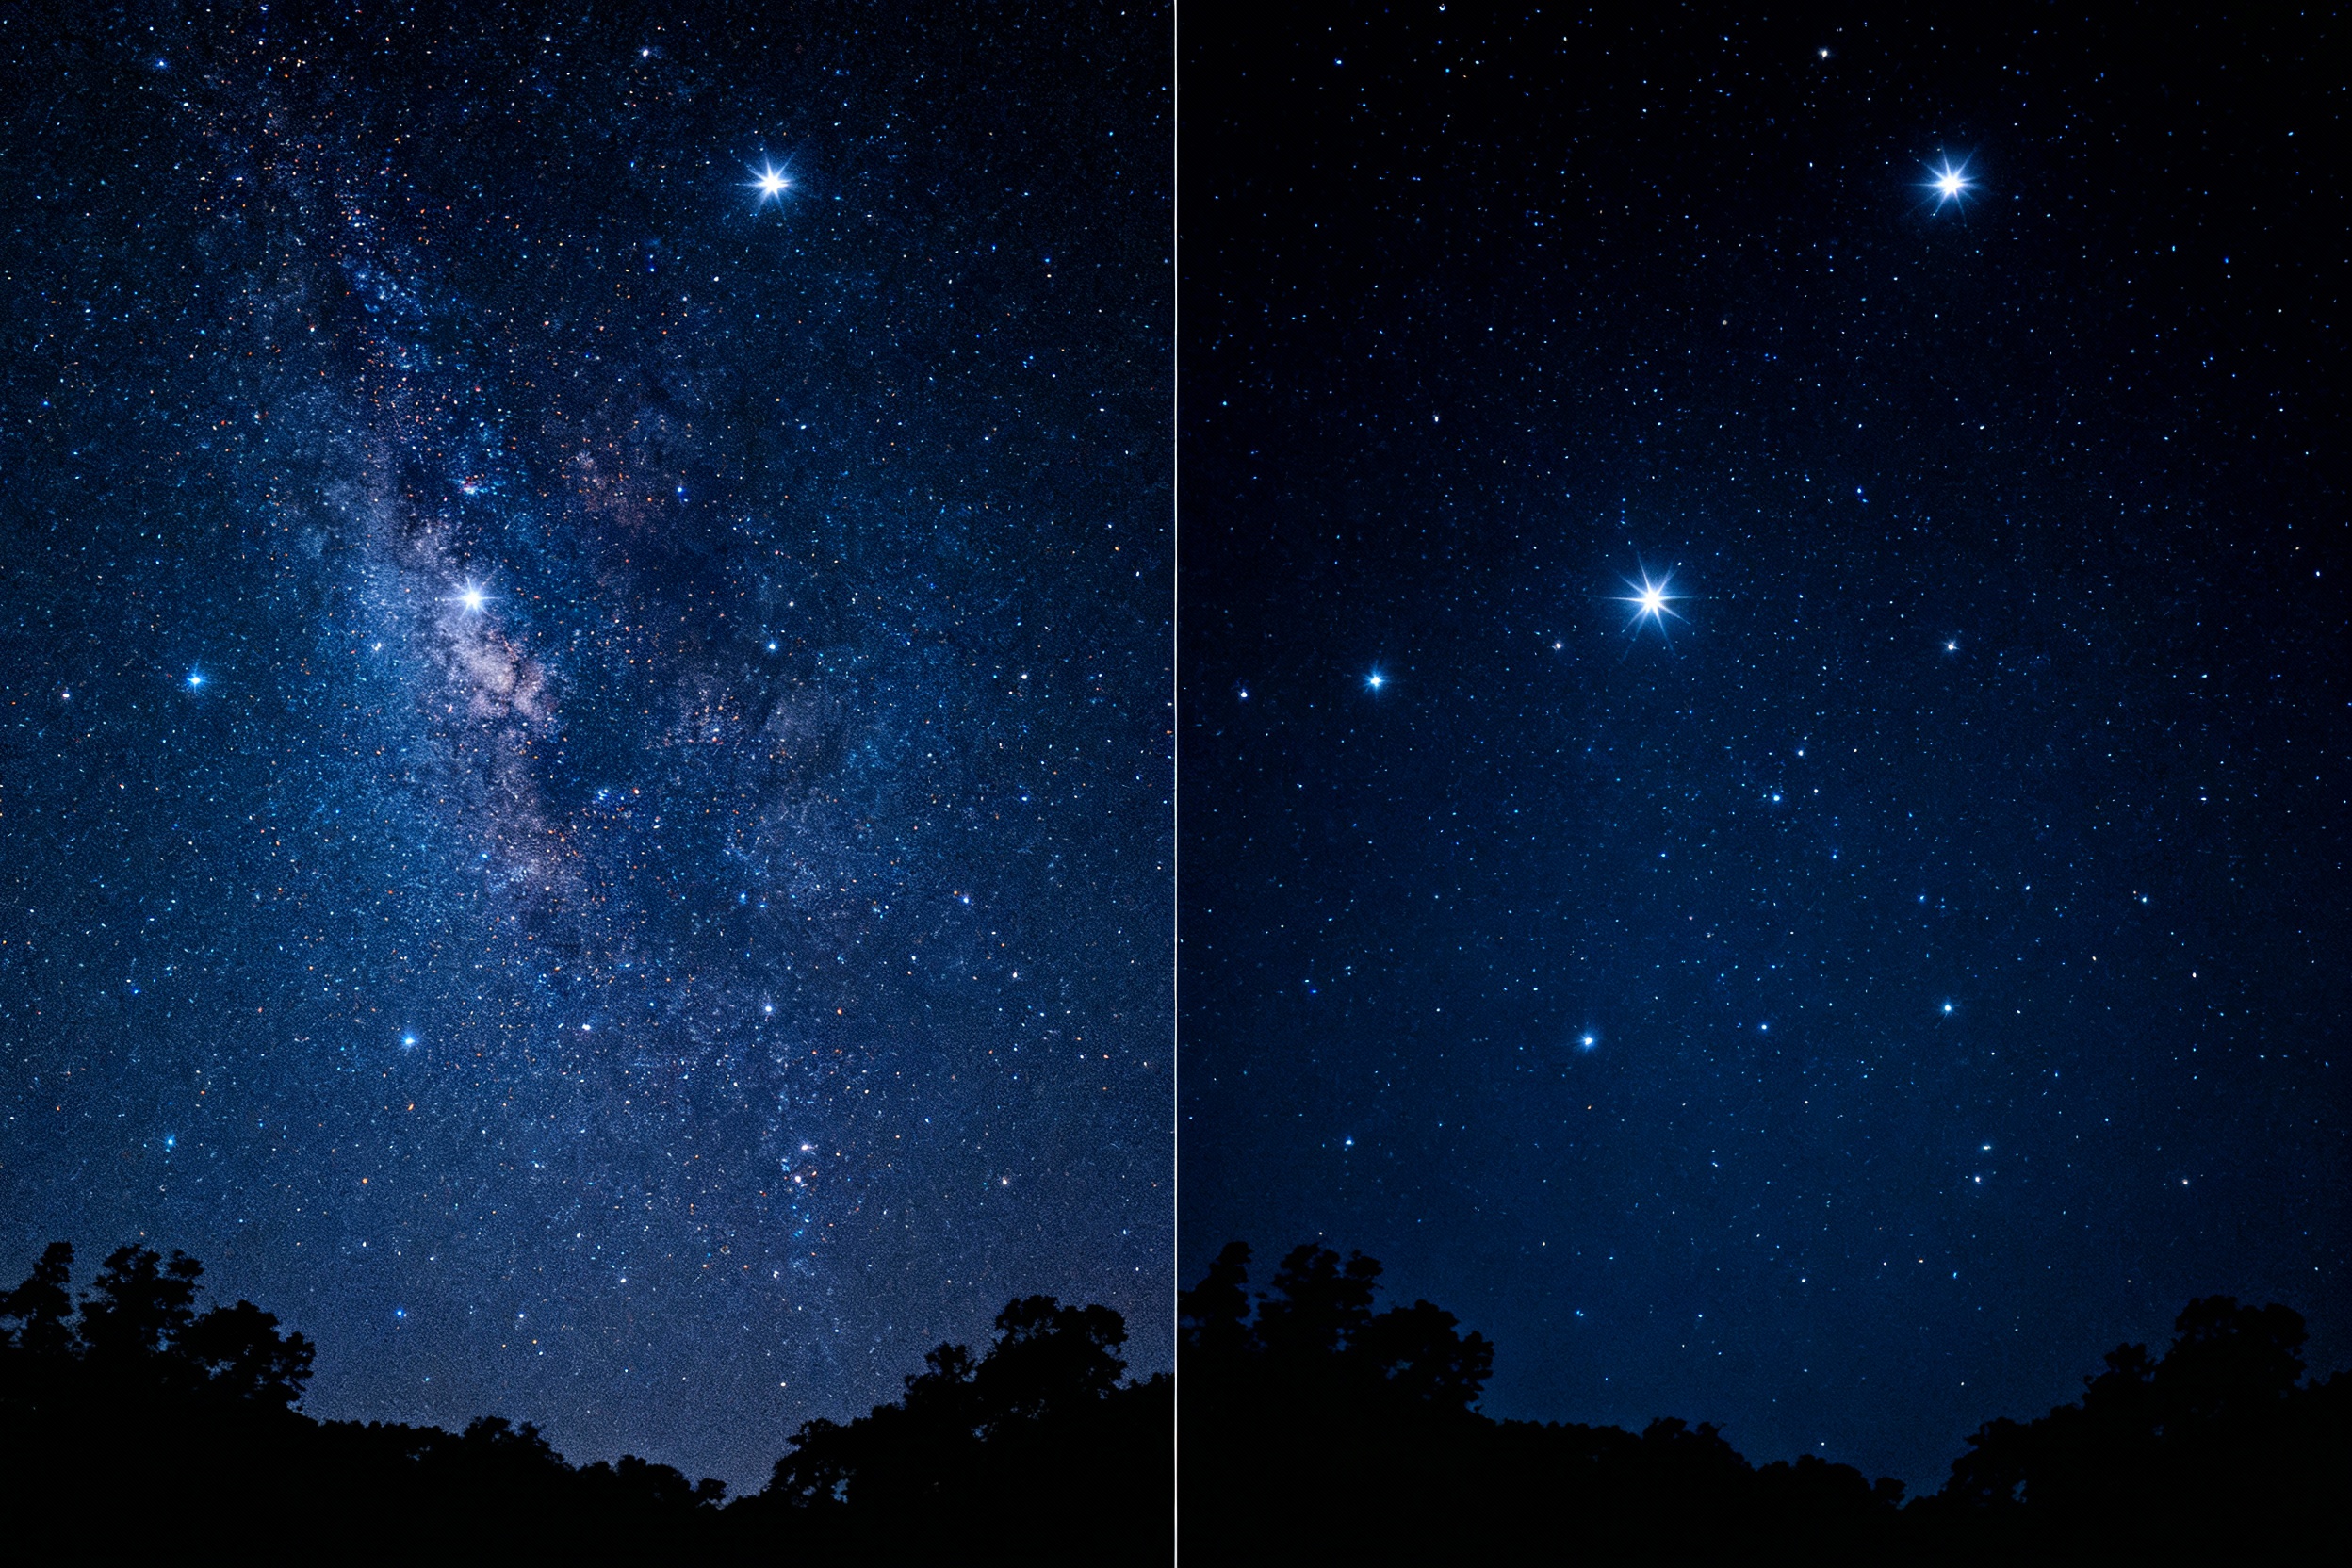
Case Study: Astrophotography Success Using Dark Frames
In 2023, astrophotographer Jane Doe captured the Orion Nebula using a mid-range DSLR. She took 30 light frames at ISO 1600 and 120-second exposures, followed by 20 dark frames under identical conditions. After stacking in DeepSkyStacker, the result revealed intricate gas clouds and vibrant colors previously obscured by noise. Without dark frames, her image would have required aggressive noise reduction, sacrificing faint nebulosity. Her approach demonstrates how meticulous dark frame practices democratize high-quality astrophotography, even with non-specialized gear.
Future Trends in Noise Reduction Technology
AI-driven tools like Topaz Denoise AI are challenging traditional dark frame methods by predicting and removing noise through machine learning. However, these tools sometimes misinterpret faint celestial objects as noise. Hybrid workflows, combining AI with classic dark frame subtraction, are emerging as a best-of-both-worlds solution. Meanwhile, camera manufacturers are integrating in-body dark frame capture, automating the process for hobbyists. As sensor technology evolves, the need for dark frames may diminish—but for now, they remain indispensable for purists.