DIY Barn Door Trackers That Work
```html
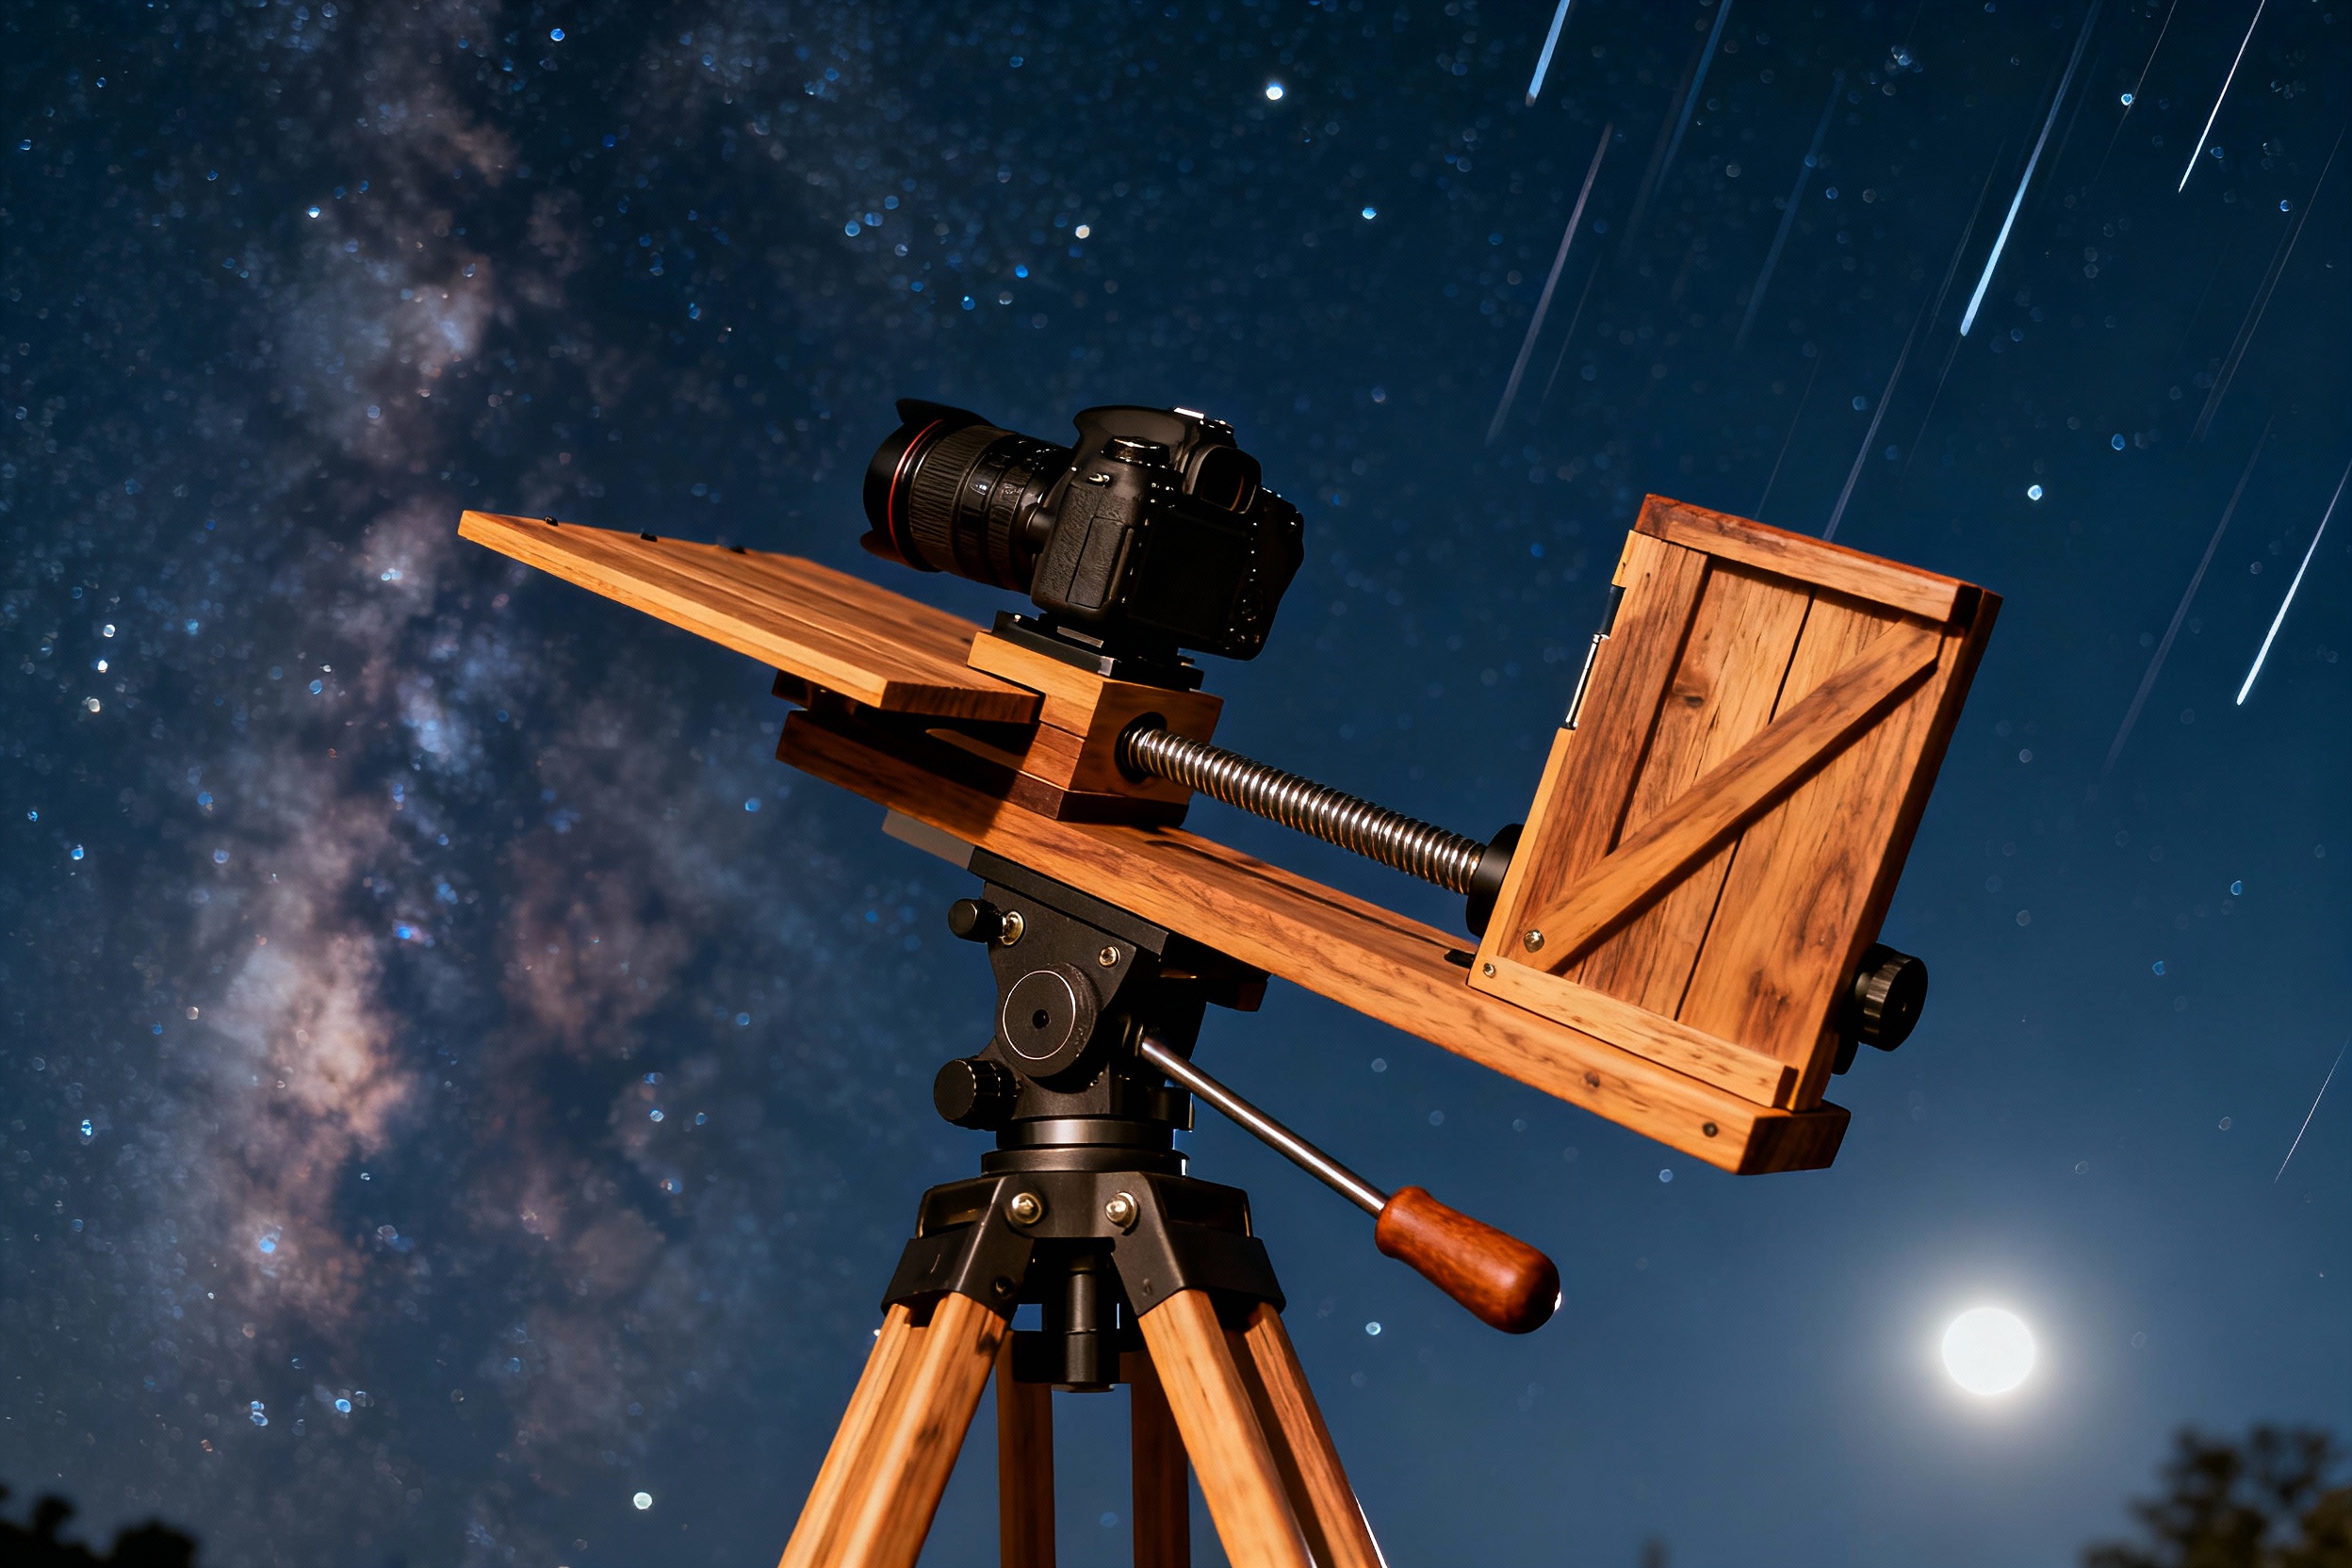
Understanding Barn Door Trackers: The Basics
Barn door trackers are simple yet ingenious devices designed to counteract Earth’s rotation during astrophotography. Named for their resemblance to traditional barn door hinges, these DIY tools allow amateur astronomers to capture sharp, long-exposure images of stars and deep-sky objects without star trails. The core principle involves a rotating platform that moves a camera at the same rate as the Earth spins—15 degrees per hour. By building your own, you can achieve professional-quality results at a fraction of the cost of commercial trackers.
Essential Materials for Building a Barn Door Tracker
To start, you’ll need a sturdy base material like plywood or aluminum, a precision hinge, a threaded rod for the drive mechanism, and bearings to reduce friction. A hand crank or low-speed motor ensures smooth rotation, while a ball-head mount secures your camera. Tools like a drill, saw, and wrench are critical for assembly. For motorized versions, a stepper motor and microcontroller (like an Arduino) add automation. Budget-friendly alternatives include repurposing hardware store materials, but prioritize durability to avoid wobble during tracking.

Step-by-Step Assembly Guide
Begin by cutting two wooden boards to form the base and moving plate. Attach them with a heavy-duty hinge, ensuring minimal play. Drill a hole through the base for the threaded rod, which will act as the drive screw. Secure the rod to the moving plate using a nut and washer. For manual trackers, attach a hand crank; for motorized versions, connect the rod to a geared stepper motor. Test the rotation for smoothness—any stiffness can cause tracking errors. Finally, mount the camera using a ball-head adapter, ensuring it’s centered over the hinge pivot point.
Motorizing Your Tracker for Precision
Adding a motor eliminates manual cranking and improves accuracy. Use a 12V stepper motor paired with a gear reduction system to achieve the required slow rotation. Program an Arduino with open-source tracking software to control the motor’s speed. Calibrate the setup by aligning the tracker’s pivot axis with the celestial pole (using Polaris in the Northern Hemisphere). A polar alignment scope or smartphone app can assist. Motorized trackers can typically handle exposures up to 5 minutes, making them ideal for capturing nebulae and galaxies.
Calibration Techniques for Optimal Performance
Even minor misalignments can blur images. Start by polar-aligning your tracker: adjust the hinge’s tilt to match your latitude. Use a leveling base to ensure the tracker is horizontal. Test the drive mechanism by taking short exposures while monitoring star movement. Software like PHD2 Guiding can help fine-tune tracking rates. For manual trackers, practice turning the crank at a steady pace—a metronome app provides rhythmic cues. Record any star trailing and adjust the rotation speed or alignment iteratively.
Creative Upgrades for Advanced Users
Once your basic tracker works, experiment with enhancements. Add a counterweight system to balance heavier cameras or telescopes. Install a digital inclinometer for precise latitude adjustments. For wide-field shots, try a dual-axis tracker by adding a second hinge and motor. Incorporate a wireless remote to trigger the camera without vibrations. Some builders even integrate GPS modules for automatic location-based calibration. These upgrades push the boundaries of DIY astrophotography, rivaling commercial systems.
Troubleshooting Common Issues
Wobbly tracking? Check for loose hinge bolts or an undersized drive rod. If stars appear streaked, recalibrate the polar alignment or slow the rotation speed. Motorized trackers stalling? Ensure the power supply delivers sufficient voltage. For backlash in the threaded rod, apply lubricant or switch to a higher-precision ACME screw. Cold weather can stiffen mechanical parts—pre-warm the tracker or use low-temperature grease. Document each test shot to diagnose patterns, like directional trailing indicating misalignment.
Capturing the Night Sky: Tips for Success
Choose dark-sky locations to minimize light pollution. Use a wide-angle lens (14-24mm) for Milky Way shots or a telephoto for lunar details. Start with ISO 1600 and 2-minute exposures, adjusting based on noise levels. Shoot in RAW format for post-processing flexibility. Stack multiple images in software like DeepSkyStacker to reduce noise. Pair your tracker with intervalometers for time-lapses. Most importantly, patience and practice are key—each session refines your technique.