Exposure Bracketing for Nebulae
```html
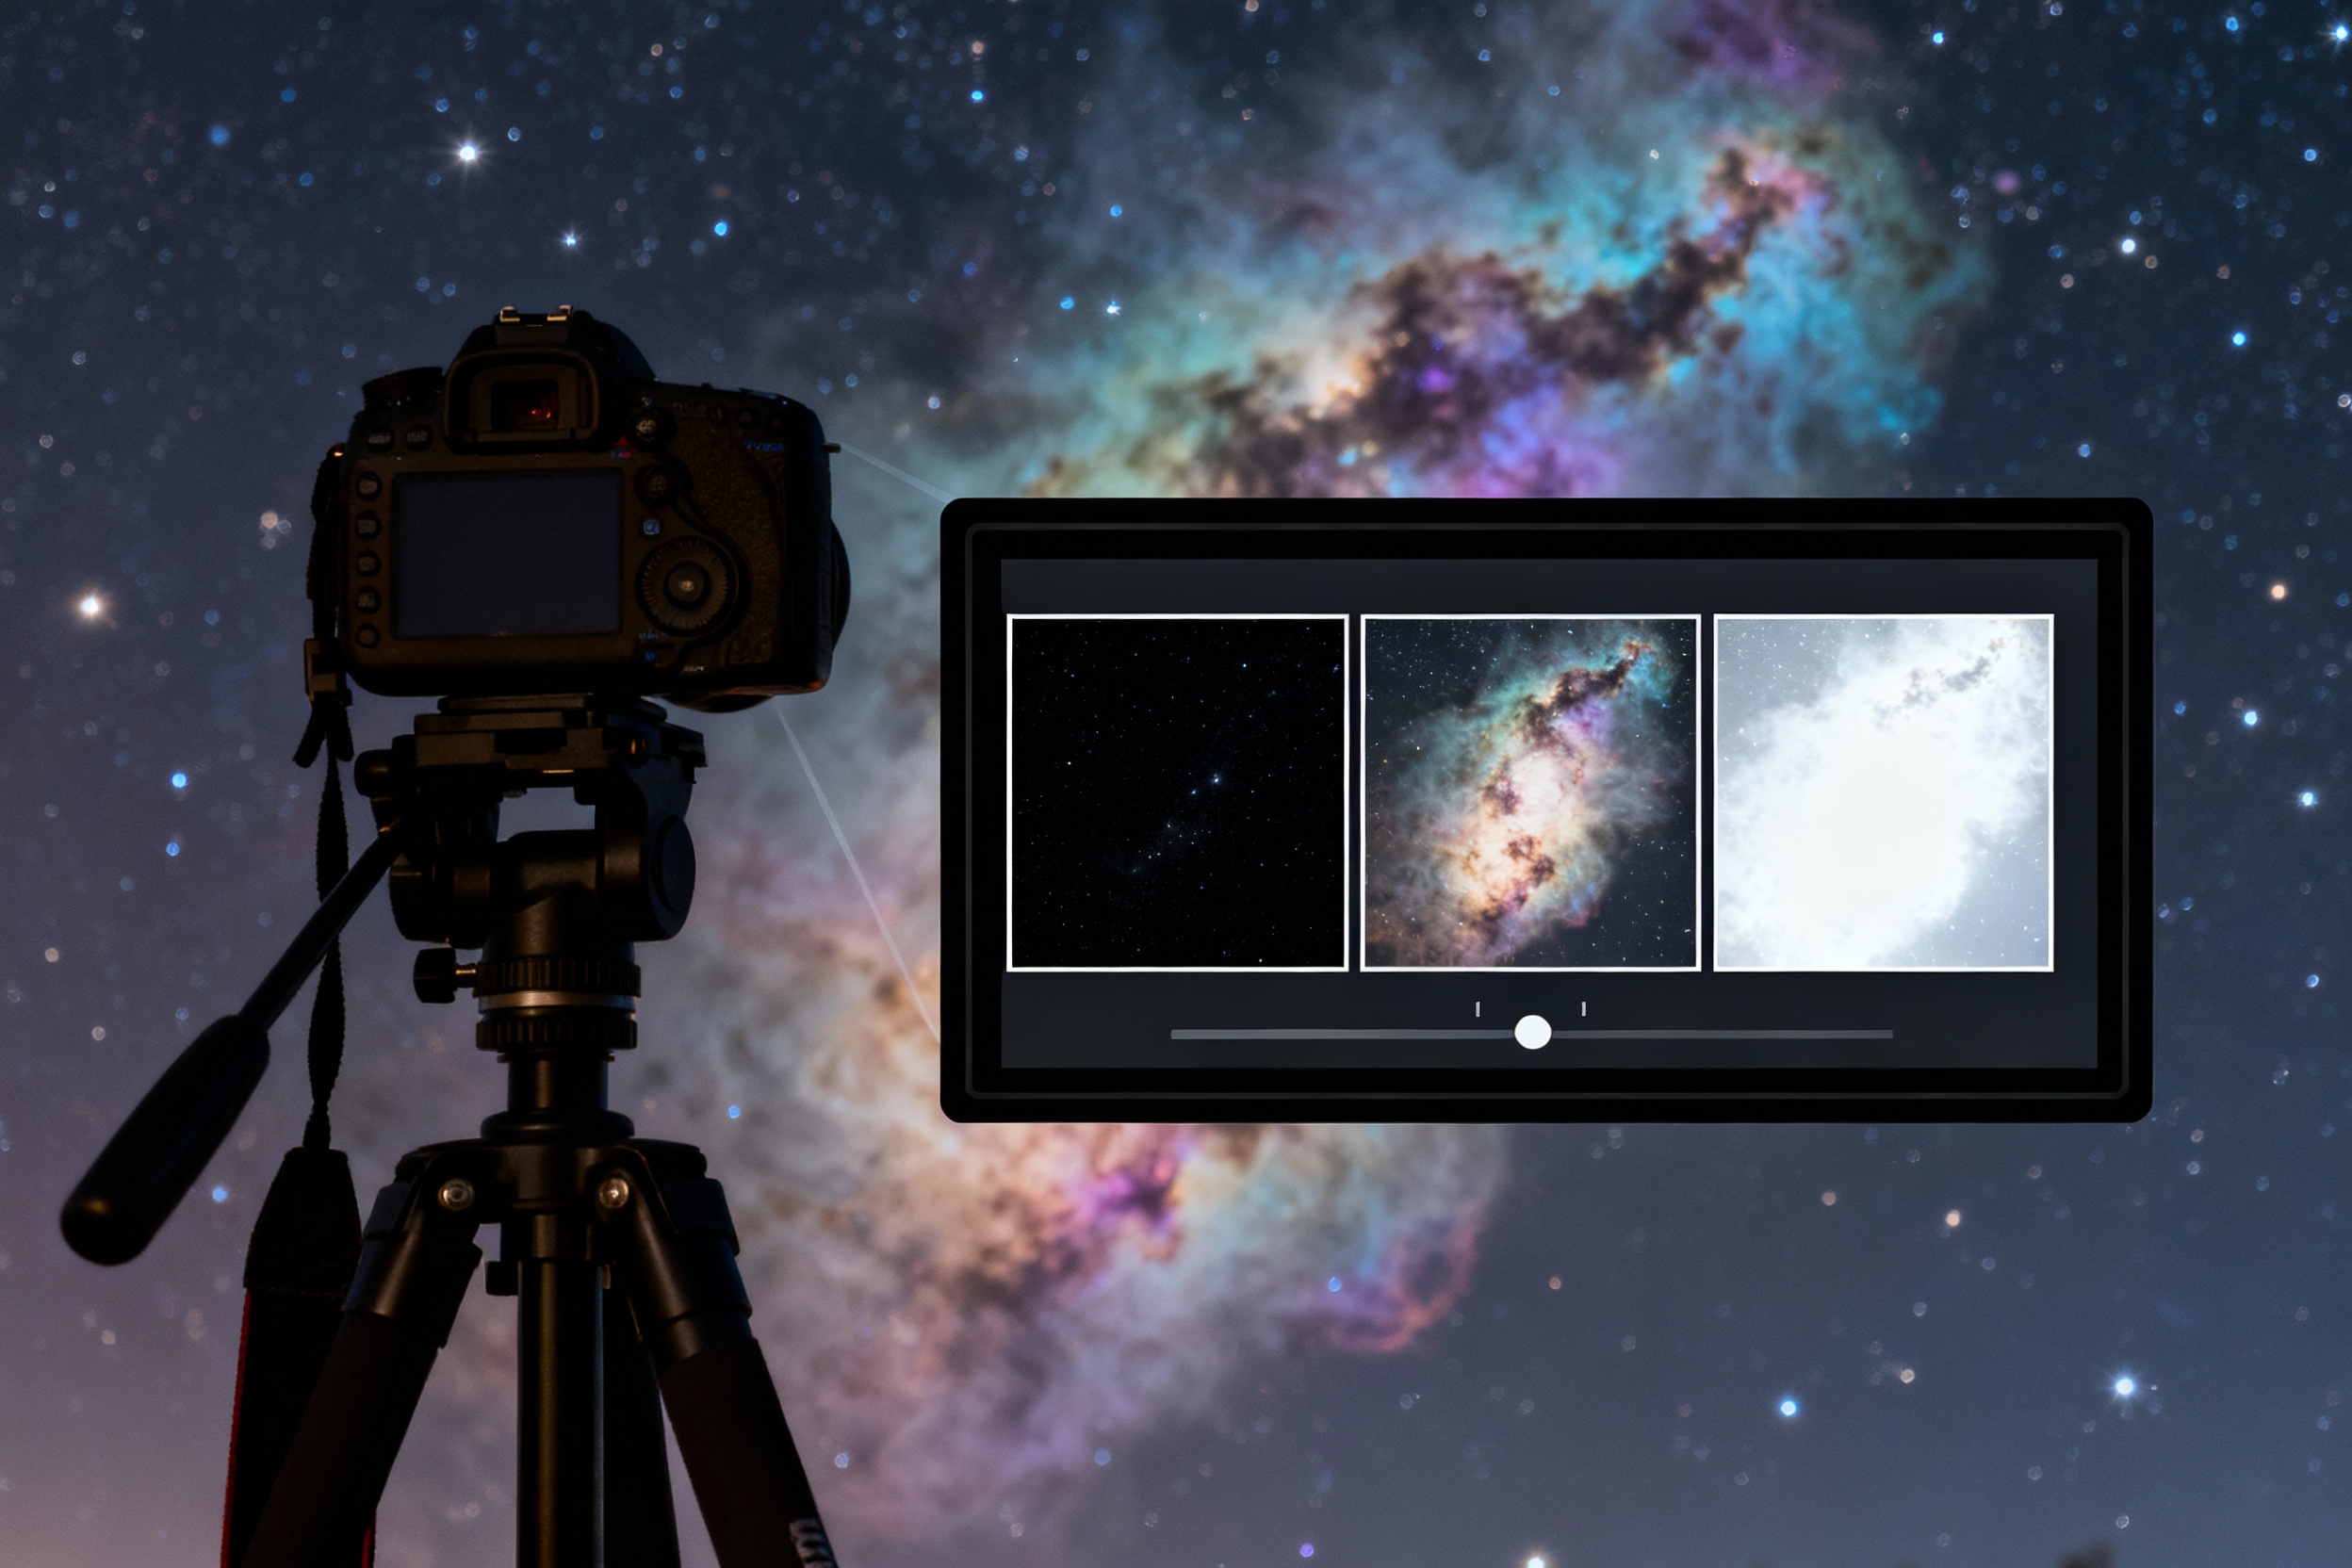
Understanding Exposure Bracketing in Astrophotography
Exposure bracketing involves capturing multiple shots of the same scene at different exposure settings. In astrophotography, this technique is indispensable for capturing faint nebulae while preserving details in brighter regions. Unlike daytime photography, where dynamic range can often be managed with a single exposure, the night sky presents extremes: dim hydrogen-alpha emissions and glaring star clusters. Bracketing allows photographers to merge these varying exposures into a single image with balanced highlights and shadows.
Modern cameras often include automatic bracketing modes, but manual control is preferred for precision. A typical sequence might include a base exposure for midtones, a shorter exposure to capture bright stars without overblowing them, and a longer exposure to reveal faint nebula structures. The goal is to compile a dataset that retains the full dynamic range of the celestial subject.
The Challenge of Photographing Nebulae
Nebulae are among the most visually complex deep-sky objects. Emission nebulae, like the Orion Nebula, glow with ionized gases, while reflection nebulae, such as the Pleiades’ dusty veils, scatter light from nearby stars. Both types demand careful exposure management. Overexpose, and delicate filaments vanish; underexpose, and faint details drown in noise.
Light pollution amplifies these challenges. Even in dark-sky locations, gradients and artificial light can overwhelm faint nebulae. Bracketing helps mitigate this by isolating cleaner data from shorter exposures, which are less affected by light pollution, and blending them with longer exposures that capture faint structures.
Techniques for Effective Exposure Bracketing
Start by determining the optimal base exposure. Use the histogram to avoid clipping highlights in the nebula’s core—a common pitfall. Once set, take additional exposures at ±1 to ±3 EV intervals. For example, if the base exposure is 120 seconds at ISO 1600, take a 60-second exposure to protect highlights and a 240-second exposure to lift shadows.
Use a remote shutter or intervalometer to minimize vibrations. Align frames meticulously during post-processing to account for Earth’s rotation. Tools like astro-specific stacking software (e.g., PixInsight or Siril) can automate alignment and integration, ensuring seamless blending of exposures.
Processing Bracketed Exposures: From Data to Image
Begin by stacking each exposure set separately to reduce noise. Calibration frames—darks, flats, and bias—are crucial here. Once stacked, use layer masking in Photoshop or HDR merging in specialized software like Aurora HDR to combine the exposures. Target shorter exposures for bright areas and longer ones for shadows.
Adjust curves and saturation selectively to enhance colors without introducing artifacts. Nebulae often benefit from boosting reds (for hydrogen-alpha) and teals (for oxygen-III emissions). Noise reduction should be applied conservatively to avoid smearing fine details.
Practical Tips for Managing Light Pollution and Noise
Light pollution filters (e.g., CLS or H-alpha filters) can improve contrast by blocking urban wavelengths. Pair these with bracketing to maximize signal-to-noise ratio. Shoot during moonless nights and consider traveling to Bortle-class 3 or lower sites for optimal results.
Calibration frames are non-negotiable. Darks (taken at the same temperature as lights) remove sensor noise, while flats correct vignetting. For DSLR users, staying at ISO 1600-3200 balances noise and dynamic range. Mirrorless cameras with dual-gain sensors may push higher ISOs effectively.
Common Mistakes and How to Avoid Them
One frequent error is insufficient exposure variety. Capturing only two brackets won’t cover the dynamic range of objects like the Hercules Cluster’s core. Aim for at least three exposures, adjusting based on the target’s brightness range.
Misaligned frames during stacking also plague beginners. Use software that corrects for both translational and rotational drift. For wide-field shots, a barn door tracker or star adventurer minimizes trailing, ensuring sharper stacks.
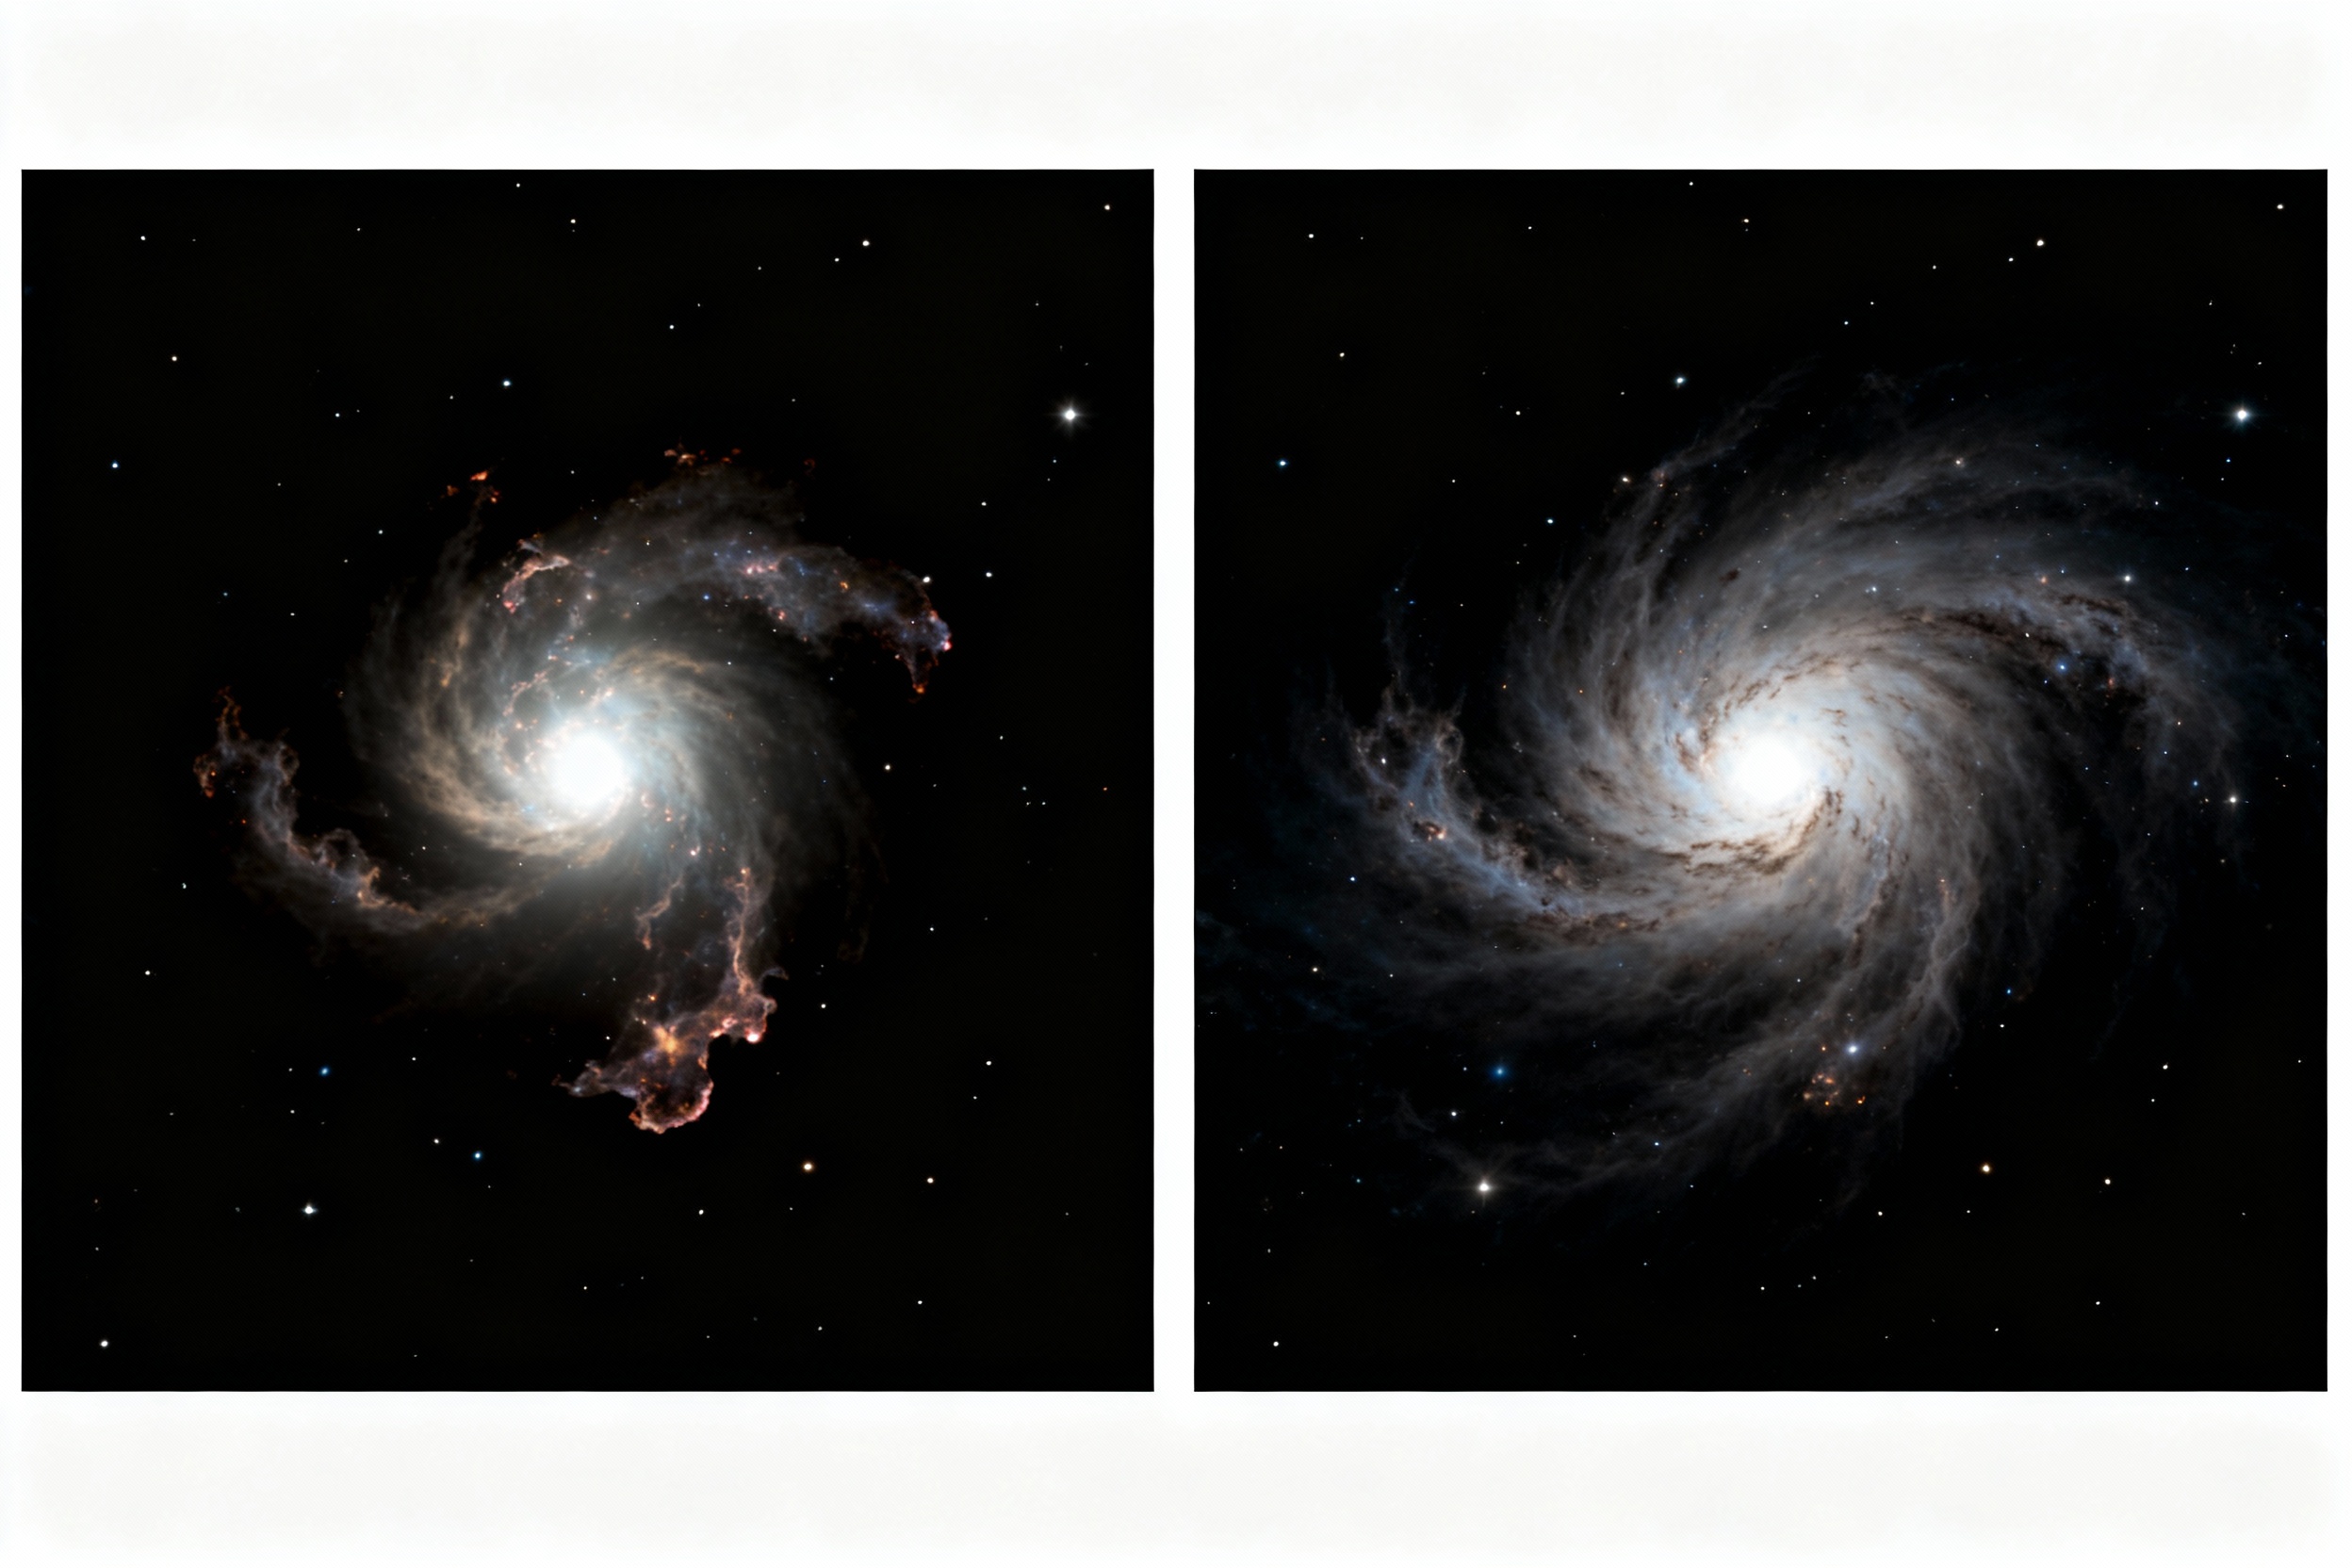
Real-World Examples and Case Studies
The North America Nebula (NGC 7000) exemplifies bracketing’s power. A base exposure of 90 seconds captures the overall shape, while a 30-second exposure tames the bright Cygnus Wall. A 180-second exposure unveils faint hydrogen clouds. Blending these creates a natural-looking result.
Another case is the Veil Nebula, a supernova remnant with intricate filaments. Here, bracketing helps overcome its low surface brightness while retaining the brilliance of embedded stars like 52 Cygni. Each exposure tier is processed with localized contrast adjustments to emphasize delicate structures.