Lunar Photography Settings Demystified
Understanding Lunar Phases and Their Impact on Photography
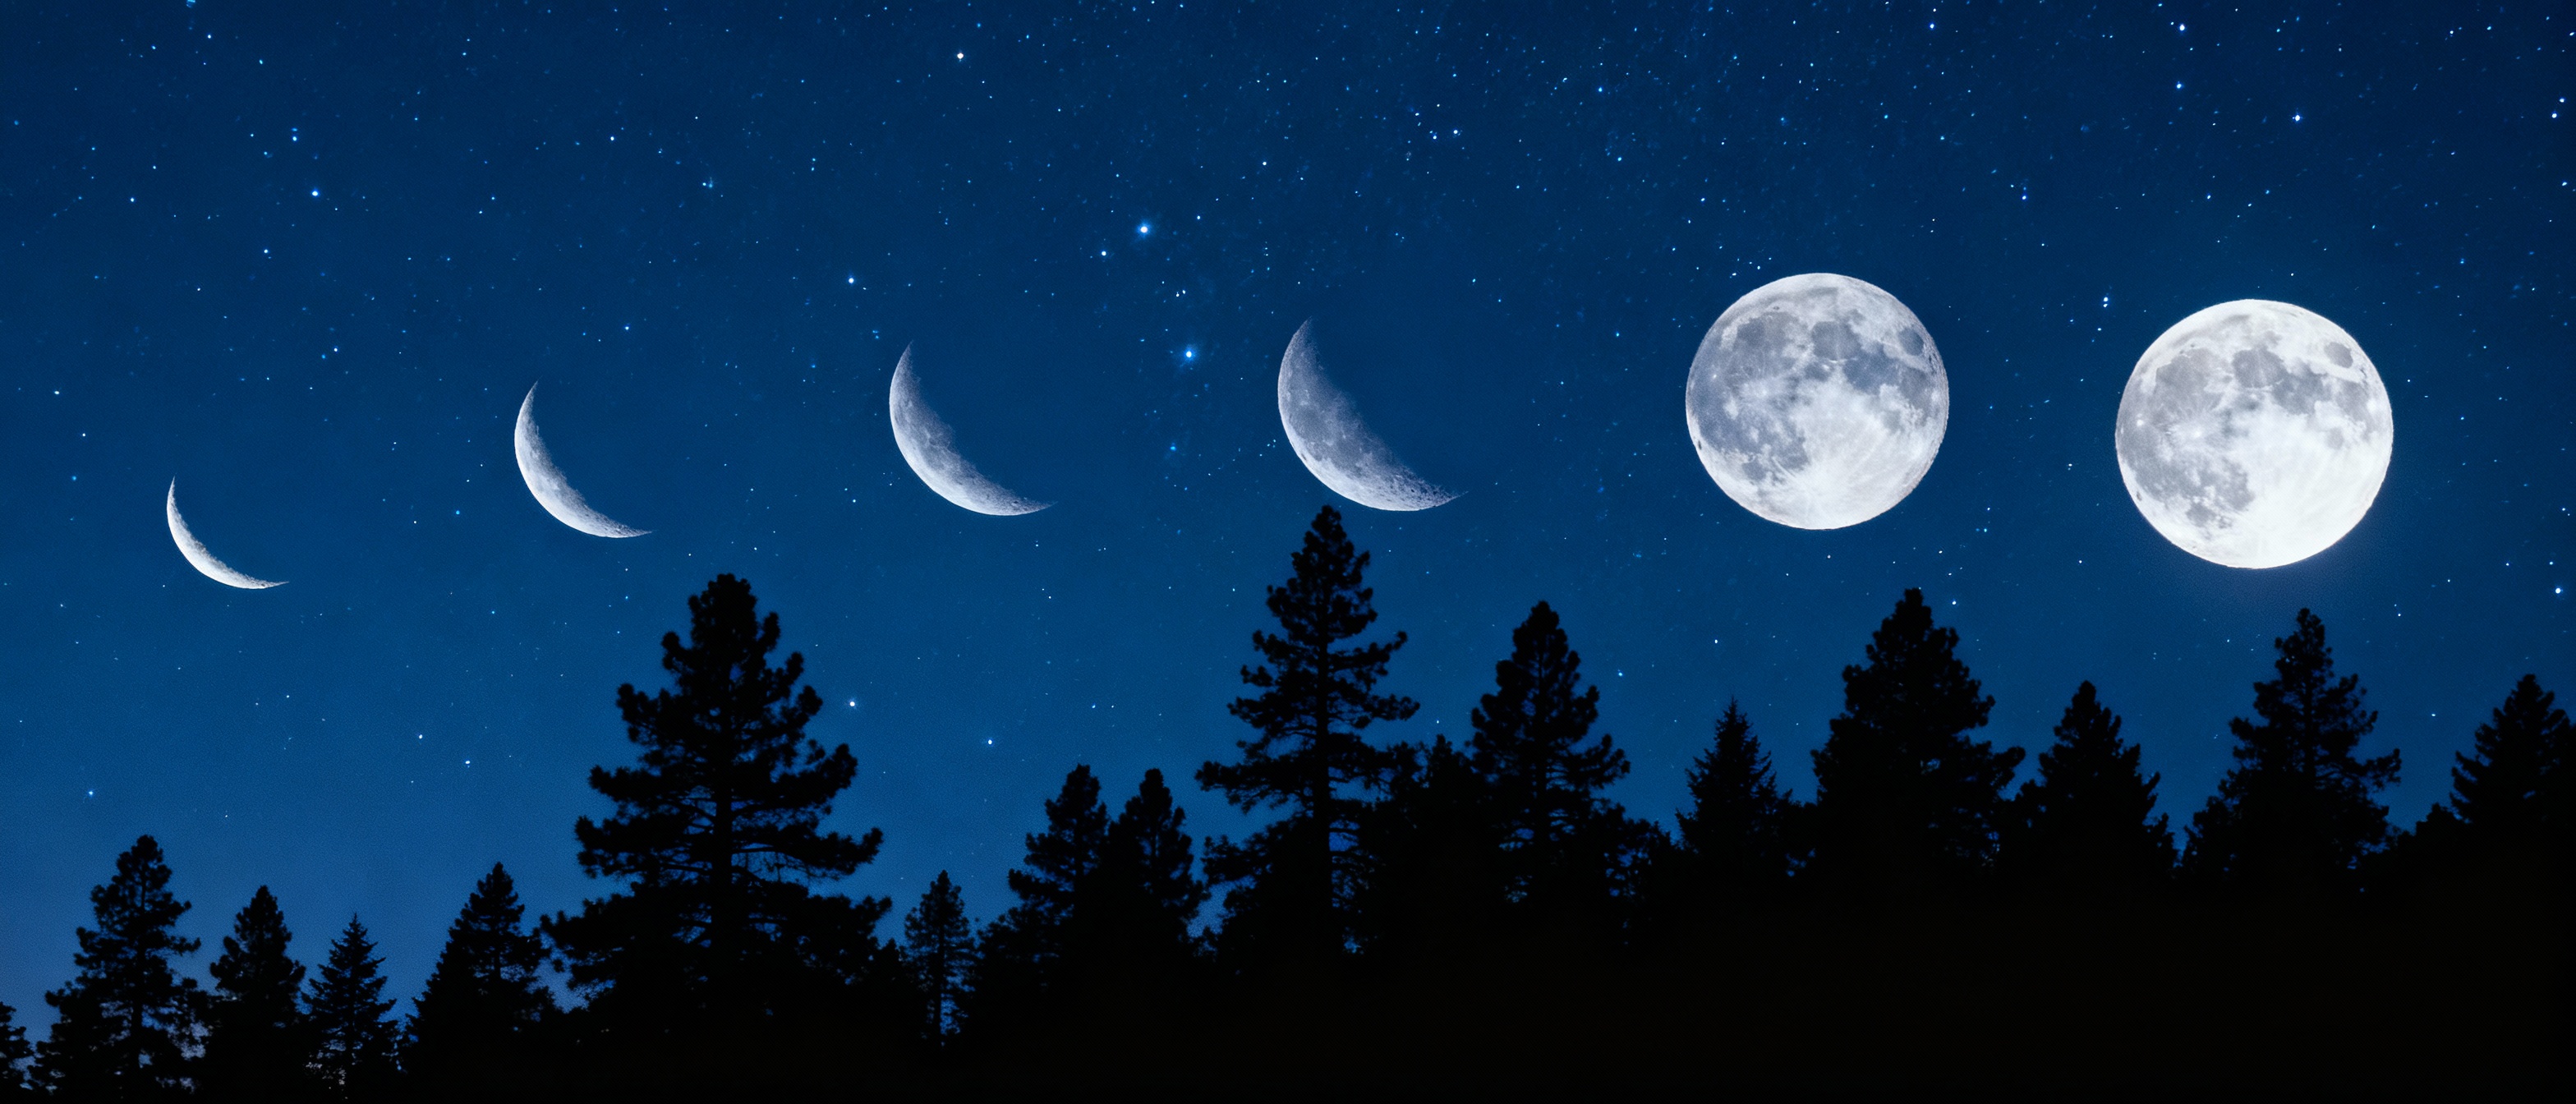
Capturing the moon starts with knowing its phases. A full moon offers bright, uniform lighting but lacks surface texture due to direct sunlight. In contrast, a crescent or gibbous phase creates dramatic shadows along the terminator line, highlighting craters and mountain ranges. The moon’s position relative to the horizon also affects atmospheric distortion—shooting when it’s higher in the sky minimizes haze and turbulence. Use apps like PhotoPills or Stellarium to track lunar cycles and plan shoots around phases that align with your creative vision.
Essential Gear for Capturing the Moon
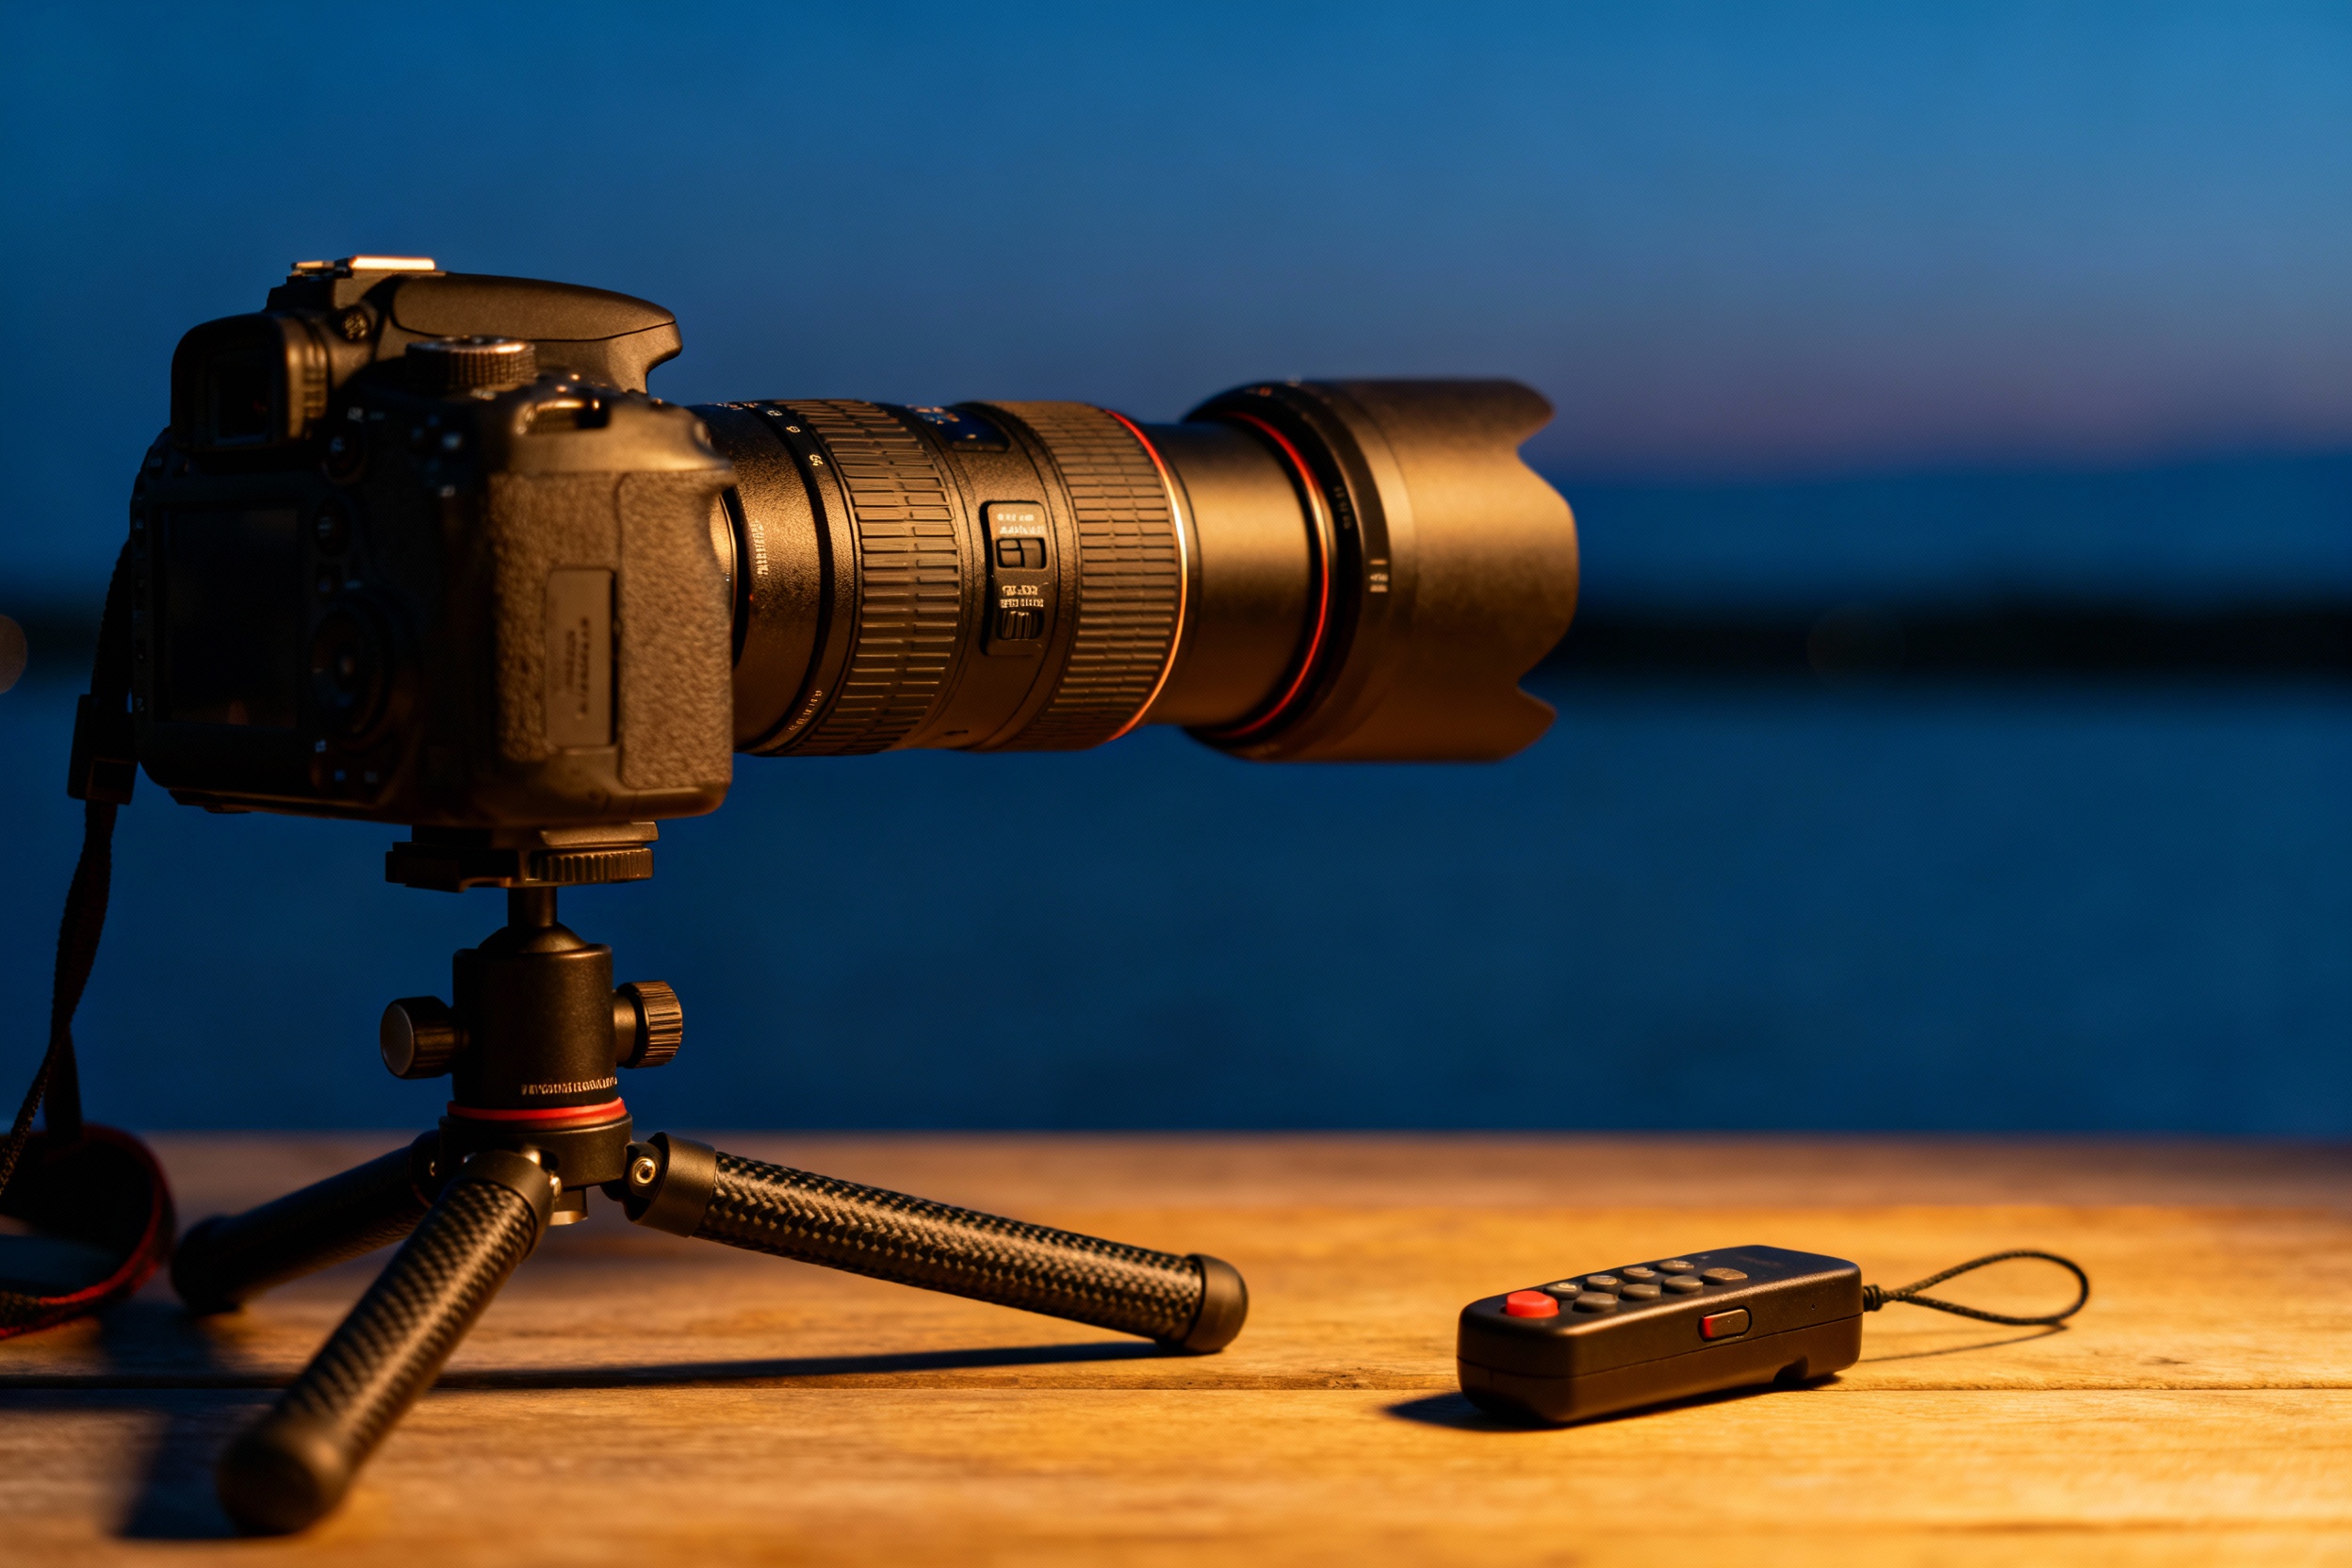
A telephoto lens (300mm or longer) is critical for framing the moon’s details. Pair it with a DSLR or mirrorless camera offering manual controls. A sturdy tripod eliminates shake, while a remote shutter or timer prevents button-press vibrations. Consider a star tracker if combining the moon with a starry background. Neutral density filters help manage brightness during full moons. For smartphone photographers, attachable telephoto lenses and tripod mounts can yield surprising results when paired with pro-mode settings.
Mastering Camera Settings for Sharp Lunar Images
Start with manual mode: set ISO between 100-400 to minimize noise. Use apertures around f/8 to f/11 for optimal sharpness. Shutter speed should follow the Looney 11 Rule—1/ISO at f/11—but adjust based on phase. For a full moon, try 1/125s at f/8; for thinner crescents, slow to 1/30s. Shoot in RAW to retain detail for post-processing. Enable your camera’s highlight alert to avoid overexposing the moon’s bright side.
The Role of Focal Length in Lunar Photography
A 200mm lens renders the moon as a small disk; 600mm fills half the frame. Crop sensors boost effective focal length—a 400mm on APS-C becomes 640mm. For context shots, pair wide angles (24mm) with timed exposures to capture the moon rising over landscapes. When using super-telephotos, atmospheric turbulence becomes noticeable—shoot multiple frames and stack them later for cleaner results.
Achieving Perfect Focus on the Moon
Autofocus often struggles with the moon’s low contrast. Switch to manual and use live view zoomed at 10x. Focus on the terminator line where shadows enhance edge visibility. If your lens has focus peaking or focus stacking, employ these tools. On mirrorless cameras, utilize focus magnification. Test shots with histogram reviews ensure crispness—a properly focused moon will show distinct peaks in the mid-tone range.
Planning Your Shoot: Timing and Location Considerations
The moon is brightest 1-2 days after full. For urban shots, shoot moonrise during twilight to balance ambient light with lunar details. Seek elevated locations to reduce atmospheric interference—mountains or deserts offer clean sightlines. Check weather apps for cloud cover and air clarity. Use The Photographer’s Ephemeris to predict moon trajectories relative to landmarks. Avoid shooting over heat sources like asphalt to reduce thermal haze.
Post-Processing Tips to Enhance Moon Photos
Import RAW files into Lightroom or Affinity Photo. Reduce highlights to recover crater details; boost shadows moderately. Apply localized sharpening using masks to avoid amplifying noise. For multi-exposure composites, align layers in Photoshop using Auto-Align and blend modes. Noise reduction tools like Topaz DeNoise help clean high-ISO shots. Convert to black and white to emphasize textures when color noise becomes distracting.
Advanced Techniques: Stacking and Eclipse Photography
For ultra-detailed shots, capture a video clip of the moon and stack frames using AutoStakkert. During eclipses, bracket exposures every 5 minutes to document the reddening effect. Use ISO 800-1600 and wider apertures (f/5.6) as darkness increases. For totality, expose for 1-2 seconds to capture the corona. Always include foreground elements like trees or architecture to add narrative to eclipse sequences.