Planetary Imaging Settings Checklist
```html
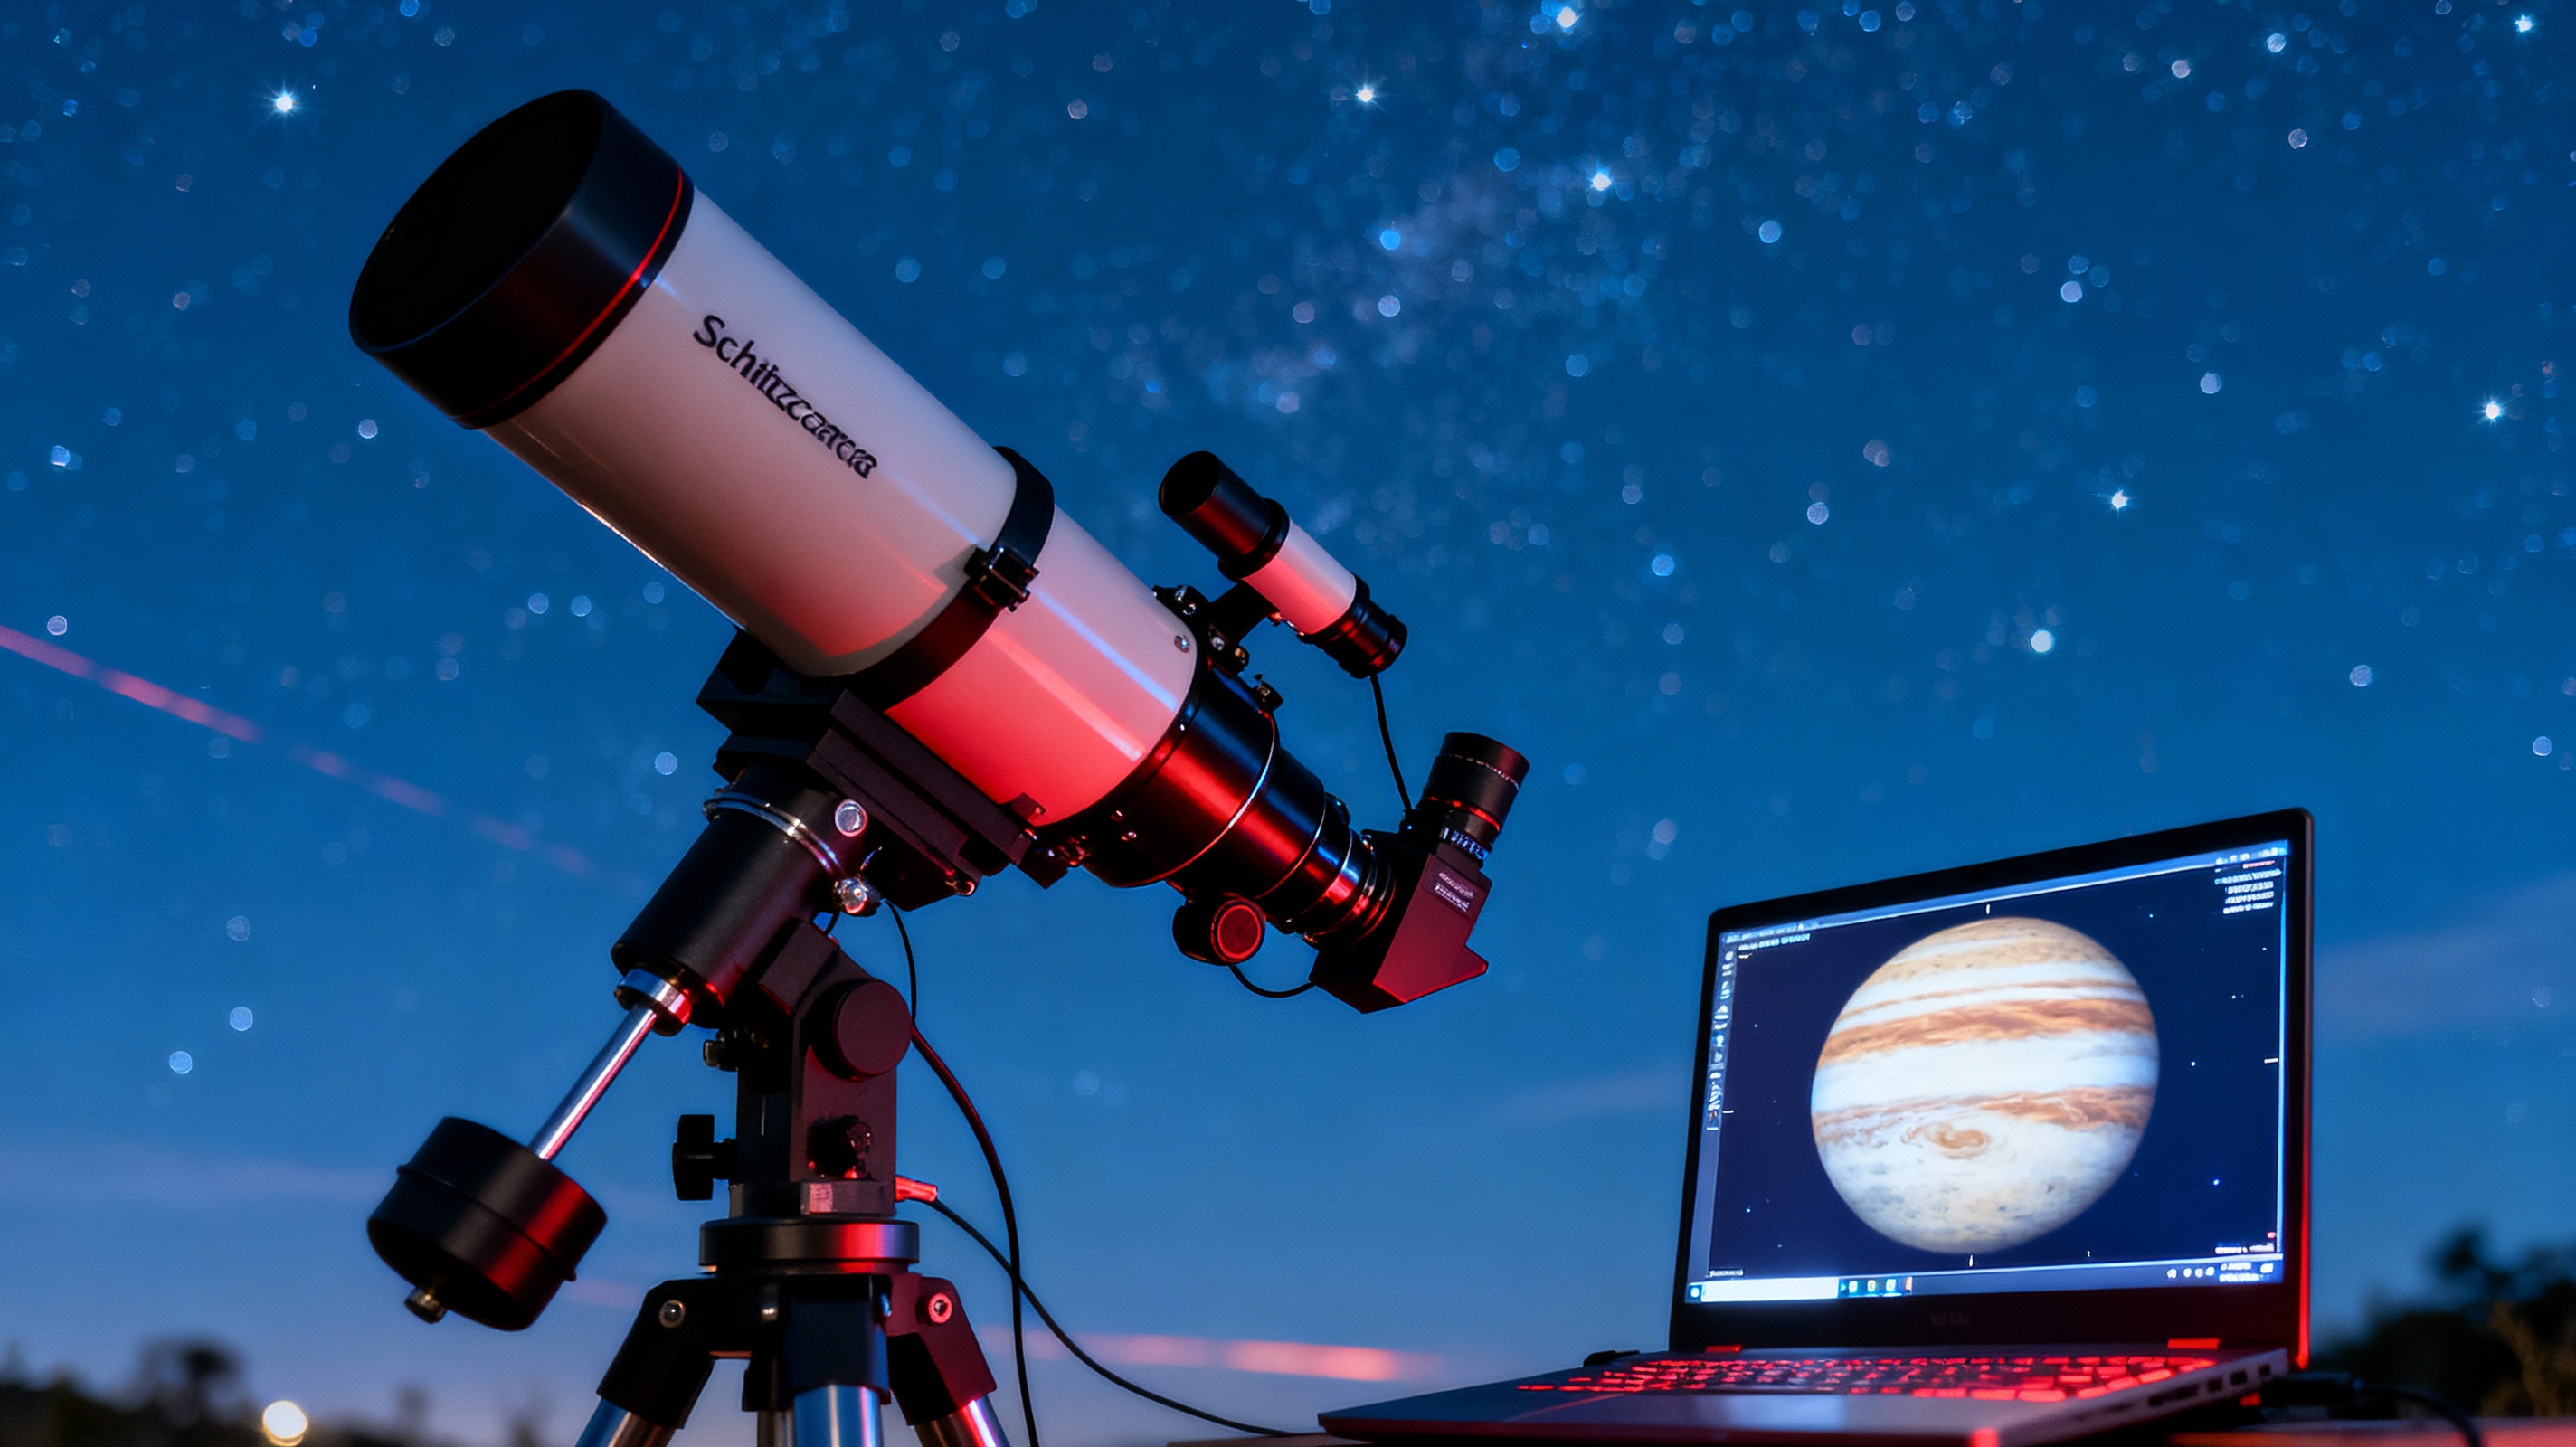
Choosing the Right Equipment for Planetary Imaging
Selecting the proper gear is the foundation of successful planetary imaging. A telescope with sufficient aperture (ideally 6 inches or larger) and a focal ratio between f/10 and f/20 is essential for resolving fine details on planets like Jupiter or Saturn. Pair this with a high-speed planetary camera, such as those using CMOS or CCD sensors, which can capture hundreds of frames per second. Barlow lenses to increase focal length and color filters to enhance contrast are also critical additions. Avoid using standard DSLRs, as they often lack the frame rates and sensitivity needed for planetary work.
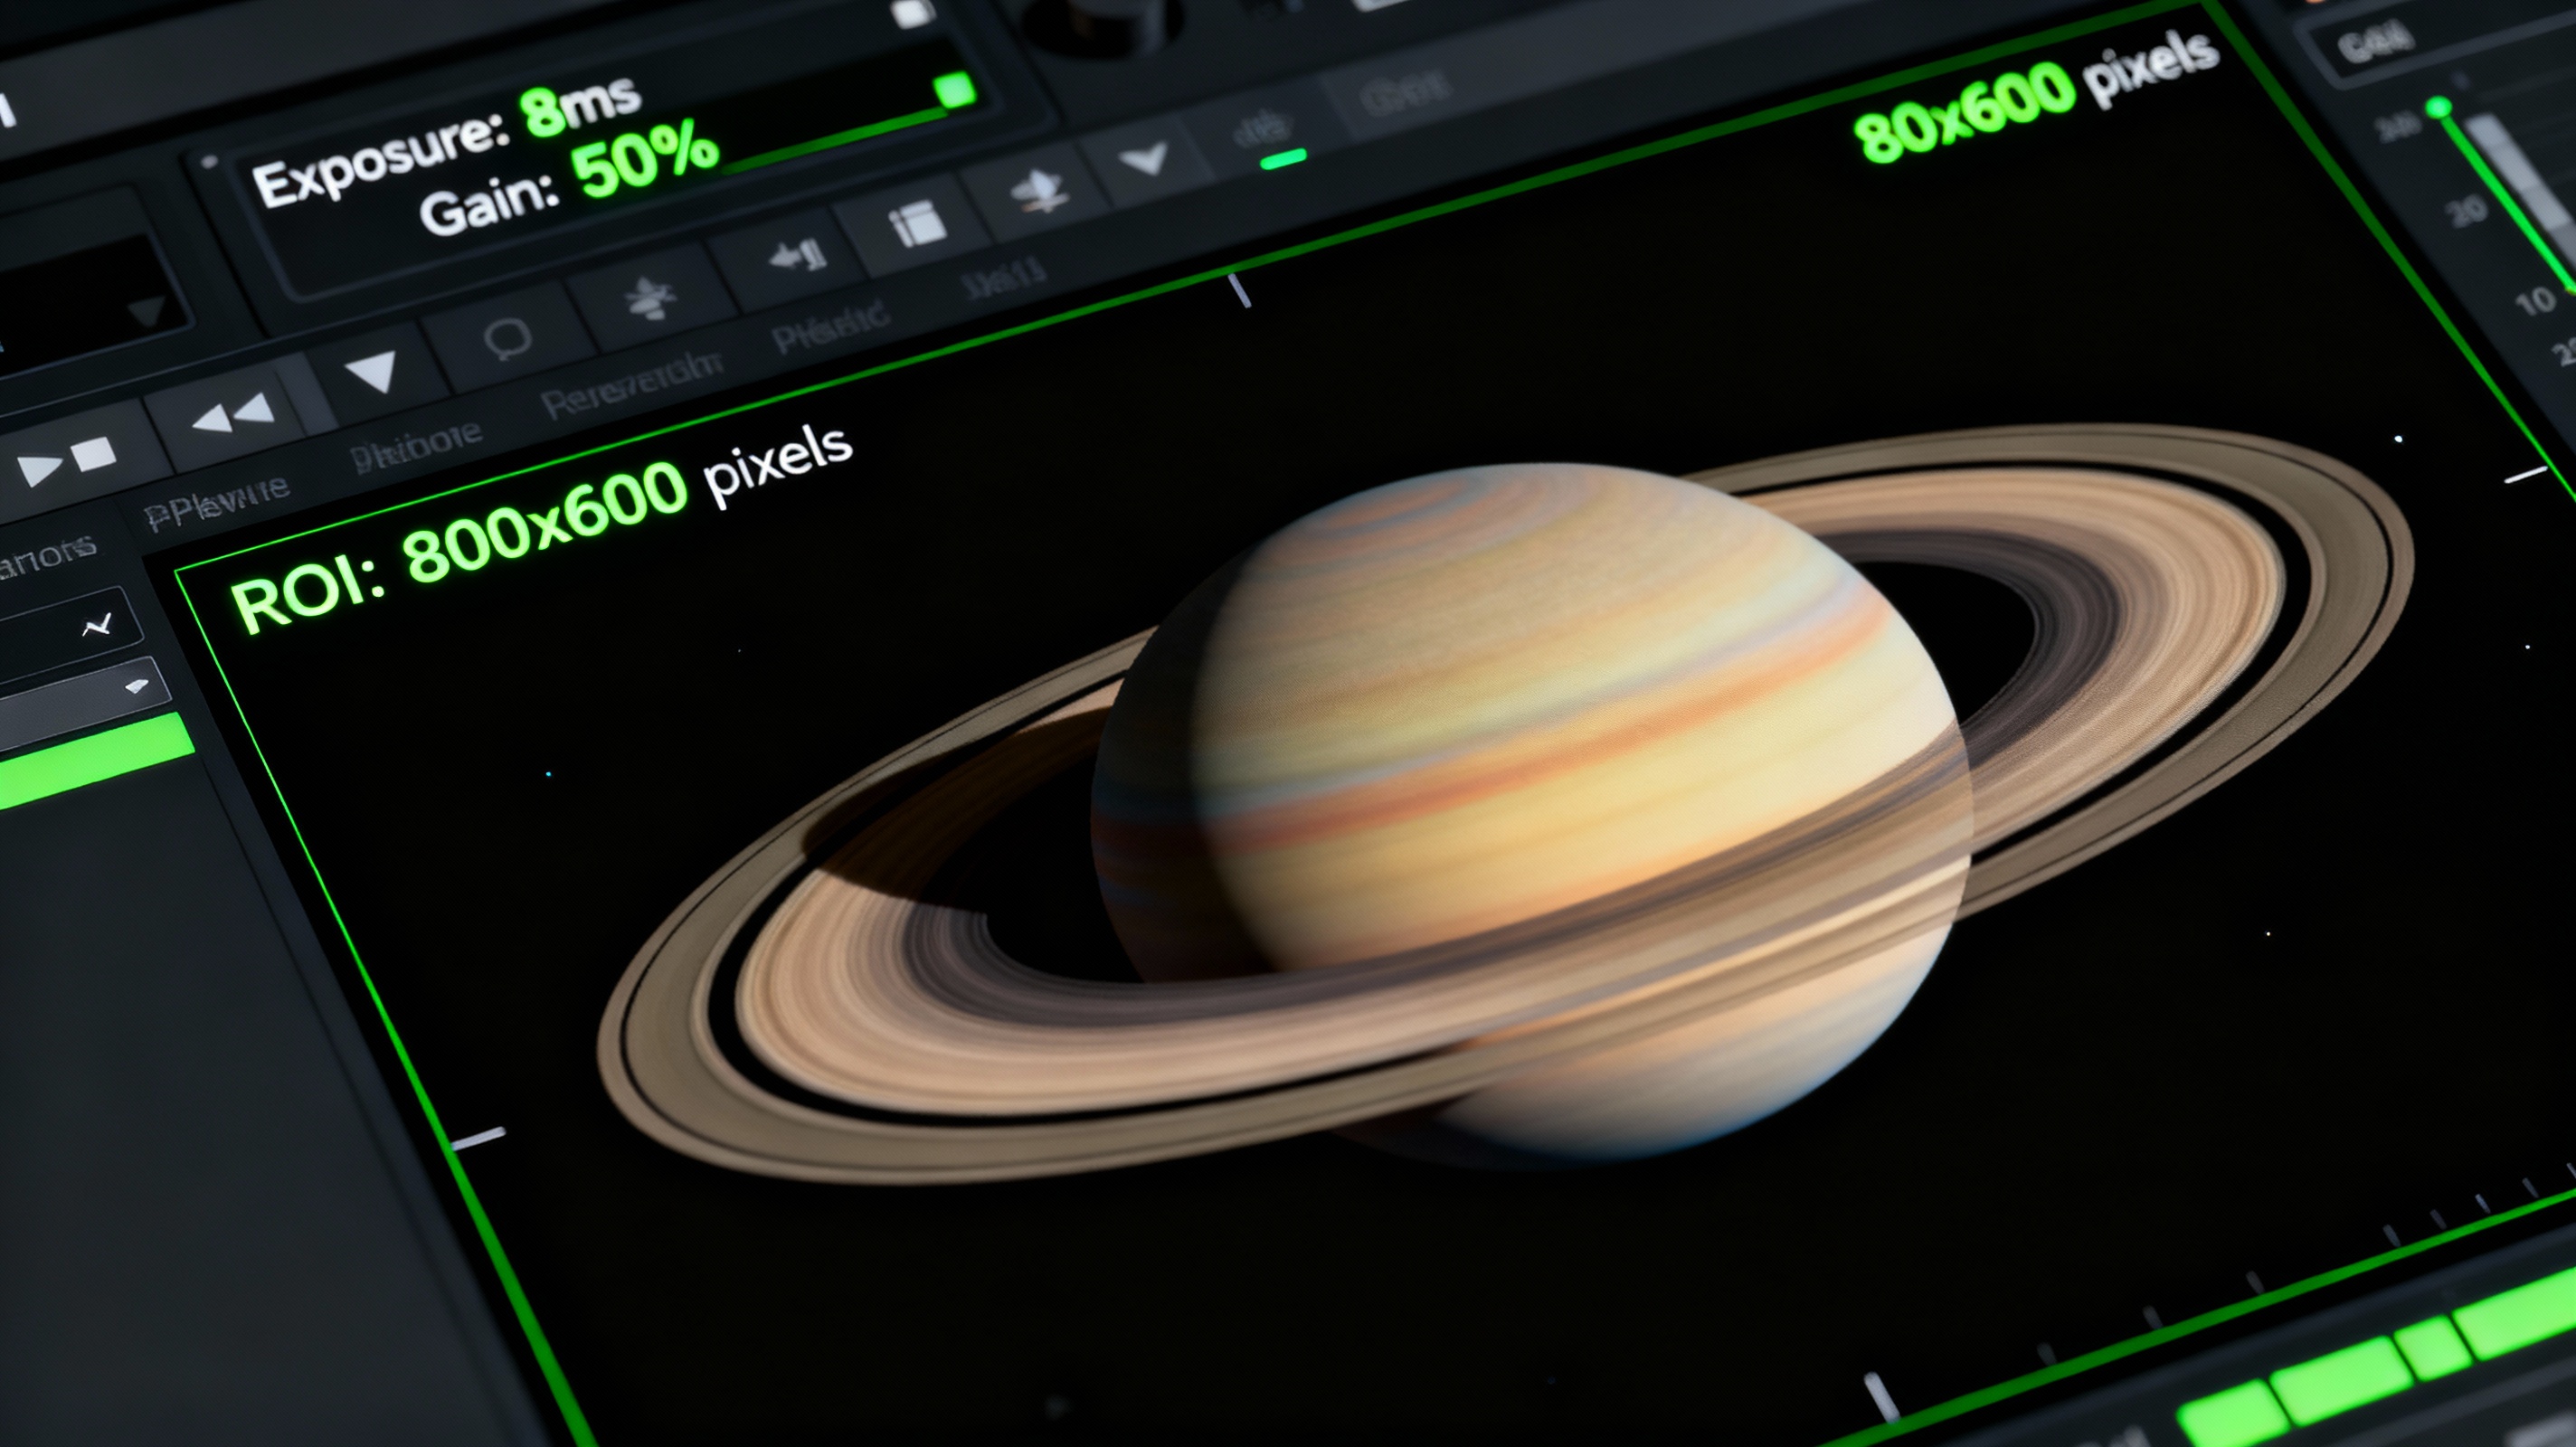
Optimizing Camera Settings for Sharp Results
Camera configuration balances exposure, gain, and frame rate. Start with an exposure time short enough to freeze atmospheric turbulence—typically 5-10 milliseconds for planets. Adjust gain to maintain a histogram peak around 70-80% without introducing noise. Use a region-of-interest (ROI) crop to reduce file size and maximize frame rates. For example, capturing Jupiter at 150 fps with a gain of 45% might yield optimal sharpness. Test different settings during your session, as conditions like planetary altitude and atmospheric stability can vary.
Understanding and Overcoming Atmospheric Challenges
Atmospheric turbulence, or "seeing," is the nemesis of planetary imagers. To mitigate this, image planets when they’re highest in the sky (near culmination) to minimize atmospheric distortion. Use tools like MeteoBlue’s Seeing Forecast to predict stable nights. When turbulence is unavoidable, capture multiple short videos (2-3 minutes each) and discard the worst 30% of frames during stacking. Infrared-pass filters can also cut through haze, while adaptive optics systems (for advanced users) correct turbulence in real time.
The Role of Post-Processing Software
Post-processing transforms raw data into striking images. Start by stacking the best 10-20% of frames using AutoStakkert! or AS!3. Apply wavelet sharpening in Registax to enhance surface features without over-processing. De-noise tools like Topaz Labs AI can clean up gradients, while color balancing in Photoshop ensures natural tones. For advanced users, derotating multiple capture sequences in WinJUPOS compensates for planetary rotation during long imaging sessions.
Planetary Imaging Checklist: A Step-by-Step Guide
Follow this workflow for consistent results: 1) Collimate your telescope meticulously. 2) Cool your camera sensor for 30 minutes to reduce noise. 3) Use a Bahtinov mask to achieve perfect focus on a star before switching to the planet. 4) Record 3-5 videos of 2-3 minutes each. 5) Label files with timestamps and capture details. 6) Process using the “less is more” philosophy—subtle adjustments often yield the most natural results. Store raw data for reprocessing as software improves.