Polar Alignment Timing Strategies
```html
Understanding the Fundamentals of Polar Alignment
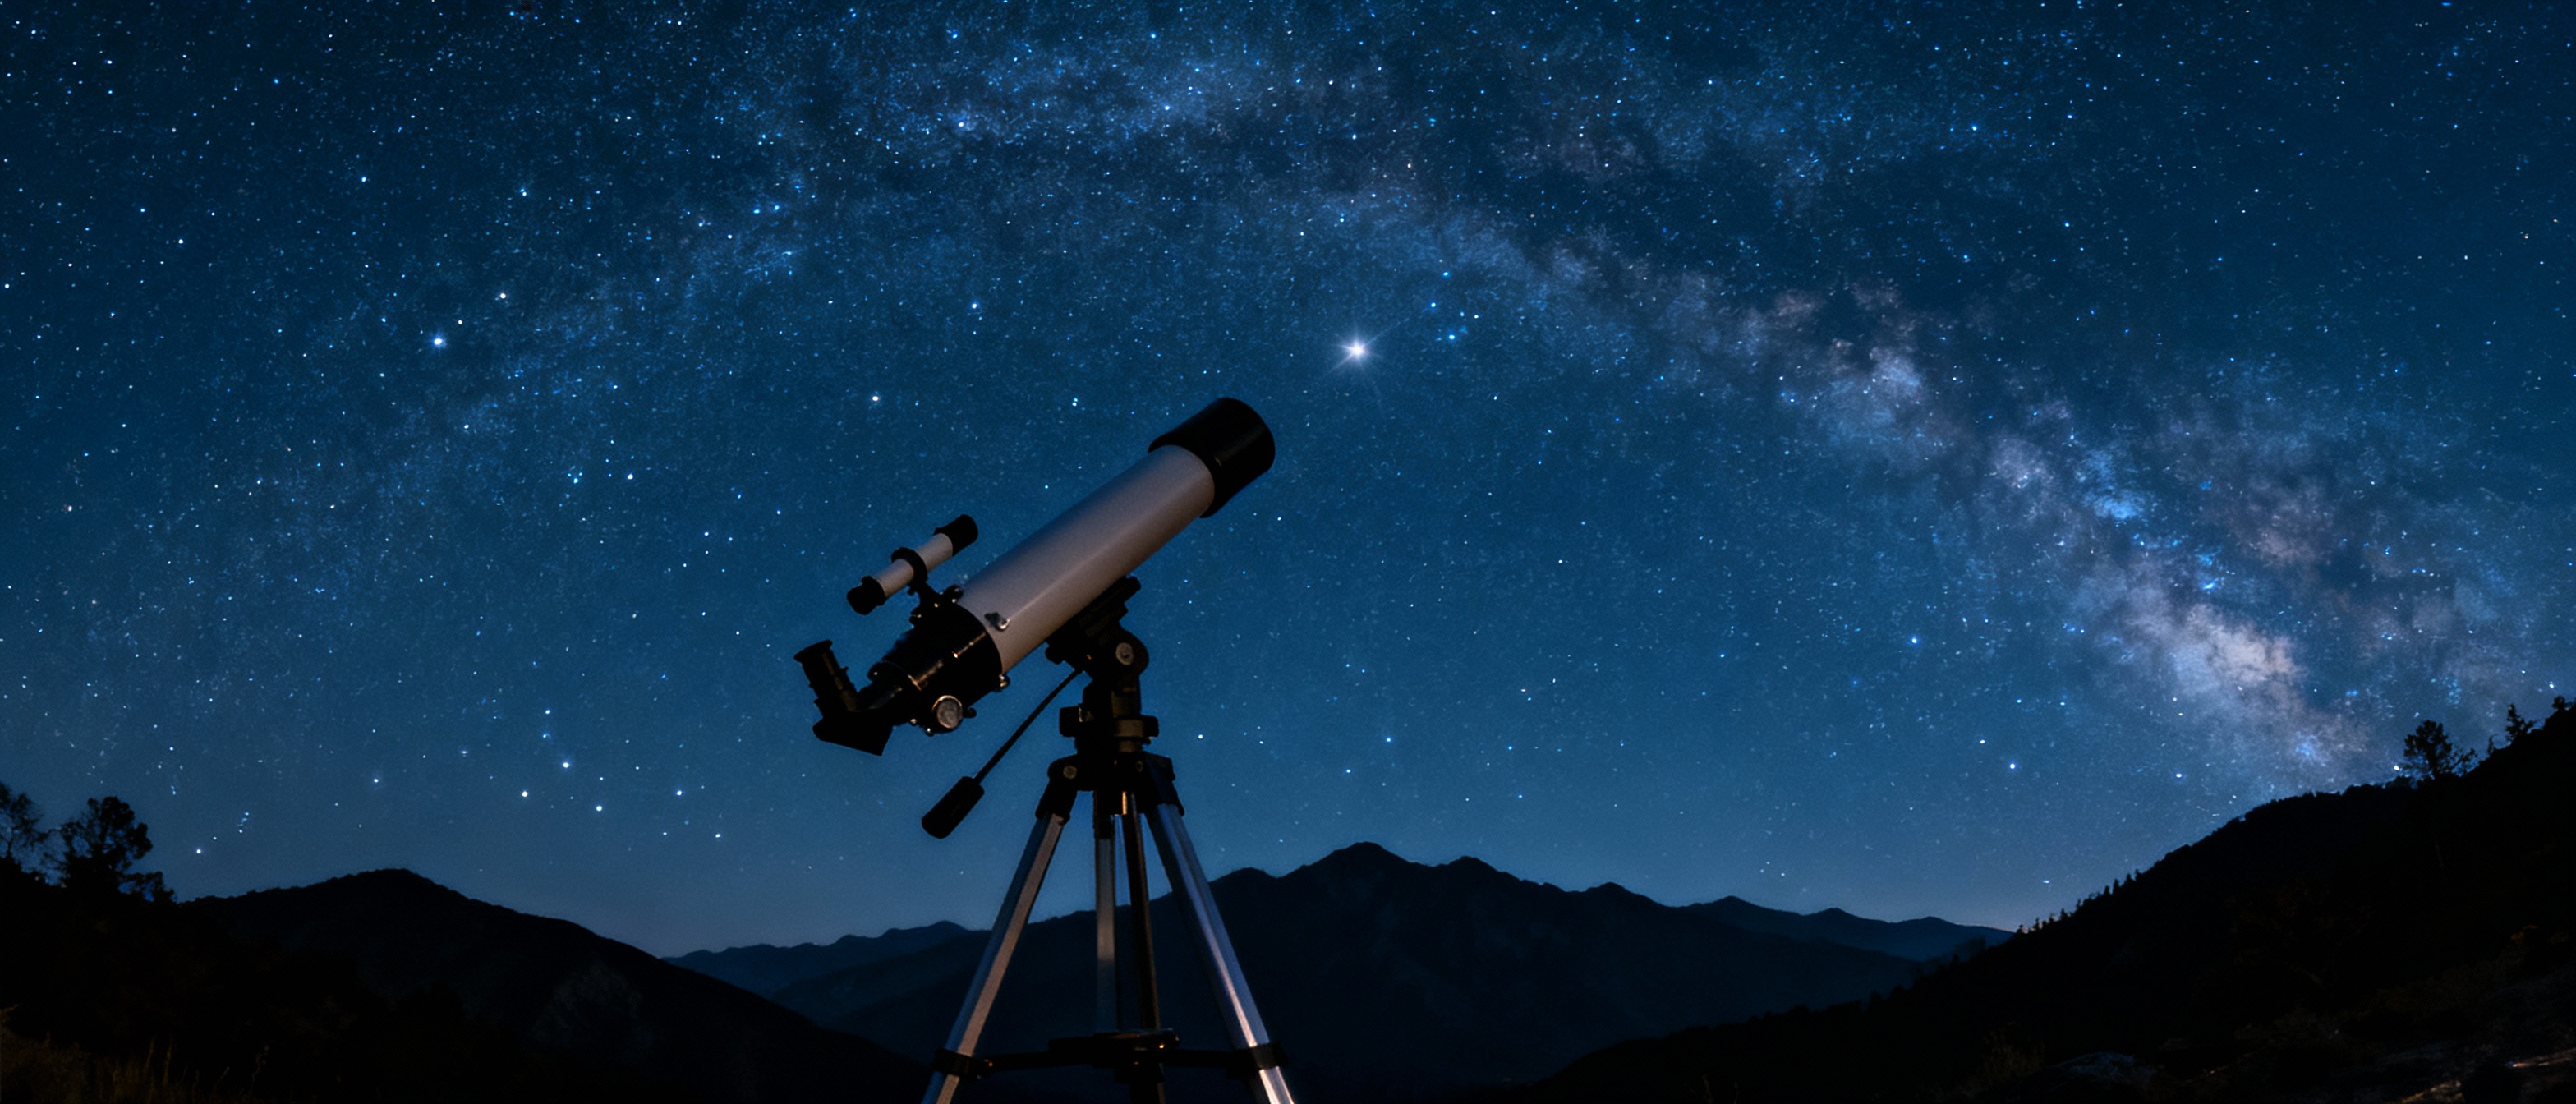
Polar alignment is the process of aligning a telescope’s mount with Earth’s rotational axis, a critical step for capturing sharp, long-exposure astrophotos. At its core, this procedure ensures that the telescope tracks celestial objects smoothly as they appear to move across the sky. Misalignment introduces tracking errors, leading to blurred images or star trails—even with high-end equipment. The celestial pole (North or South, depending on your hemisphere) serves as the anchor point. For northern observers, Polaris—the North Star—is the guiding marker, though it’s not exactly at the true pole. Modern mounts compensate for this offset, but precise alignment remains essential.
Why Timing Matters in Polar Alignment Accuracy
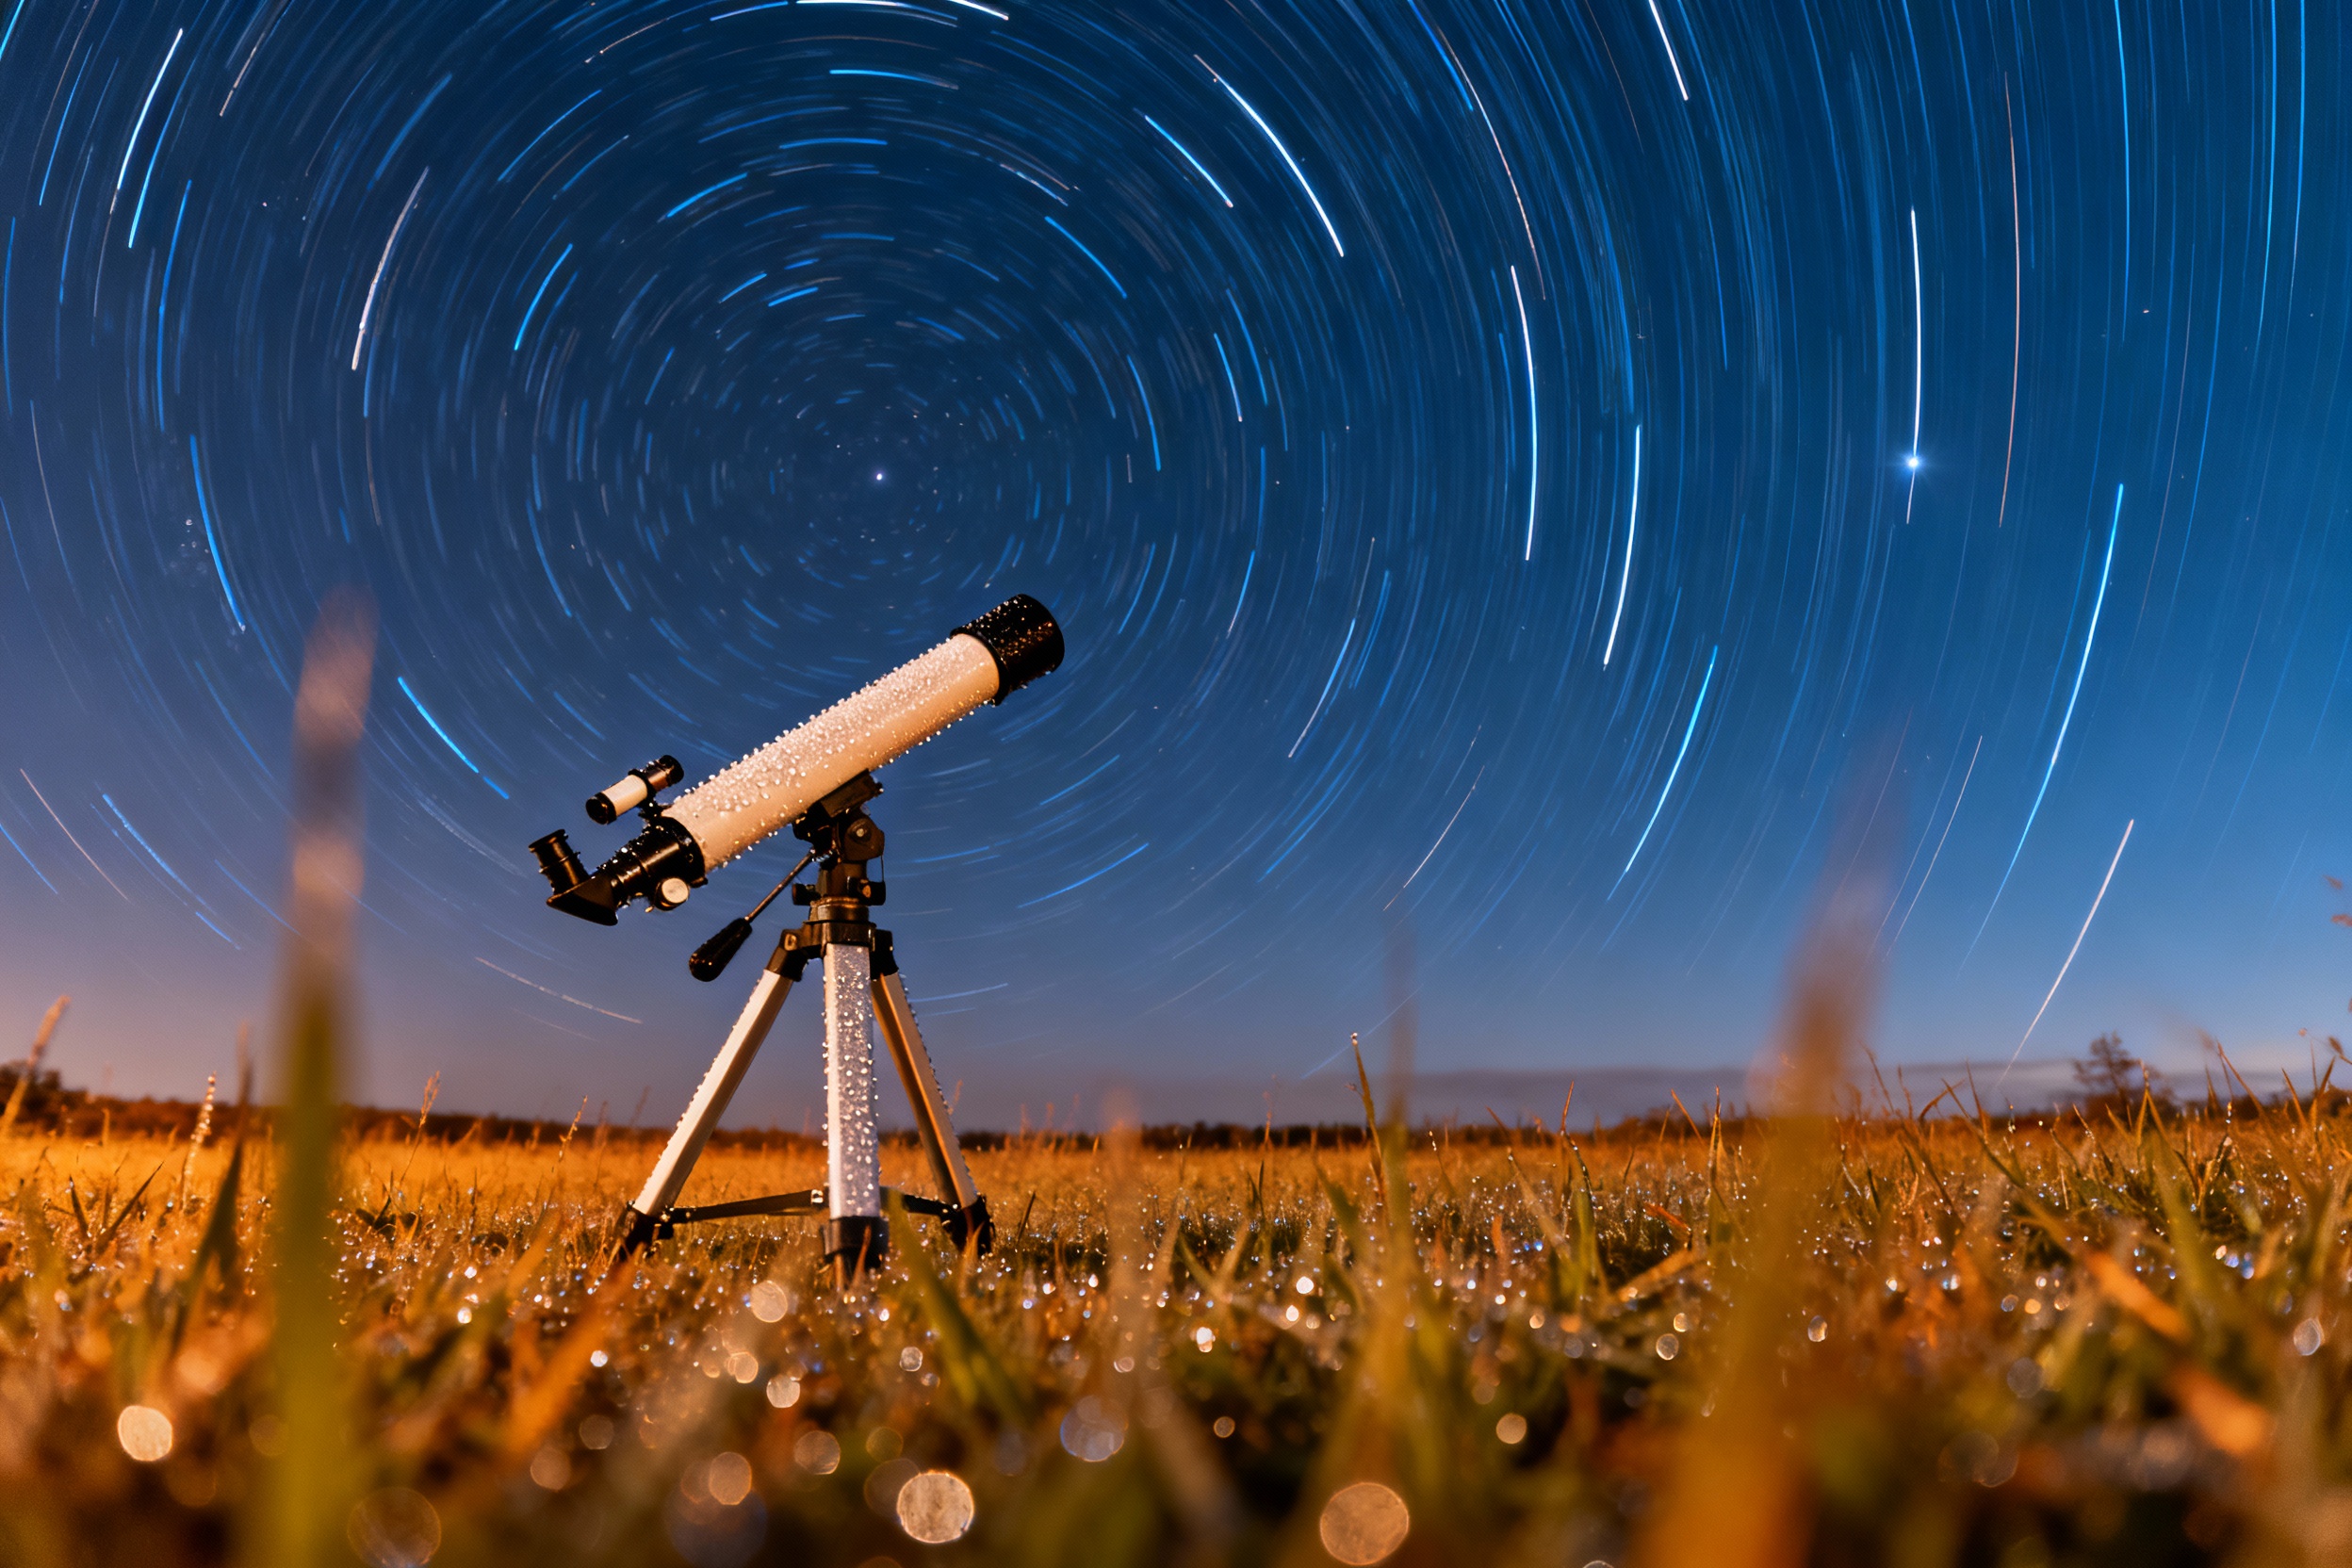
Timing affects polar alignment in two key ways: environmental stability and celestial positioning. Temperature fluctuations after sunset can warp tripod legs or telescope components, subtly shifting alignment. Waiting for equipment to acclimate minimizes this risk. Additionally, the position of Polaris relative to the celestial pole changes slightly over time. While polar scopes include reticles adjusted for epoch years, real-time software solutions like SharpCap or ASIAir can account for these shifts. Aligning during astronomical twilight—when the sky is dark enough to see stars but not completely black—offers a balance between visibility and minimizing thermal disturbances.
Manual vs. Assisted Polar Alignment Techniques
Manual methods, like the drift alignment technique, involve adjusting the mount while observing star movement through an eyepiece. This requires patience and clear skies but builds a foundational understanding of celestial mechanics. Assisted tools, such as illuminated polar scopes or smartphone apps like PolarAlign Pro, overlay real-time star maps to guide adjustments. For photographers seeking efficiency, mounts with built-in GPS and auto-alignment (e.g., Celestron’s SkyAlign) automate the process. However, manual checks remain advisable—automated systems can falter in light-polluted areas or during rapid weather changes.
Best Times of Night for Optimal Polar Alignment
Aligning too early—before the mount stabilizes thermally—or too late—when target constellations are obscured—can sabotage accuracy. The first hour after astronomical twilight offers ideal conditions: equipment has acclimated, and reference stars like Polaris are visible. Mid-evening sessions avoid the “meridian flip” complication, where the telescope must reposition as targets cross the meridian. For all-night sessions, recheck alignment around midnight; mechanical backlash or gear shifts can introduce minor errors over time.
Software Solutions for Real-Time Polar Alignment
Software like NINA or PoleMaster revolutionizes alignment by analyzing star positions through a connected camera. These tools overlay a live view of Polaris’ actual and target positions, enabling adjustments without peering through a polar scope—especially useful for wearers of glasses. Plate-solving takes this further, using star patterns to calculate alignment errors automatically. While these methods rely on batteries and cables, they’re indispensable in light-polluted urban areas where reference stars are scarce.
Common Polar Alignment Mistakes and How to Fix Them
Misinputting location coordinates or time zone settings is a frequent error—double-checking these in the mount’s menu prevents frustration. Another pitfall is neglecting leveling: even a slightly tilted tripod introduces azimuth errors. Use a bubble level during setup. If trailing stars appear in photos despite “successful” alignment, perform a quick drift test: center a star near the celestial equator and monitor its drift direction to diagnose polar misalignment.
Future Trends in Polar Alignment Technology
Emerging AI-driven systems, like those in Unistellar’s eVscope, promise real-time adaptive alignment without user input. Integrating weather data and thermal sensors could auto-correct for environmental shifts. Additionally, augmented reality (AR) headsets may soon project alignment markers directly onto the night sky, merging manual precision with digital guidance. These innovations aim to democratize astrophotography, reducing the learning curve while maintaining scientific rigor.