Sensor Cleaning for Crisp Star Shots
```html
The Importance of a Clean Sensor for Astrophotography
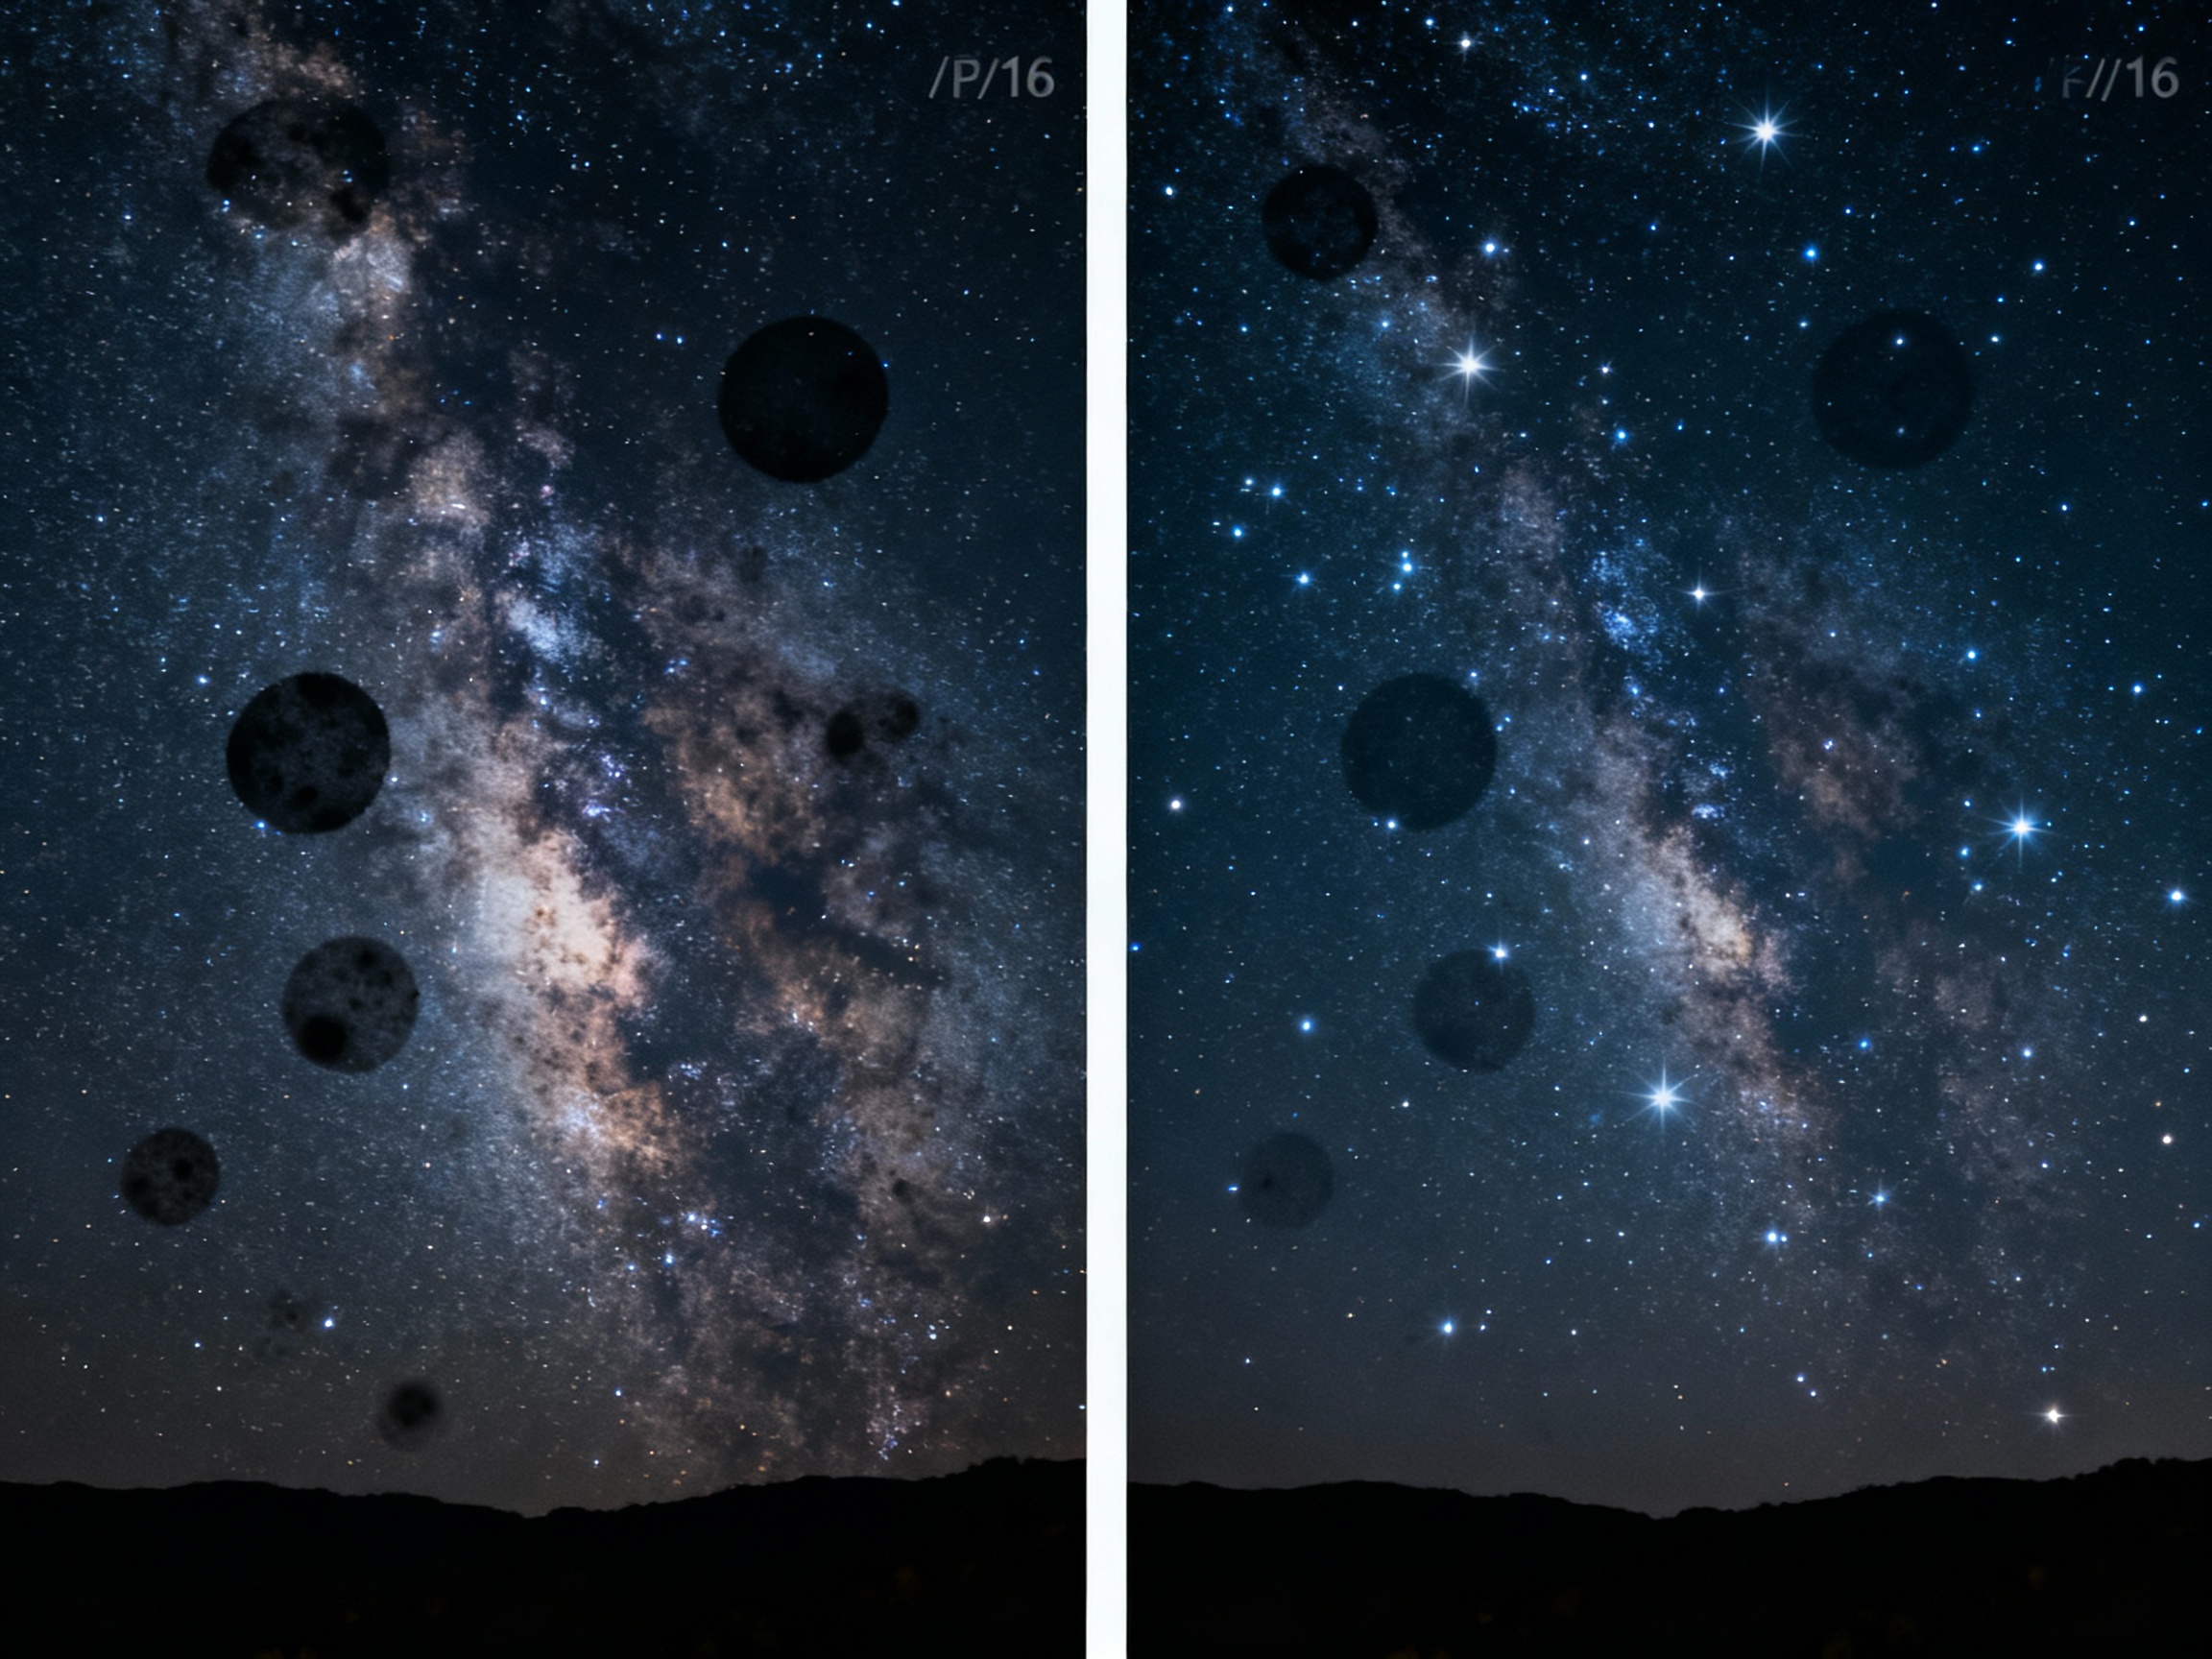
Capturing the night sky in all its glory requires precision, patience, and a camera sensor free of contaminants. Dust, oil, or debris on your sensor can transform a breathtaking starscape into a frustrating exercise in post-processing. When shooting at narrow apertures (f/11 or higher), even microscopic particles cast visible shadows, appearing as dark smudges or spots across your image. These imperfections become glaringly obvious in long-exposure astrophotography, where the Milky Way’s delicate details or the sharpness of star trails are paramount. A clean sensor ensures that the only specks in your frame are the stars themselves.
Understanding How Sensor Dust Affects Your Star Images
Sensor dust doesn’t just obscure pixels—it alters the integrity of your astrophotos. Unlike daytime photography, where wide apertures or busy backgrounds might hide imperfections, astrophotography often relies on dark, uniform skies and exposures lasting several seconds. Dust particles on the sensor create out-of-focus shadows that resemble tiny eclipses, particularly noticeable in evenly exposed areas like nebulae or the night sky’s gradient. These artifacts force photographers to spend hours cloning or healing in software, a preventable hassle with proper sensor maintenance.

Preparing Your Workspace for Safe Sensor Cleaning
Before touching your sensor, create a controlled environment. Choose a clean, dust-free room with minimal airflow—avoid spaces with fans or open windows. Gather supplies: sensor swabs, a rocket blower, a magnifying loupe, and sensor cleaning fluid. Power off your camera and remove the battery to prevent static buildup. Use gloves to avoid transferring oils, and lay the camera body face-down on a lint-free microfiber cloth. Pre-inspect the sensor with a flashlight to identify problem areas.
Step-by-Step Guide to Manual Sensor Cleaning
Start by using a rocket blower to dislodge loose dust—never blow with your mouth, as moisture can worsen the issue. If particles persist, dampen a sensor swab with two drops of cleaning fluid. Holding the swab horizontally, gently swipe it across the sensor in one direction, then flip and repeat. Avoid circular motions, which can redistribute debris. For full-frame sensors, use larger swabs to prevent streaks. After cleaning, inspect the sensor again under a loupe. Repeat if necessary, but never reuse swabs—they’re single-use to prevent cross-contamination.
The Role of Automated Sensor Cleaning Systems
Many modern cameras include built-in ultrasonic sensor cleaning, which vibrates the filter covering the sensor to shake off loose dust. While convenient for maintenance between shoots, these systems struggle with adhesive particles like pollen or moisture-bound debris. Use this feature after shoots in dusty environments, but don’t rely on it for deep cleaning. Combine it with manual methods for best results, and always engage the cleaning mode with the camera oriented sensor-down to let gravity assist.
Common Mistakes to Avoid When Cleaning Your Camera Sensor
One critical error is using improper tools, such as cotton swabs or compressed air. Cotton fibers shed and scratch sensors, while canned air can spit propellant onto the sensor. Over-application of cleaning fluid is another pitfall—excess liquid seeps into seams, risking internal damage. Rushing the process or skipping pre-inspection also leads to streaks. Lastly, avoid cleaning in humid environments, as moisture invites static and new dust adhesion.
Testing Your Sensor After Cleaning: Ensuring a Spotless Result
After cleaning, test your sensor by photographing a plain white wall or overcast sky at f/16. Use manual focus to blur the image, making dust spots more apparent. Review the photo at 100% zoom, panning across the frame. Software like Adobe Lightroom’s Visualize Spots tool can overlay a contrasty filter to reveal remaining debris. If spots persist, note their positions and re-clean specific areas rather than repeating full swipes unnecessarily.
Preventative Measures to Minimize Future Dust Accumulation
Prevention begins with careful lens changes—turn off the camera to reduce static, and angle the body downward to prevent dust ingress. Use a lens-changing bag in windy conditions. Store cameras in sealed bags with desiccant packs to control humidity. Consider attaching a UV filter to lenses as a sacrificial barrier, though avoid stacking filters unnecessarily. Regularly replace lens rear caps, as worn ones may harbor dust.
When to Seek Professional Help for Sensor Cleaning
If stubborn debris resists multiple cleaning attempts, professionals with specialized tools like sensor-matching scrapers or sticky gel sticks can help. Persistent spots may indicate not dust, but fungus or sensor degradation, requiring expert assessment. Many camera manufacturers offer cleaning services with warranties against damage—ideal for high-end or older cameras where DIY risks outweigh benefits.