Settings for Wide-Field Constellations
```html
Exploring the Cosmos: Optimal Settings for Wide-Field Constellations
Understanding Wide-Field Astrophotography
Wide-field astrophotography captures expansive regions of the night sky, often including multiple constellations or celestial phenomena. Unlike deep-sky imaging, which focuses on individual galaxies or nebulae, wide-field setups emphasize the interconnected beauty of star patterns and their surroundings. This approach requires balancing technical precision with artistic composition, making lens selection, camera settings, and location crucial. By framing constellations within their broader celestial context, photographers can reveal the scale and grandeur of the cosmos.
Choosing Dark Sky Locations
Light pollution is the arch-nemesis of wide-field imaging. Sites classified as Bortle Scale 1 or 2—such as certified Dark Sky Reserves—offer minimal atmospheric interference, allowing constellations like Orion or Scorpius to shine with striking clarity. Elevated regions with dry climates, like Chile’s Atacama Desert or Hawaii’s Mauna Kea, provide additional advantages: reduced atmospheric turbulence and infrared interference. Prioritize locations with unobstructed sightlines and minimal ground-level light sources for optimal results.
Essential Gear for Wide-Field Imaging
A fast wide-angle lens (f/2.8 or wider) paired with a full-frame DSLR or mirrorless camera forms the foundation of most setups. Star trackers like the Sky-Watcher Star Adventurer compensate for Earth’s rotation, enabling longer exposures without star trails. For static tripod shots, adhere to the 500 Rule: divide 500 by your lens’s focal length to determine maximum exposure time (e.g., 20 seconds for a 24mm lens). Don’t overlook accessories: a sturdy tripod, intervalometer, and light pollution filters can make or break your session.
Seasonal Considerations for Constellation Hunting
The Earth’s axial tilt dictates which constellations dominate each season. Winter offers iconic patterns like Taurus and Gemini, while summer showcases the Summer Triangle (Cygnus, Lyra, Aquila). Spring and autumn provide transitional views, ideal for capturing zodiacal constellations near the ecliptic plane. Plan sessions around astronomical twilight phases and moon cycles—new moon weeks maximize faint star visibility, while crescent moons can artistically illuminate landscapes without overwhelming the sky.
Mastering Atmospheric Conditions
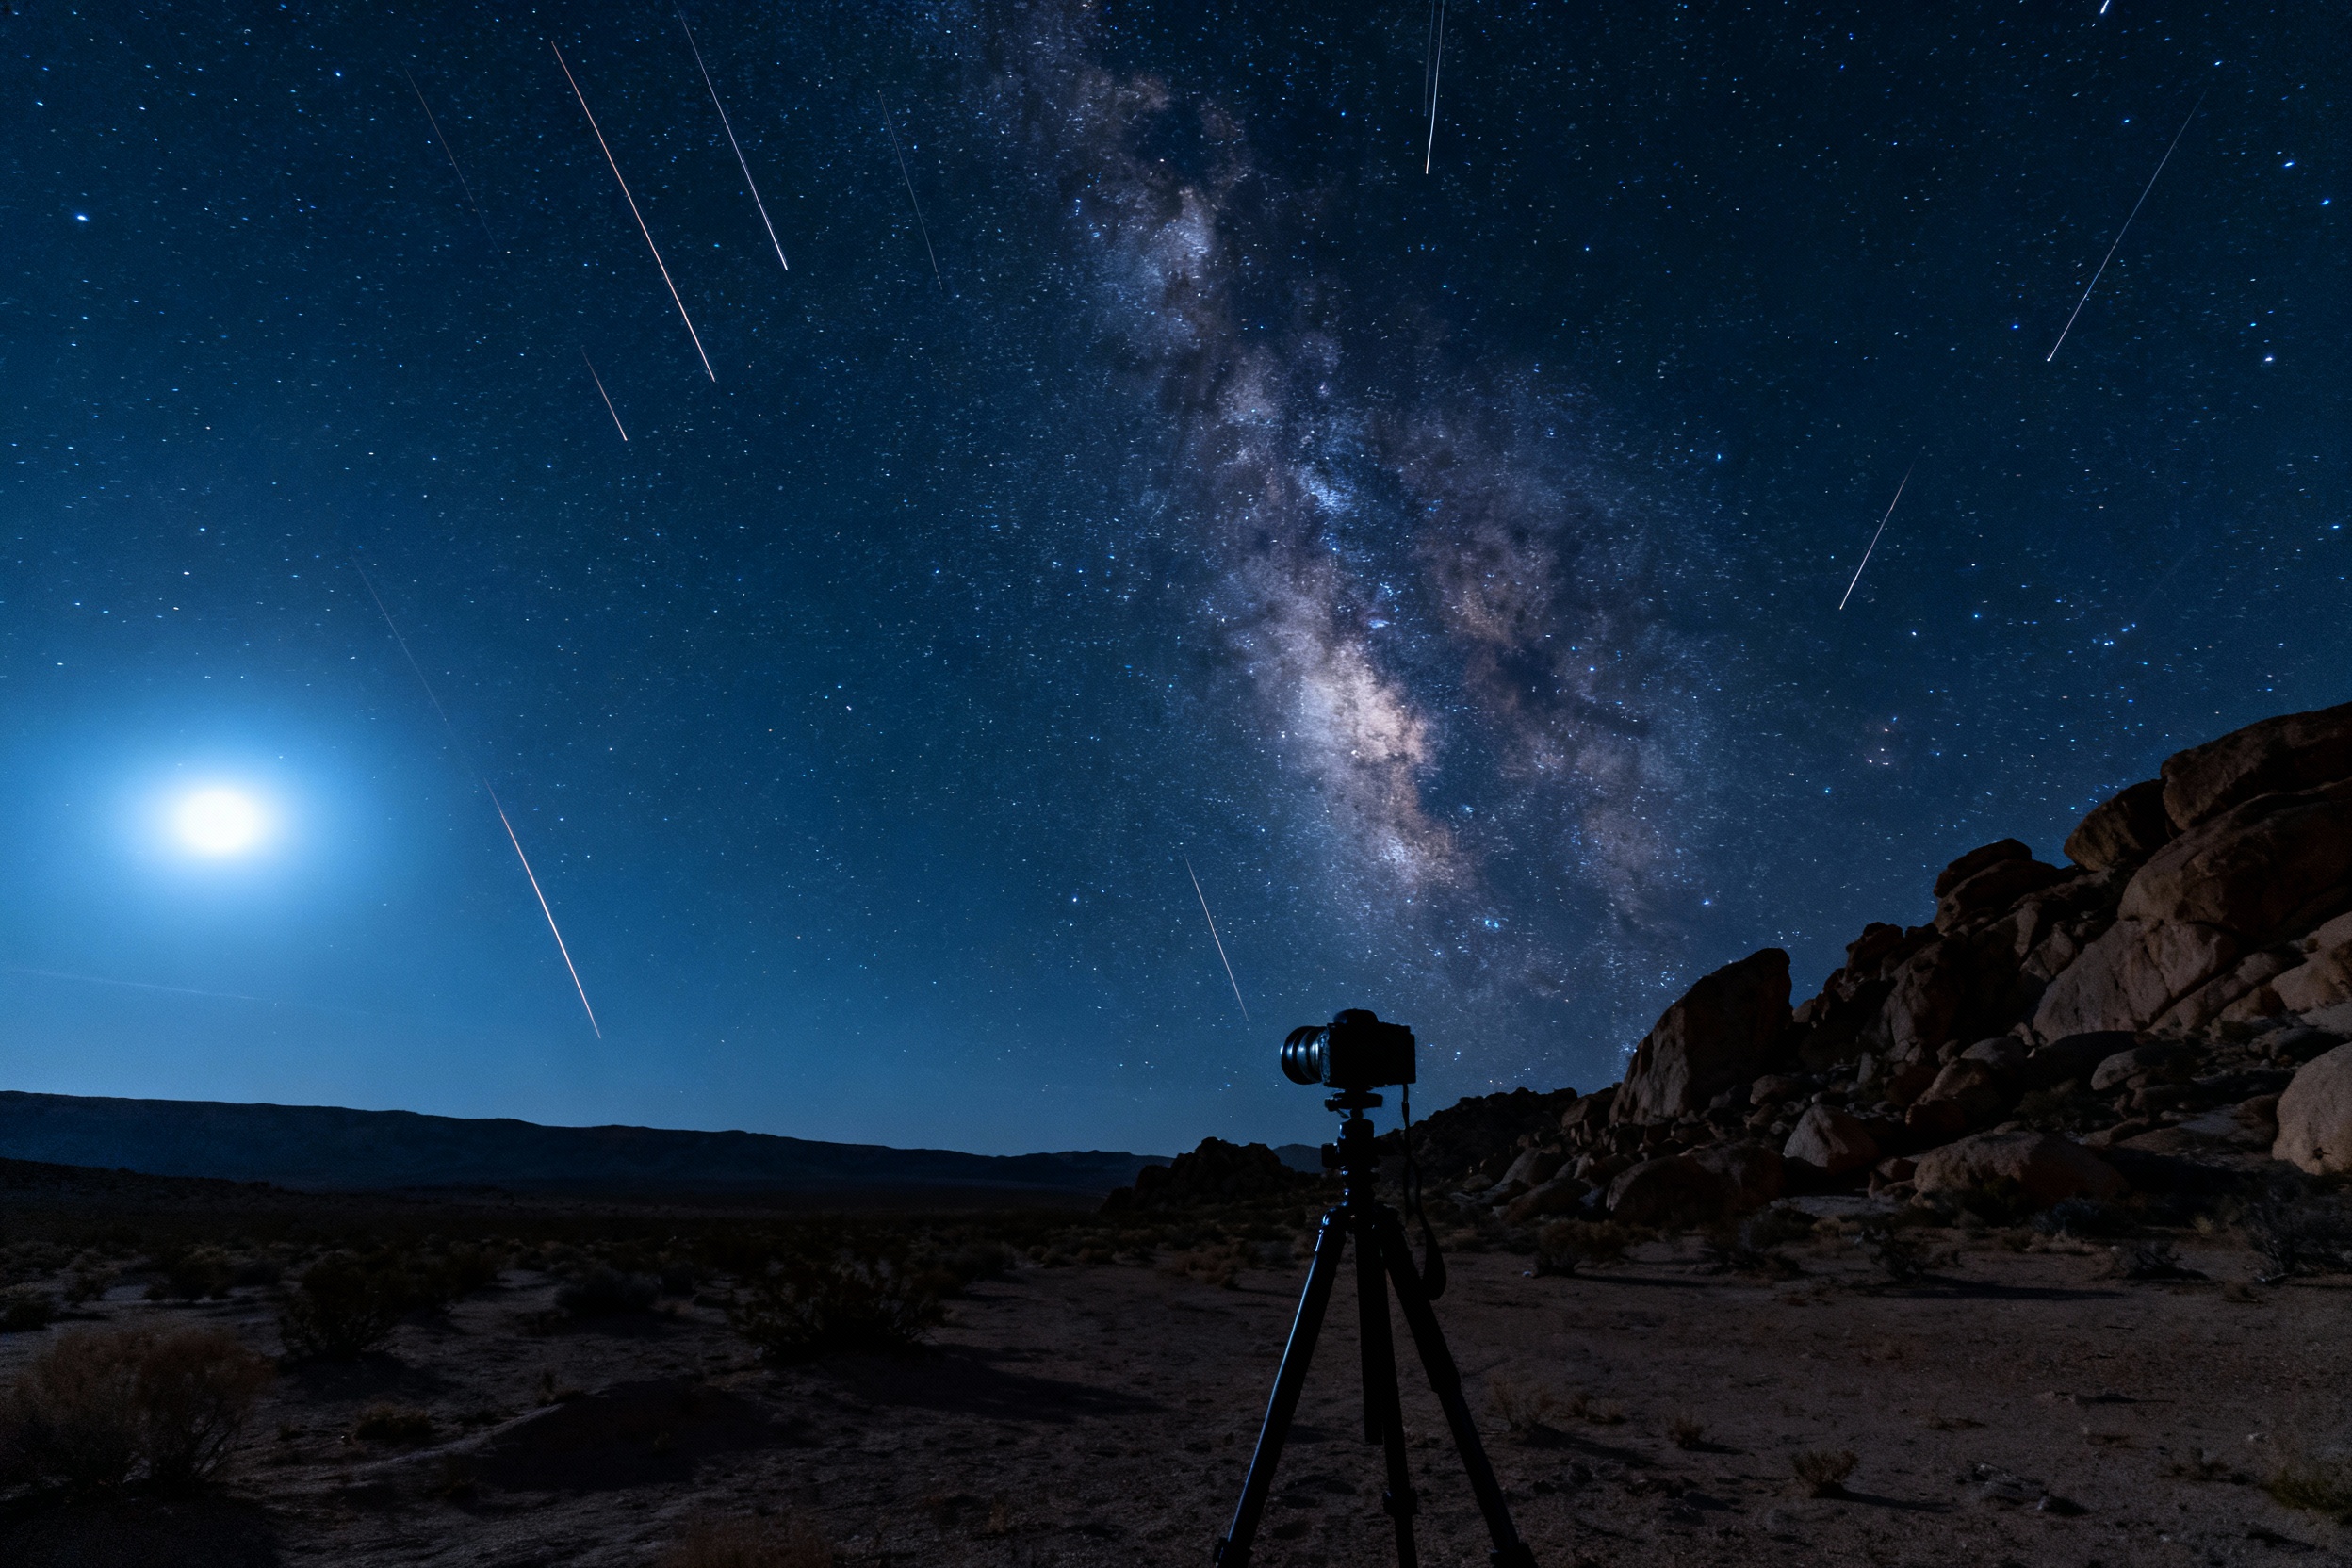
Humidity, temperature differentials, and air stability significantly impact image quality. Use apps like Clear Outside to monitor transparency and seeing conditions. Cold nights often provide steadier air, reducing star distortion. For unique atmospheric effects, target nights with mild geomagnetic activity to capture auroras or shoot during meteor showers like the Perseids. Coastal regions offer opportunities to incorporate refracting star light over water, though salt spray demands protective gear for equipment.
Post-Processing Wide-Field Images
Start with RAW files to retain maximum data for stacking and adjustments. Software like Sequator or Starry Landscape Stacker combines multiple exposures to reduce noise while maintaining sharpness. Selective dodging can reveal faint constellations without overbrightening light-polluted horizons. Preserve natural color balances—avoid the temptation to oversaturate blues or overcorrect for atmospheric red shift near horizons. Subtle gradient removal tools help counteract light pollution effects in post.
Incorporating Terrestrial Elements
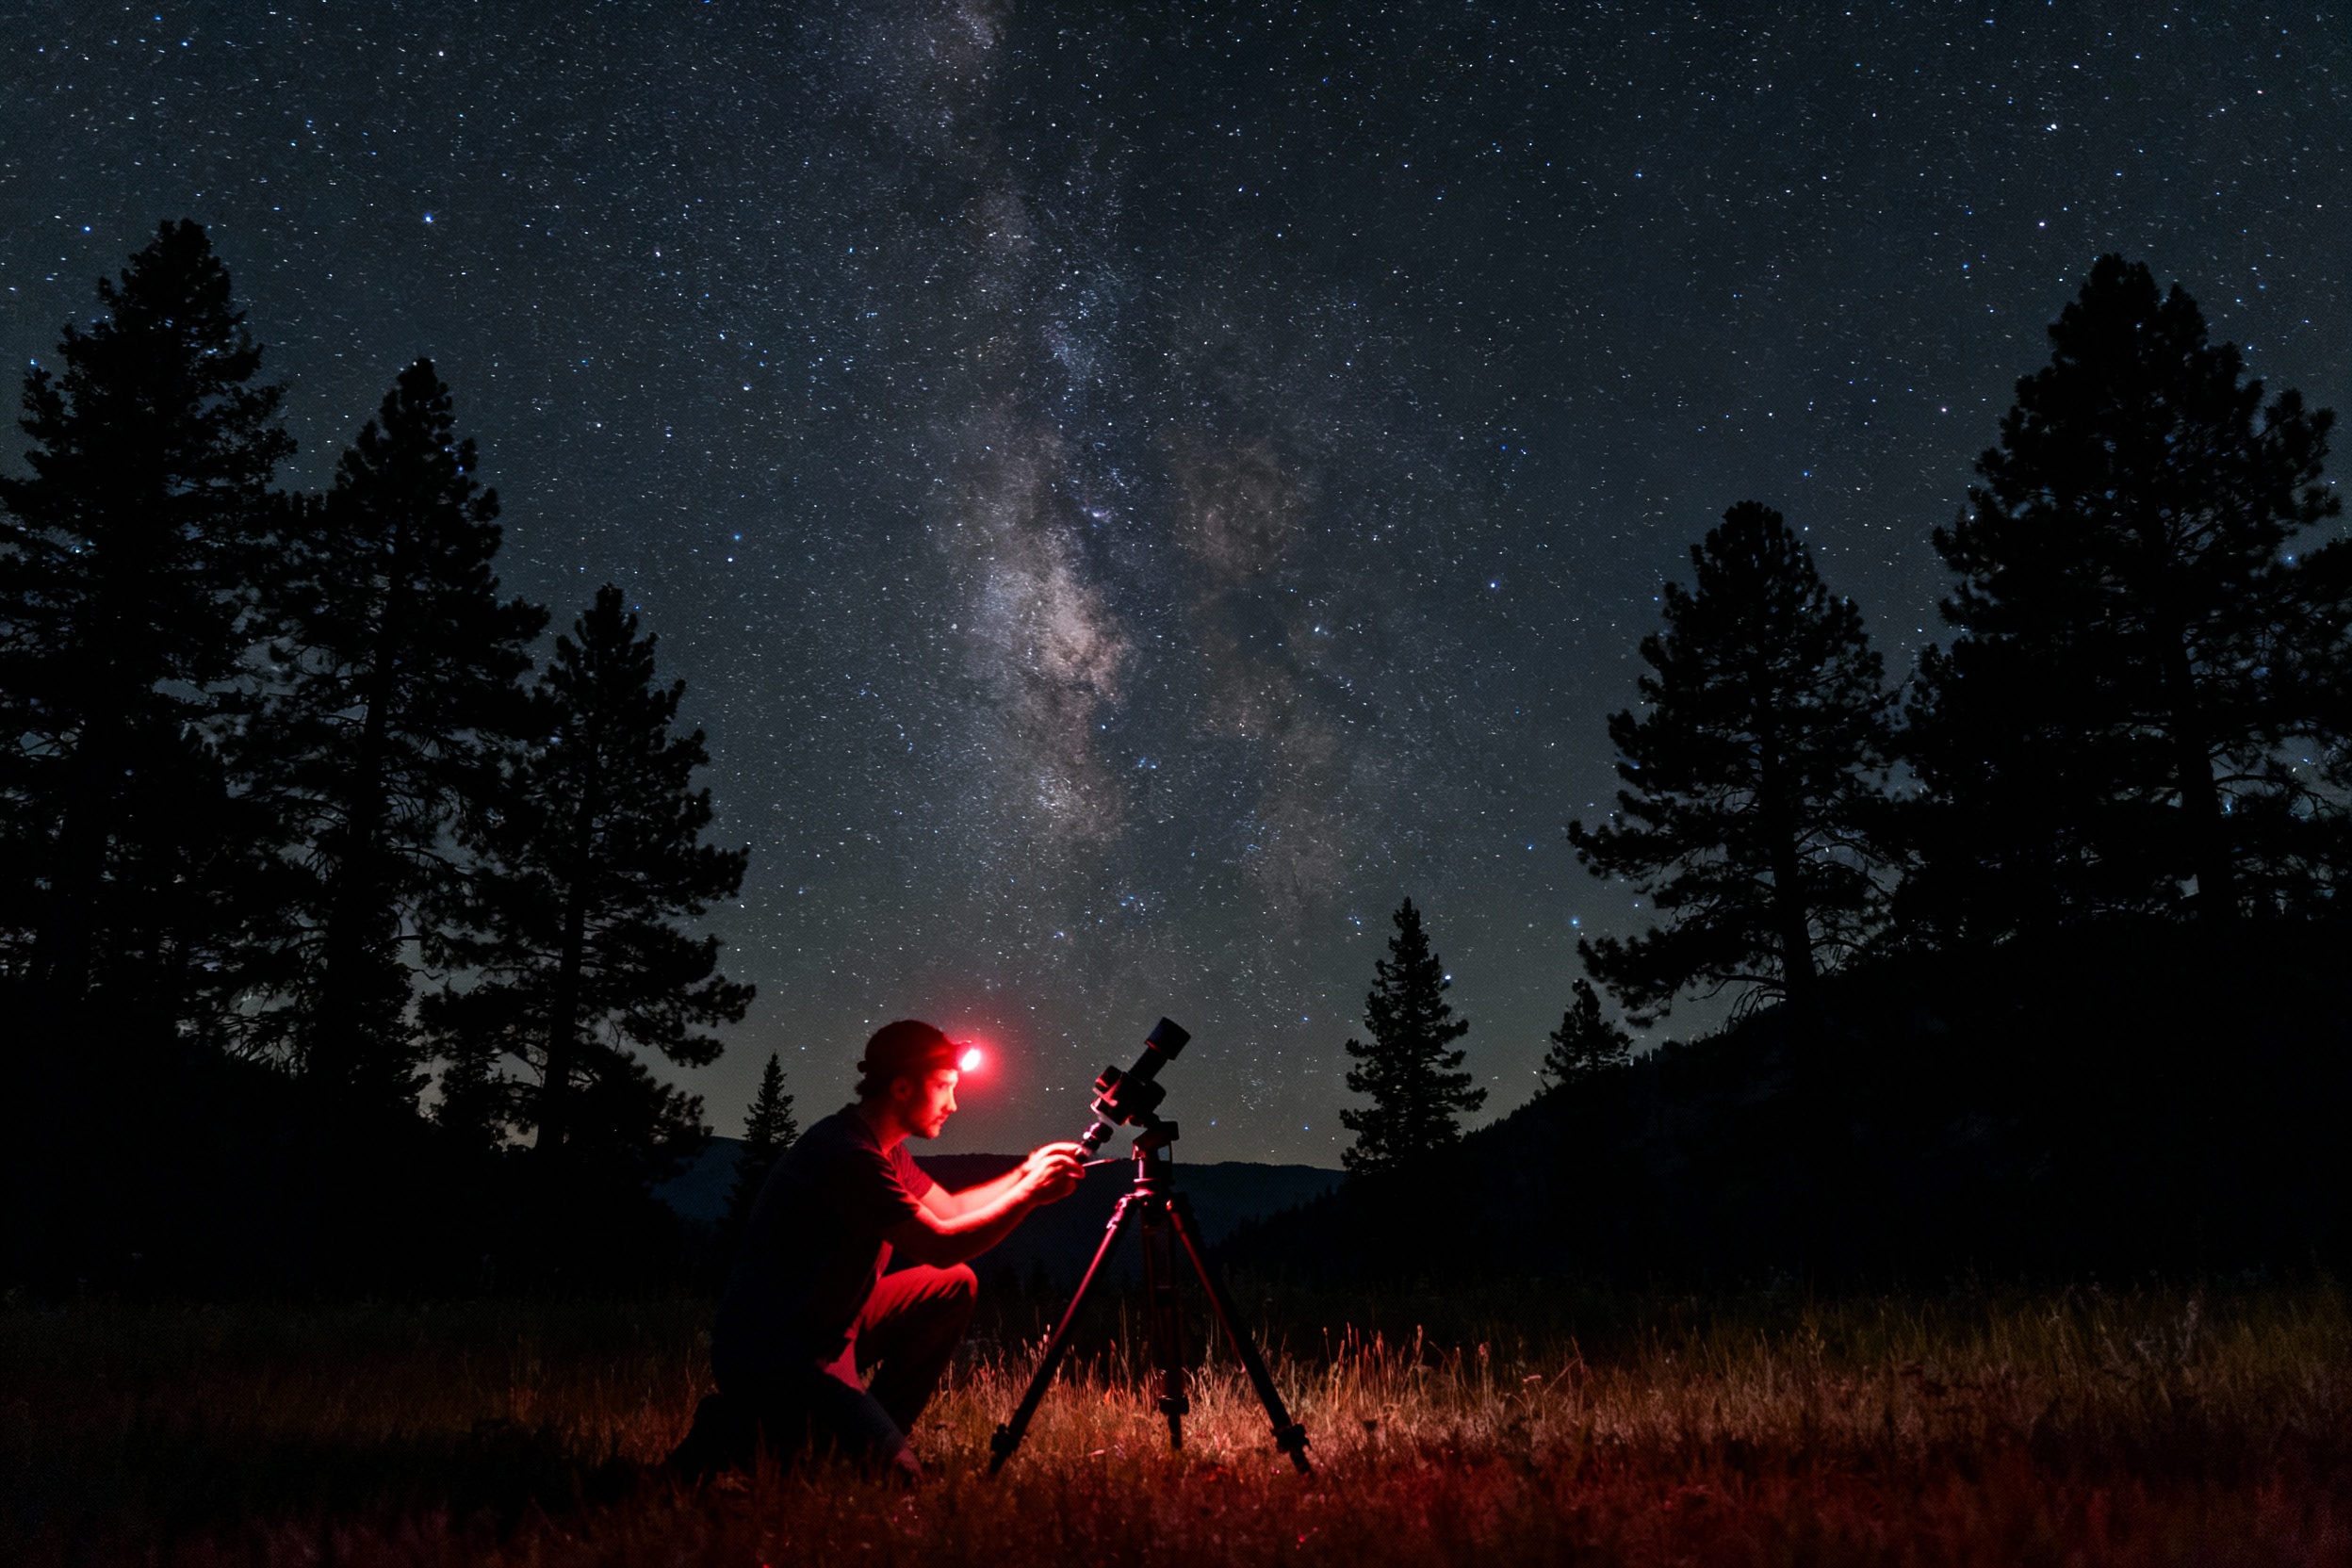
Landscape astrophotography elevates wide-field shots from technical exercises to storytelling art. Use silhouetted trees or rock formations to frame constellations, creating depth and scale. Light painting techniques—when used sparingly—can highlight foreground subjects without washing out stars. Time blends (combining separate sky and foreground exposures) overcome dynamic range limitations, though ensure celestial alignment remains consistent between shots.
Ethical and Sustainable Practices
As dark sky sites become increasingly rare, photographers must minimize their impact. Follow Leave No Trace principles: avoid trampling fragile ecosystems for the perfect angle and never use bright white lights during group sessions. Advocate for dark sky preservation through organizations like the International Dark-Sky Association. Share GPS coordinates judiciously—overpublicizing sensitive locations can lead to ecological degradation and increased light pollution from visitor traffic.
Learning From the Ancients
Many prehistoric structures align with celestial events—Newgrange’s winter solstice illumination or Chaco Canyon’s lunar standstill markers. By studying these archeoastronomical sites, modern photographers can rediscover how civilizations interpreted constellations. Capture these alignments during astronomical events to bridge past and present. Research cultural narratives behind constellations to add depth to your compositions, whether depicting Greek myths or Indigenous star lore.