Smartphone Astrophotography Mount Hacks
```html
Understanding the Basics of Smartphone Astrophotography
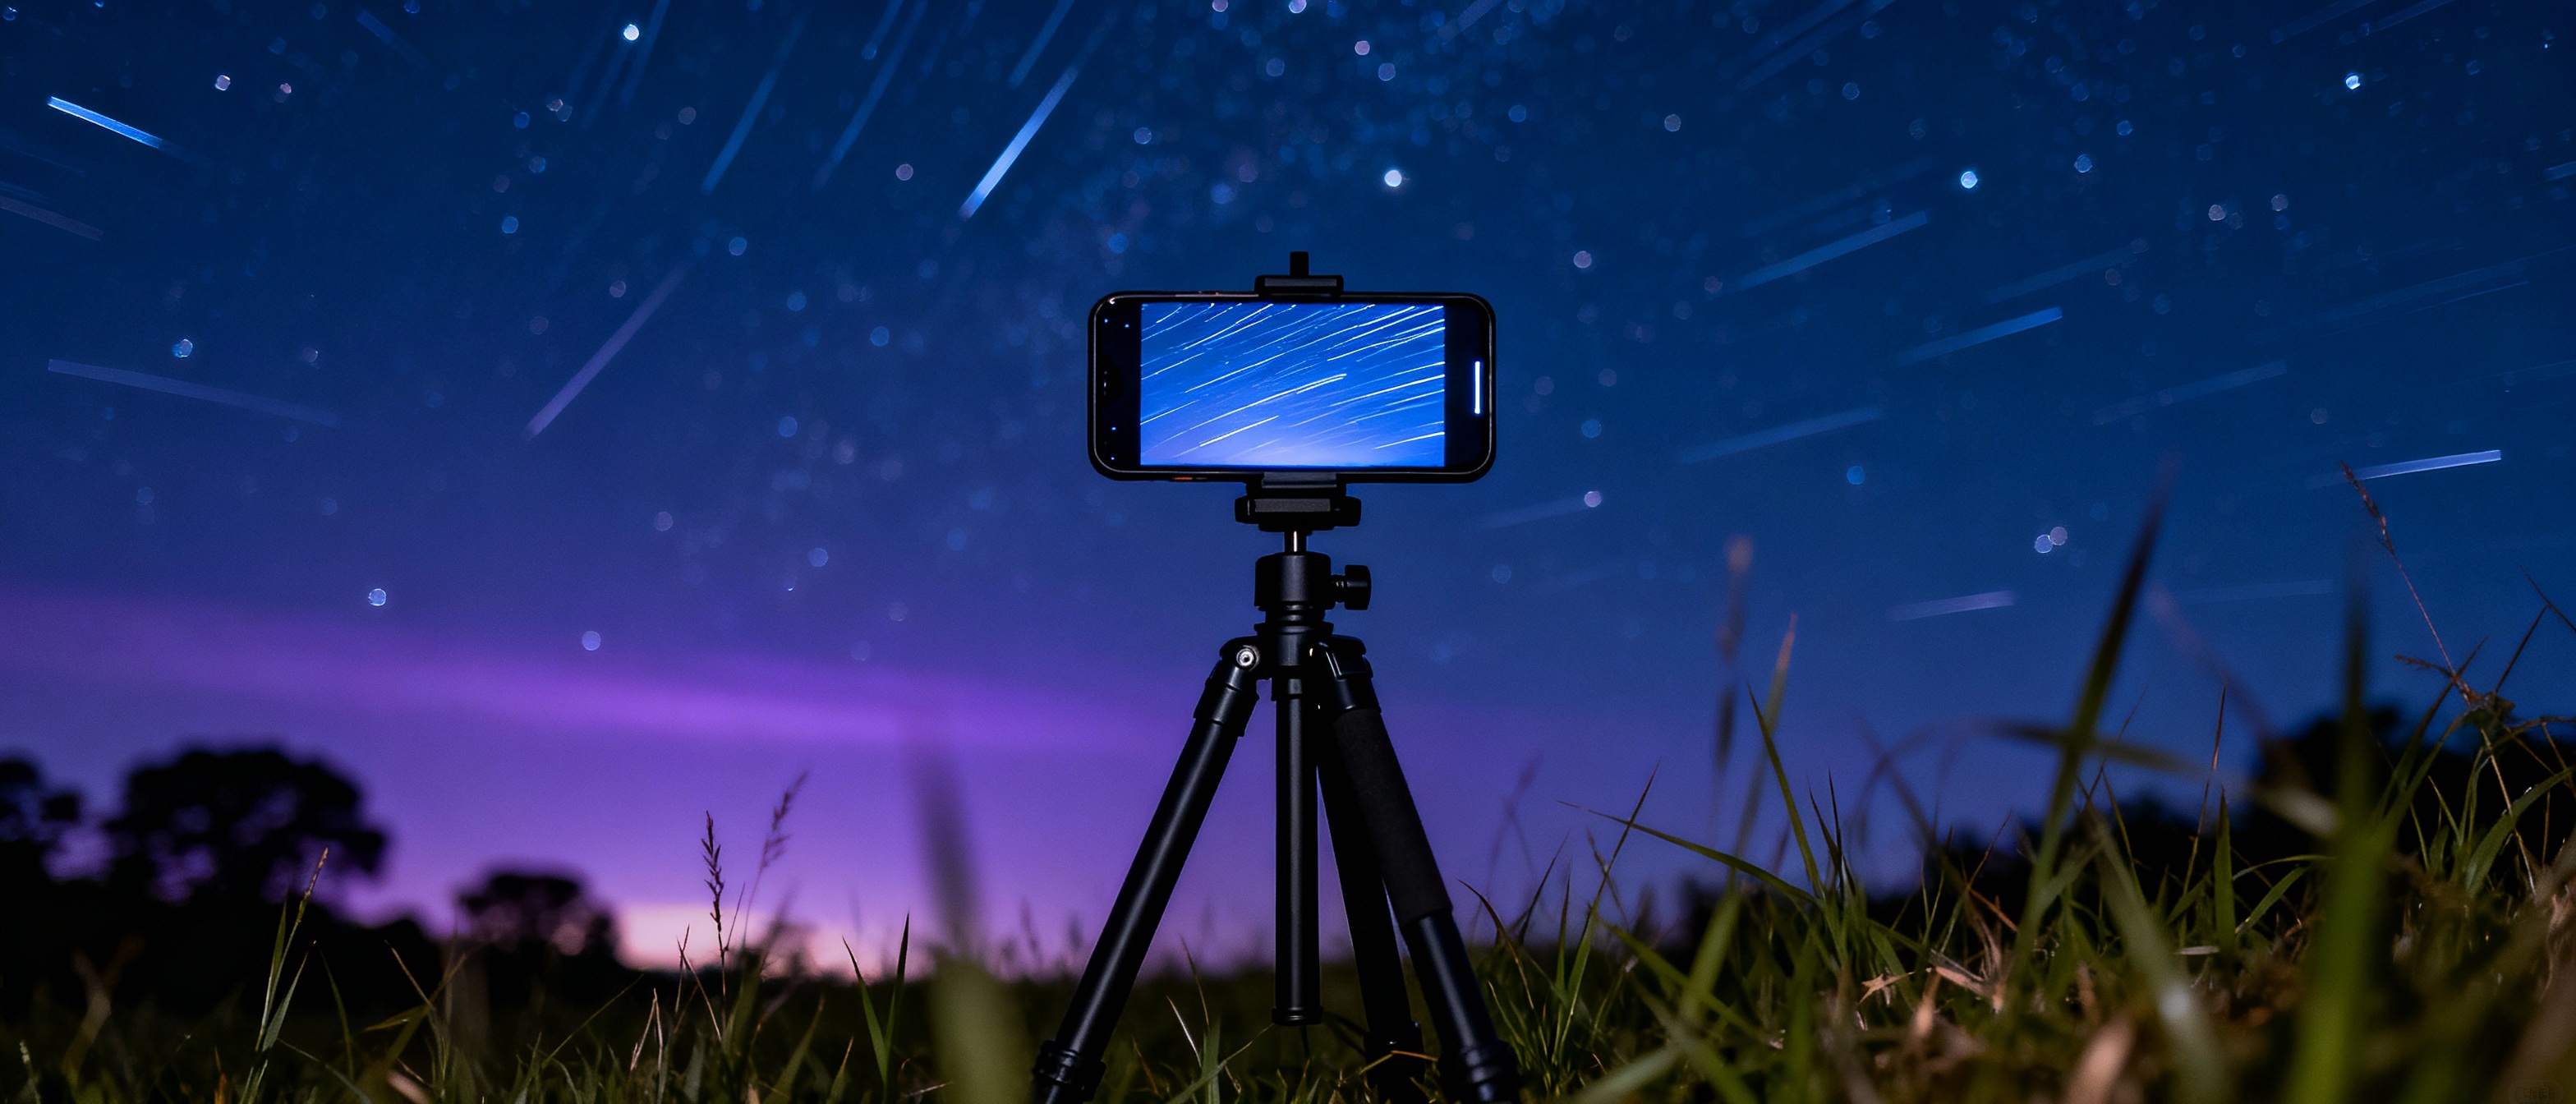
Smartphone astrophotography has opened the cosmos to amateur photographers, but capturing the night sky requires more than pointing your phone upward. Unlike traditional cameras, smartphones have smaller sensors and limited manual controls, making stable mounting essential. Even basic shots of the moon or constellations demand a steady setup to avoid blur. A makeshift mount not only stabilizes your device but also allows for long exposures, revealing details invisible to the naked eye.
DIY Smartphone Tripod Adaptors Using Everyday Objects
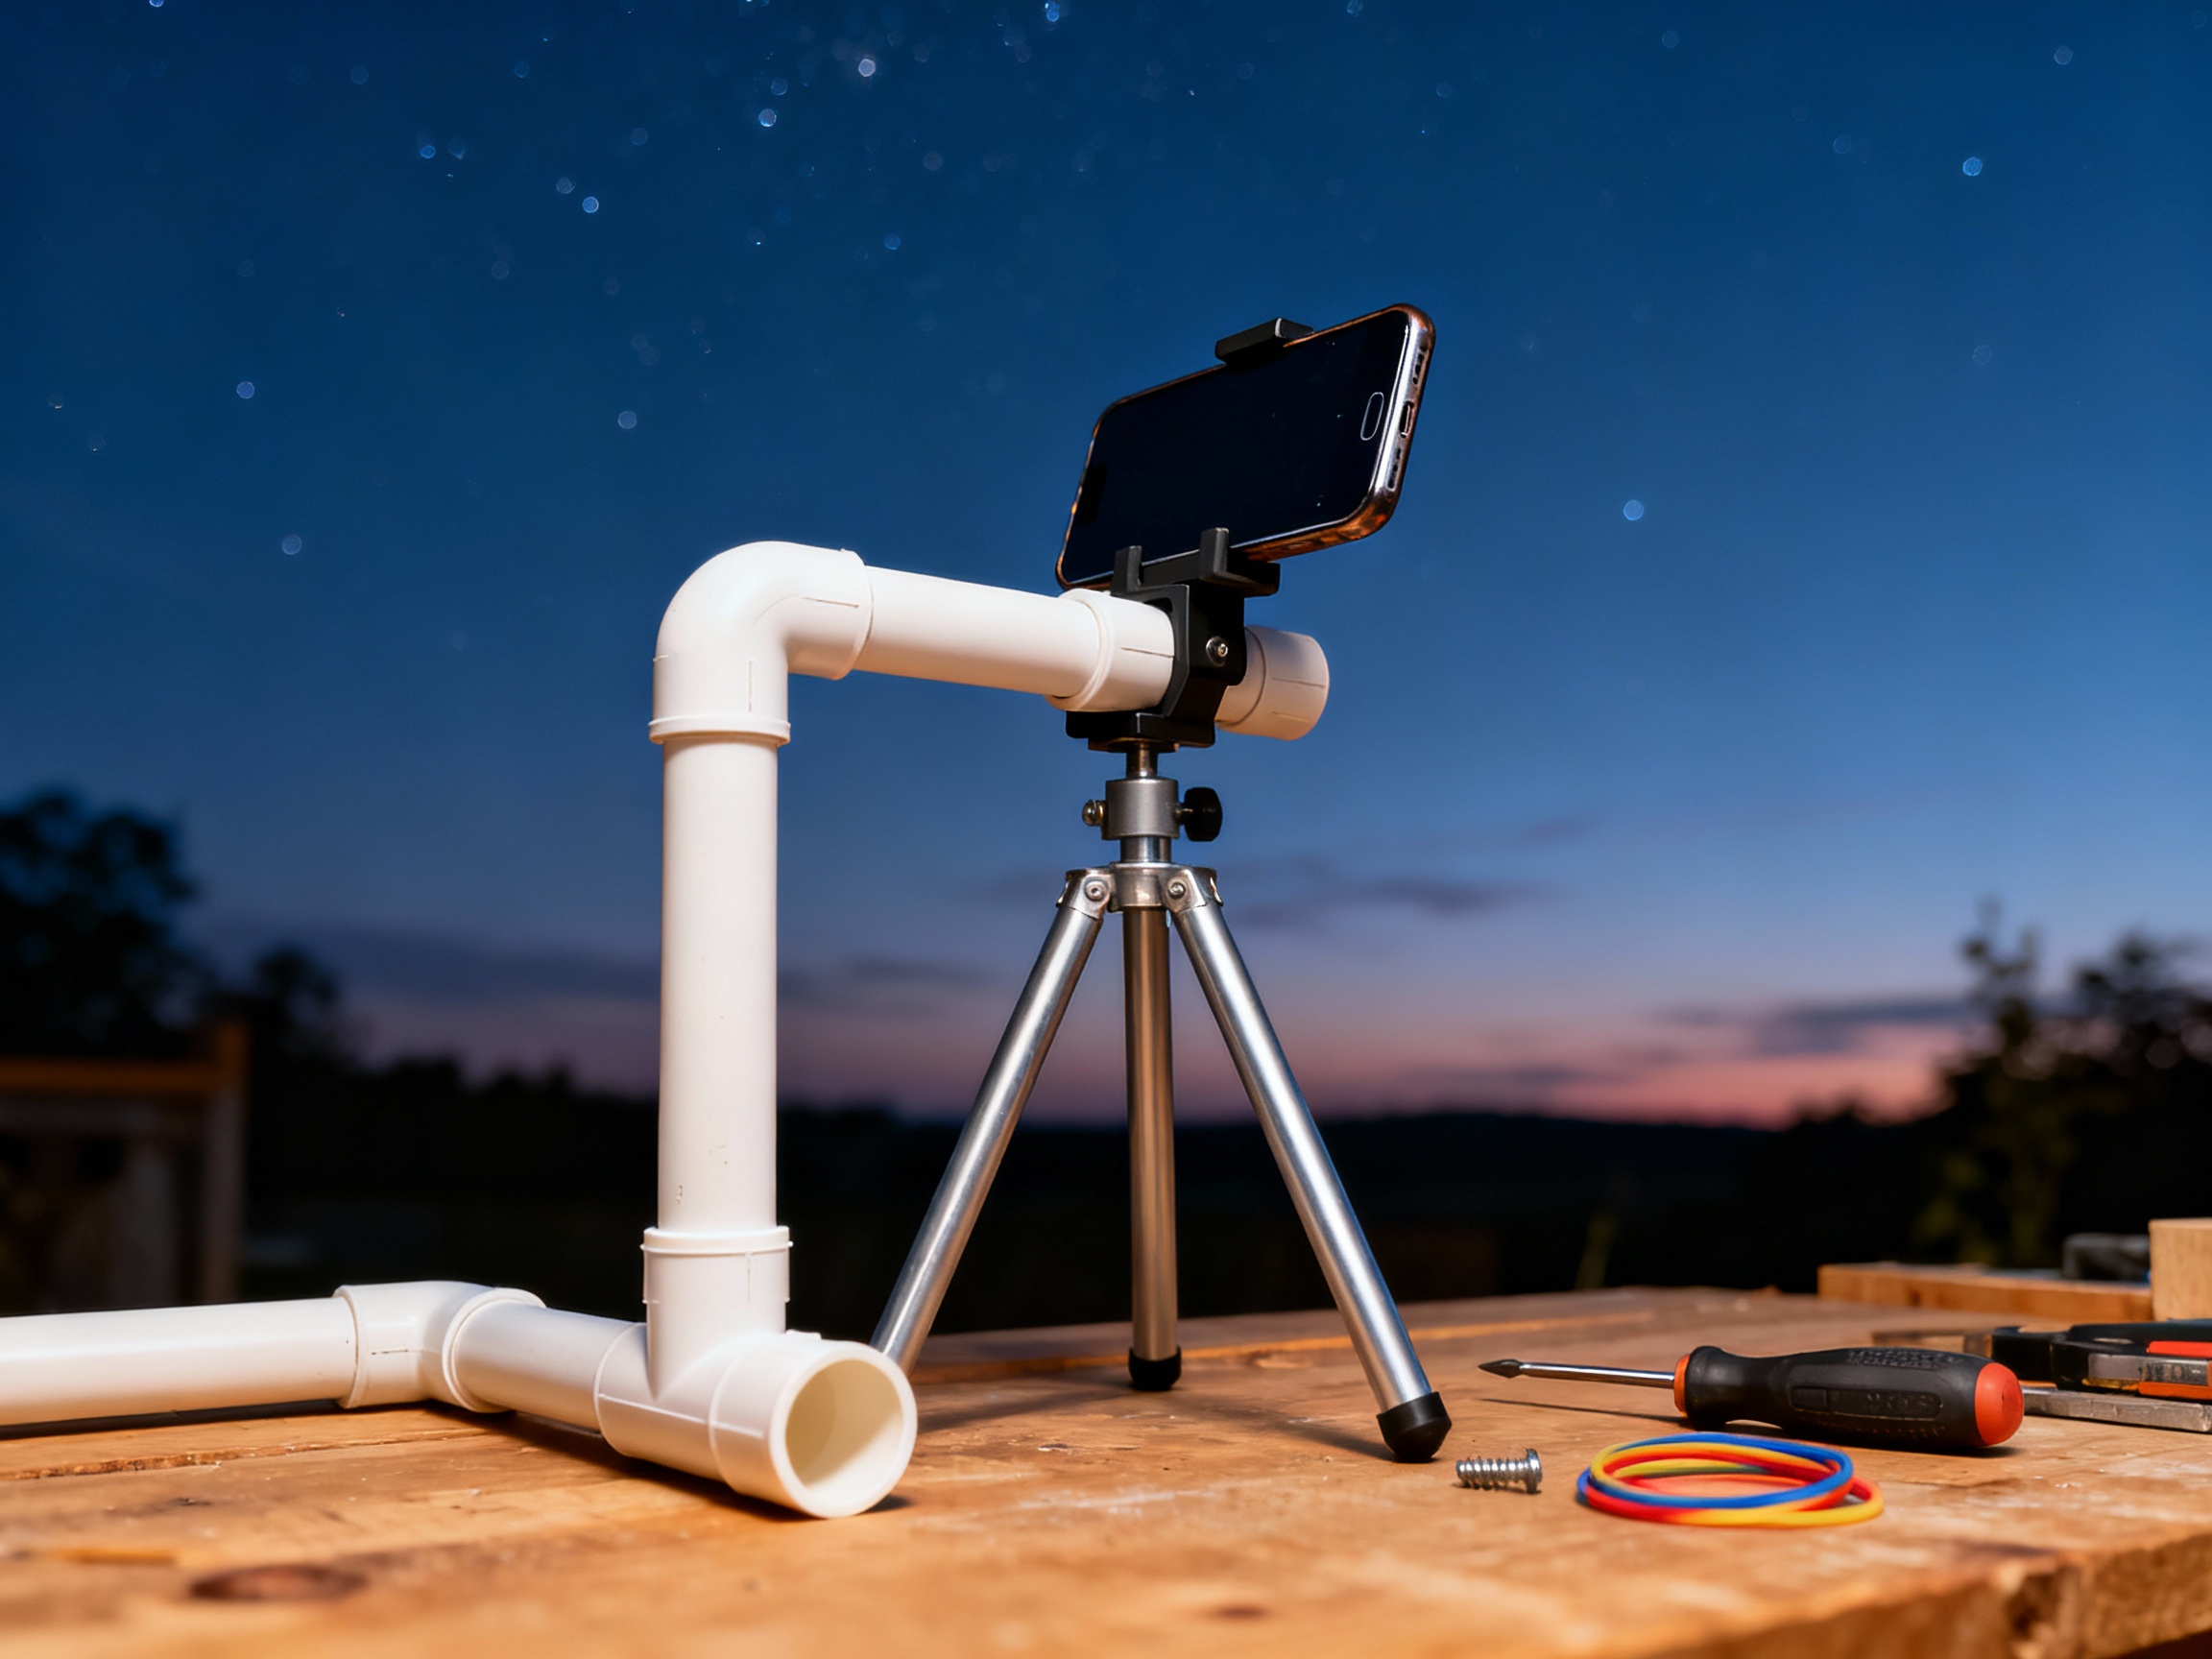
You don’t need expensive gear to create a functional smartphone mount. Start by repurposing a sturdy tripod—common in many households—and pair it with a clamp or grip. Plastic binder clips, for instance, can secure your phone to a tripod’s head when combined with a rubber band for added tension. For a more adjustable solution, PVC pipes cut into segments and fitted with joints offer a customizable rig. Add a universal phone holder (often under $10) to complete the setup.
Harnessing Gravity with Improvised Counterweights
Stability is critical for sharp astrophotography. If your DIY mount wobbles, try hanging a weight—like a water bottle or sandbag—from the tripod’s center hook. This lowers the rig’s center of gravity, minimizing vibrations from wind or accidental bumps. For ultra-lightweight setups, a bag of rice or coins taped beneath the tripod legs can add ballast. Pair this with a delayed shutter (using apps like NightCap) to eliminate shake from pressing the screen.
Creative Use of Magnetic and Suction Mounts
Magnetic car mounts or suction cups—often discarded after upgrading gadgets—can become astrophotography tools. Attach a magnetic mount to a metal surface like a patio table or car roof for a low-angle shot. Suction cups work well on smooth surfaces such as windows or telescopes. Just ensure the suction is airtight by moistening the cup before attaching. Always use a safety tether, like a lanyard, to prevent drops.
Leveraging Affordable Lens Attachments for Depth
While mounts provide stability, lens attachments enhance clarity. Clip-on macro or wide-angle lenses (under $20) can amplify details in the moon’s craters or widen your field of view for Milky Way shots. Pair these with a manual camera app to adjust focus and exposure. For planetary photography, a used telescope eyepiece can be adapted to fit your phone using 3D-printed brackets or duct tape.
Post-Processing Tips for Raw Smartphone Captures
Even the best mount won’t salvage a poorly processed image. Use free apps like Snapseed or Lightroom Mobile to adjust contrast, reduce noise, and enhance star colors. Shoot in RAW if your phone supports it—this preserves data for finer edits. Stack multiple short exposures (using Starry Landscape Stacker) to combat noise without star trails. Finally, warm your phone with hand warmers in cold weather to prevent battery drain during long shoots.